When you want to change your bathroom space or simply need repairs, removing a towel rack/ towel bar/ towel ring from the wall may become necessary. This process is not overly complicated but requires careful handling to avoid damaging the wall surface.
This article will guide you on how to remove a towel rack from the wall using simple tools and techniques that you can easily do at home. Have a read!
Contents
1. How to remove a towel rack from the wall?
Materials Needed:
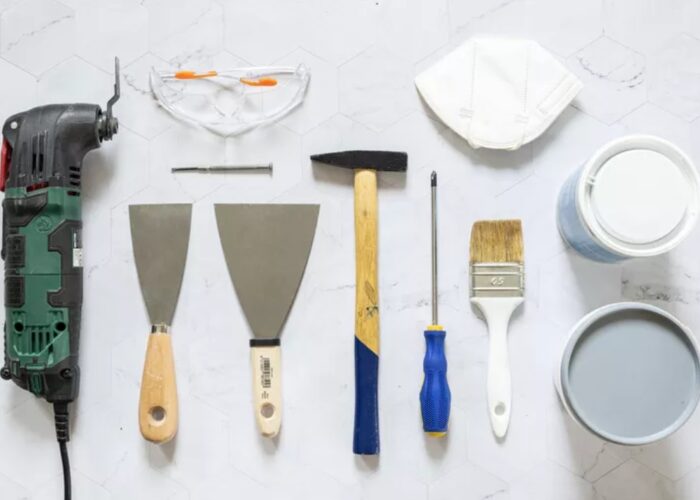
- Screwdriver (flathead or Phillips, depending on the screw type).
- Putty knife or utility knife (optional, for adhesive removal).
- Pliers (if necessary for gripping).
- Patching compound (if needed to fill holes).
- Sandpaper (if needed for smoothing patched areas).
- Paint (if needed to touch up the wall).
Step-by-Step Guide:
Step 1: Prepare the area
Clear the space around the towel rack to have easy access. Lay down a cloth or drop cloth to catch any falling debris.

Step 2: Remove towels and accessories
Take off any towels or items hanging from the rack.
Step 3: Locate and remove mounting screws
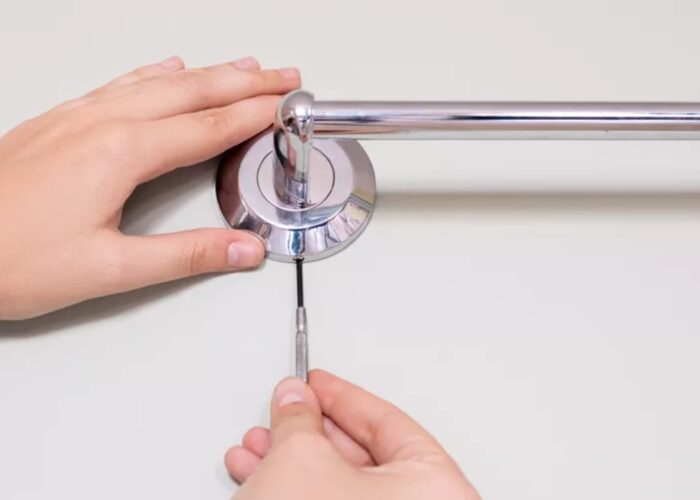
Most towel racks are mounted with screws visible on the surface or hidden beneath covers. Use a screwdriver to carefully unscrew each screw counterclockwise. If there are decorative covers, gently pry them off with a flathead screwdriver.

Step 4: Detach the rack
Once screws are removed, lift the rack off the wall. If the rack is stuck due to adhesive, gently pry it off using a putty knife or utility knife. Use caution not to damage the wall surface.
Step 5: Remove adhesive (if applicable)
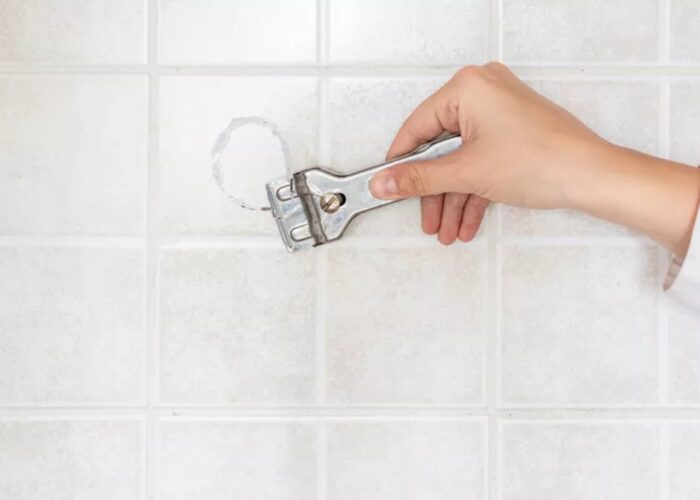
If the rack was adhered to the wall with adhesive, use a putty knife or utility knife to carefully scrape off any remaining adhesive. Wipe the area clean with a damp cloth.

Step 6: Patch and repair holes (if necessary)
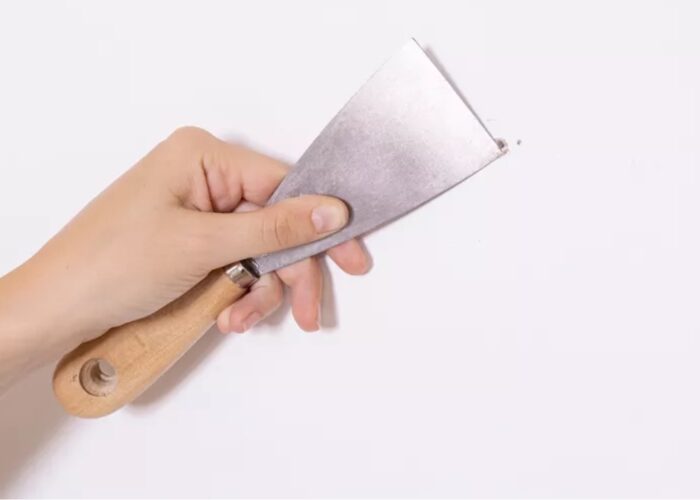
Assess the wall for any holes left by screws. Apply patching compound to fill the holes using a putty knife. Allow the compound to dry according to the manufacturer’s instructions. Once dry, sand the patched areas lightly with sandpaper to smooth them out.
Step 7: Touch up (if necessary)
If the wall was painted, use paint that matches the existing wall color to touch up the patched areas. Allow the paint to dry completely.
Step 8: Dispose of debris
Clean up any debris and dispose of it properly.

By following these steps and using the appropriate tools, you can effectively remove a towel rack from the wall while minimizing damage and preparing the area for your next bathroom improvement project.
2. How to remove a towel bar with no visible screws?
To remove a towel bar with no visible screws, follow these steps:
Step 1: Prepare tools and materials
- Utility knife or multi-purpose knife.
- Hammer.
- Screwdriver or Allen wrench (depending on the type of towel bar).
Step 2: Identify the mounting method
Check for hidden buttons, usually located at the bottom or inside the end piece of the towel bar. Use the appropriate tool to loosen the button if present.
Step 3: Remove the towel bar
If there are no screws or buttons, check if the towel bar is attached with adhesive or cement. Use a utility knife or multi-purpose knife to cut through the adhesive or cement between the towel bar and the wall.

Step 4: Perform the removal steps
Once you have identified the mounting method, proceed carefully with the removal to avoid damaging the wall or the towel bar. Make sure you have materials ready to patch any damage to the wall after removing the towel bar.
Step 5: Refer to detailed instructions
For more detailed information, you can refer to guides from online sources.
By following these steps and using the appropriate tools, you can effectively remove a towel bar with concealed screws while minimizing damage to the wall and preparing the area for your next bathroom improvement project.
3. FAQs
3.1 How do I fill holes left by the towel rack screws?
To fill holes left by towel rack screws, start by cleaning the area around the holes to remove debris. Apply wood filler or spackling compound with a putty knife, ensuring holes are completely filled and slightly overfilled to accommodate shrinkage.
Once dry, sand the surface smooth with fine-grit sandpaper. Finish by painting or staining to match the wall. This process will leave the wall looking clean and seamless, with no visible traces of the previous hardware.
3.2 How can I prevent damage to the wall when removing the towel rack?
To prevent damage to the wall when removing a towel rack, it’s important to proceed carefully. Start by using a screwdriver to unscrew the mounting hardware slowly and steadily. While doing so, support the towel rack to prevent sudden movements that could damage the wall surface.
Once the hardware is removed, fill any resulting holes with wood filler or spackling compound, smoothing it out for a flush finish. Finally, touch up the patched area with matching paint or stain to blend seamlessly with the wall, ensuring it remains undamaged and aesthetically pleasing.
3.3 How to remove an adhesive towel bar?
To remove an adhesive towel bar, start by using a hair dryer or heat gun to gently warm the adhesive, making it easier to peel off. Carefully lift the towel bar from one end, using a putty knife or plastic scraper if necessary, to avoid damaging the wall.
After removing the bar, use an adhesive remover to clean any remaining residue. Finally, wash the area with soap and water to ensure it’s completely clean. Inspect the wall for any damage and repair as needed, ensuring the wall remains in good condition.
4. Final thought
Removing a towel rack, towel bar, or towel ring from your bathroom wall is a manageable task with the right tools and approach. By following the detailed steps outlined in this guide, you can efficiently and safely remove these fixtures, ensuring minimal damage to your wall. Whether dealing with visible screws, hidden screws, or adhesive-mounted bars, careful preparation and execution are key.
Armed with these techniques, you can confidently tackle this common home maintenance task, enhancing both the functionality and aesthetics of your bathroom space.
If you have any further questions, don’t hesitate to send thanhcongcraft an email us at [email protected] or message us at WhatsApp: +84967485411. Hope to serve you soon! Best regard!


