If you’re ready to elevate your space and bring a touch of sophistication, learning how to hang a lampshade from the ceiling is a skill worth mastering.
In this step-by-step guide, we’ll walk you through the process, ensuring your pendant light shade becomes not just functional but a statement piece in your home.
Contents
1. What do i need to hang a lamp from the ceiling?
To hang a lamp from the ceiling, you need to prepare the following tools and materials:
- Lamp with a wire and a socket that matches the type of bulb you want to use or using lamp shade for ceiling light.
- Drill, a screwdriver, a hammer and some nails and screws to fix the lamp to the ceiling.
- Ruler, a pencil and a ladder to mark the position of the lamp and adjust the height of the wire.
- Cutter, a plier and some wires to connect the lamp to the power source.
For heavy lights weighing over 5 pounds (2.3 kg), opt for an anchor instead of a hook to ensure secure ceiling installation.
2. How to hang a lampshade from the ceiling?
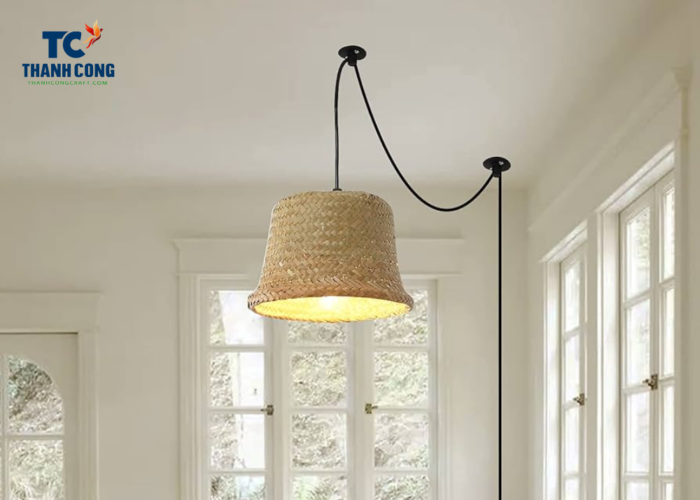
How to hang a lamp shade from the ceiling? Once you have all the tools and materials, you can follow these steps to suspend the lamp from the ceiling to create a swag light for your home.
- Step 1: Mark the position of the lamp on the ceiling with a pencil, so that the lamp is in the middle of the room or in the position you want. You should measure the distance from the wall to the position of the lamp to ensure balance and harmony.
- Step 2: Drill a hole in the ceiling according to the marked position, so that the hole has a size suitable for the nail and screw you use. You should drill the hole deeper than the length of the nail and screw to avoid being loose when fixing the lamp.
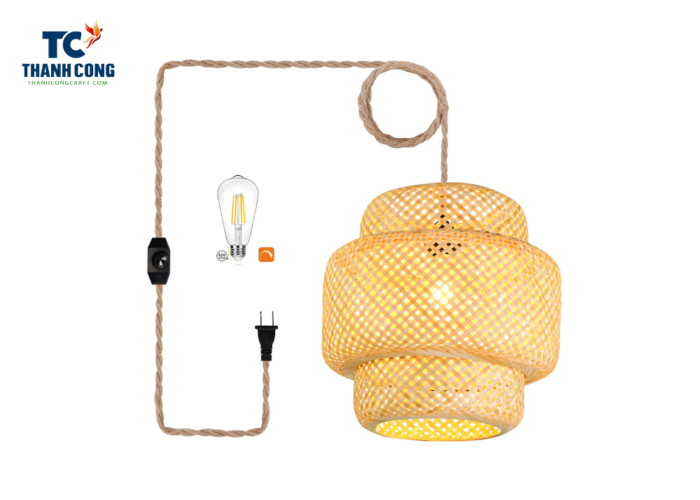
- Step 3: Plug the socket of the lamp into the bulb and twist slightly to lock. Then, hang the lamp on the ceiling by threading the wire through the hole and twisting the nail and screw into the hole. You should use a screwdriver to tighten the nail and screw and a hammer to lightly tap on the head of the nail and screw to increase the grip of the lamp.
- Step 4: Adjust the height of the wire so that it fits with the height of the room and your preference. You can tie up the wire or cut off the excess part of the wire with a cutter. If you cut off the wire, you should peel off the layer of wire cover to expose two wires inside, then twist tight two wires together.
- Step 5: Connect the lamp to the power source by connecting two wires of the lamp with two wires of the power source. You should use a plier to twist tight two wires together and use electrical tape to wrap around the connection. You should pay attention to the color of two wires to avoid short circuits or fire when turning on the switch.
- Step 6: Plug the socket into the power outlet and switch it on to check if the light is functioning properly. If there are any issues, you should review the above steps and make necessary repairs.
These are some basic guidelines for you to hang a light from the ceiling. It’s advisable to consult more detailed and safety instructions from the light manufacturer or electrician experts before proceeding. Wish you success!
3. FAQs
3.1 How do you hang lights from the ceiling without nails?
Hanging lights from the ceiling without resorting to nails offers a variety of alternative methods that are both practical and non-intrusive. One option is to utilize adhesive hooks specifically designed for ceiling applications, featuring strong adhesives capable of supporting lightweight to moderately heavy fixtures. Ensure the surface is clean before applying the adhesive for optimal adherence.
Another alternative involves using removable hooks with clips tailored for light fixtures. These hooks can be affixed to the ceiling without causing any damage, allowing you to securely clip the lights in place. Tension rods provide a simple solution for lightweight string lights or fabric-based fixtures, requiring only placement between two stable surfaces.
Ceiling clips designed for string lights or lightweight decorations are also available, offering easy installation and leaving no permanent marks on the ceiling. Command Strips, renowned for damage-free hanging, can be applied to ceilings with appropriate weight capacity for your lights, following the manufacturer’s instructions for both application and removal.
3.2 How do you attach a hanging light shade?
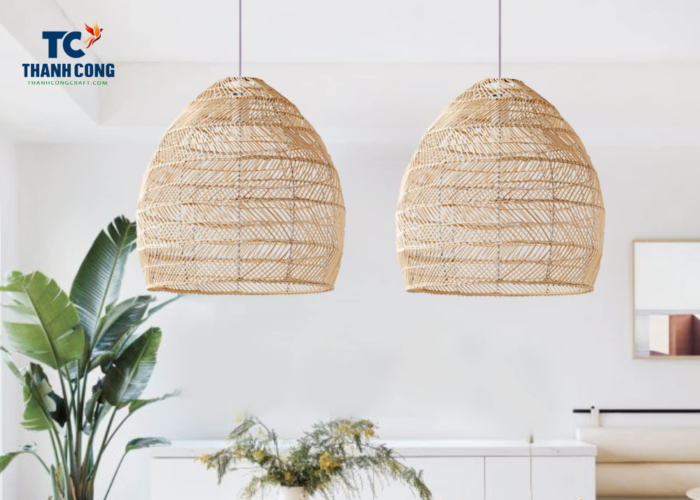
Attaching a hanging light shade is a straightforward process that can be accomplished with a few simple steps. Before starting, ensure the power is turned off at the circuit breaker for safety. Begin by preparing the light shade, assembling its components according to the manufacturer’s instructions. Confirm that you have all the necessary mounting hardware, including screws and a mounting bracket.
Install the mounting bracket securely onto the electrical box in the ceiling using the provided screws, ensuring proper alignment. Connect the wires from the light fixture to the corresponding wires in the electrical box, adhering to color-coded standards.
Depending on the light shade design, either attach it directly to the mounting bracket or use additional hardware provided. Follow the specific instructions provided for your light fixture. If applicable, adjust the height of the light shade to your preference before securing it in place.
Tighten all screws and fasteners to ensure stability and prevent any wobbling. Once everything is securely in place, turn the power back on at the circuit breaker and test the light to ensure it functions correctly.
Make any final adjustments to the hanging light shade, such as adjusting the length of the cord or chain, to ensure it hangs evenly and is level. Following these steps will guide you through the process of attaching a hanging light shade to your ceiling. Always refer to the manufacturer’s specific instructions for your particular light fixture for best results
4. Thanhcongcraft’s product introduction
Living space is where we find the energy that improves our mood. It inspires us in our work, studies, and other aspects of life. Indeed, not every home can provide the relaxation and tranquility we seek. Especially for those who prefer a vintage style, it is important to find a balance between the interior design and the dominant color tone of the house.
Let’s take a look at these 5 models of rattan pendant lamp Thanh Cong Craft.
4.1 Natural rattan brown light shade
The Natural Rattan Brown Light Shade is crafted using natural brown rattan fibers. The lamp frame is constructed with electrostatically welded iron, ensuring stability and structure for the product. The meticulously woven structure allows the light to emit beautiful patterns, creating a captivating ambiance.
This lamp design is perfect for enhancing the décor of coffee shops, restaurants, apartments, dining tables, lobbies, or bars. In any decorative setting, this product radiates a distinct and refined beauty.
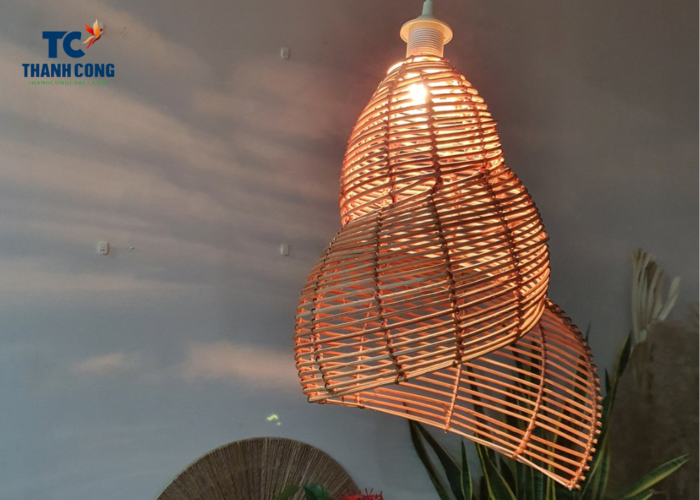
4.2 Seashell wicker rattan lamp shade
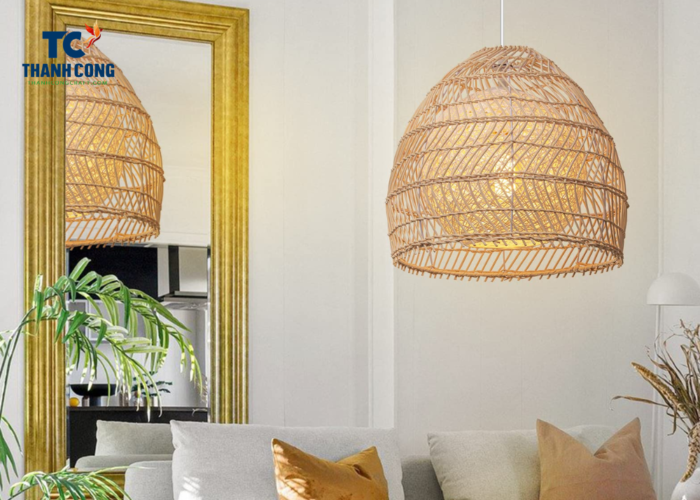
Seashell Wicker Rattan Lamp Shade is crafted from natural rattan fibers. This particular design has gained popularity in recent years for home decor and café settings.
Inspired by the shape of a bell with a bottle neck closure at the top, this lamp shade emits a warm and luxurious light. It adds a touch of elegance and uniqueness to any decorative space.
4.3 Rattan ceiling light shade
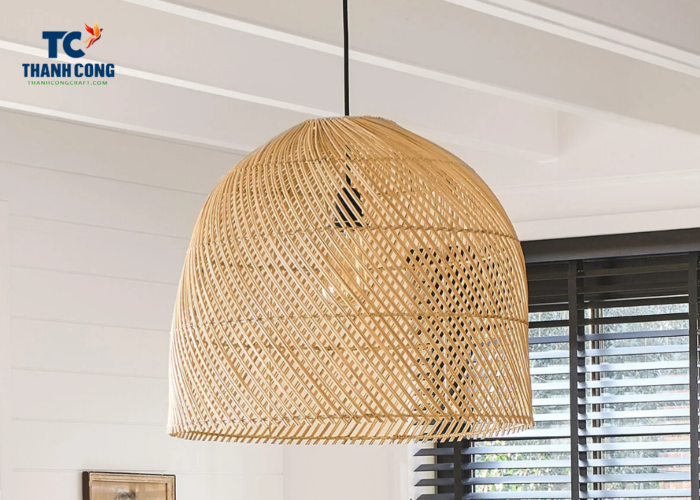
The Rattan Ceiling Light Shade is made entirely from natural rattan materials. Under the skillful hands of artisans, the round rattan strands are intricately woven together to create a stunning pendant light. The design of the flower-shaped rattan pendant light is tightly woven, allowing the light to concentrate downwards.
This pendant light model is suitable for hanging above dining tables in vintage-style homes, reception desks, or front desks in hotels, restaurants, or cafes.
4.4 Rattan hanging lamp shade
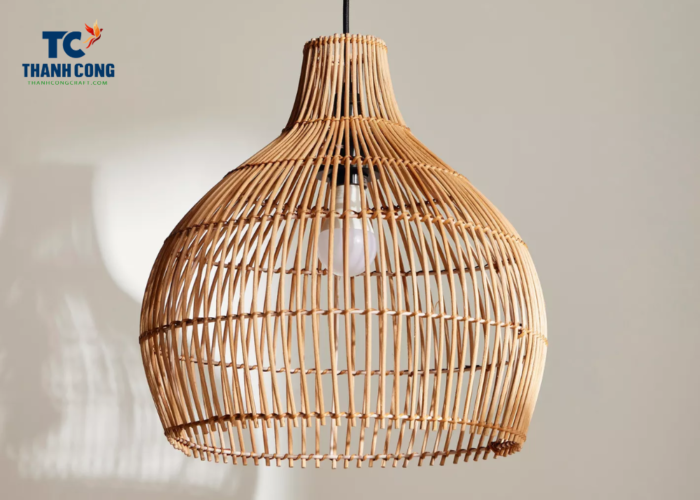
With traditional Vietnamese architectural designs, this type of lamp is essential. It embodies the essence of traditional Vietnamese culture through its artistic lines and patterns. Furthermore, the use of rattan material ensures the durability of these products.
4.5 Garlic pendant rattan lamp shade hanging
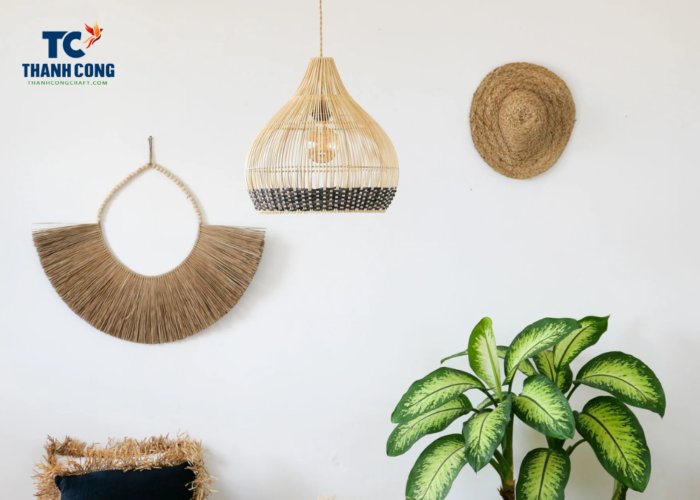
In the classic style, it is not uncommon to find interior designs with a subdued color palette. Furniture and décor in dark, muted tones create a mysterious and unusual ambiance. Particularly when combined with white walls, they bring out an air of elegance and sophistication.
Hanging a lampshade from the ceiling can be a stylish and functional way to illuminate a space. Whether you’re looking to add a decorative touch to your room or optimize the lighting, the process is relatively straightforward.
For buying in bulk, check out our Wholesale Lamp Shades category!
Above article is about the guide “how to hang a lampshade from the ceiling“, if you have any further questions, don’t hesitate to send thanhcongcraft an email us at [email protected] or message us at WhatsApp: +84967485411.
We are always here to help you!


