Installing a mosaic tile backsplash not only enhances the aesthetic appeal of your kitchen space but also protects the walls from dirt and moisture. This article will guide you through how to install mosaic tile backsplash. From preparing the surface and choosing suitable adhesive to arranging and cutting tiles to fit the size and shape of the wall, each step is detailed and easy to follow.
Follow the steps below to transform your kitchen space into one that is stylish and standout. Have a read!
1. Kitchen wall mosaic tile ideas
Enhancing your kitchen with mosaic tiles can bring a stylish and modern flair to the space. Here are some creative ideas to consider:
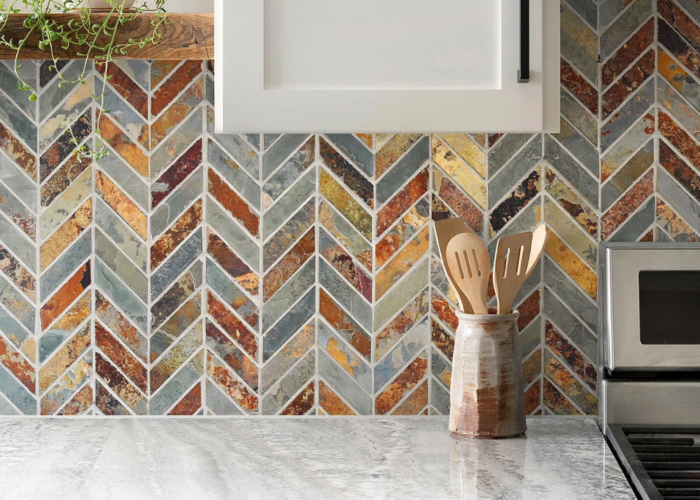
- Herringbone Mosaic Backsplash: Create a sophisticated look with a herringbone pattern using mosaic tiles. This classic design adds elegance and visual interest to your kitchen walls.
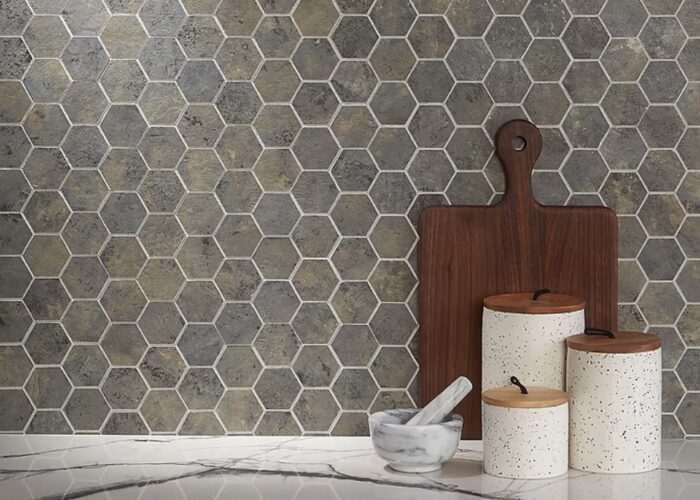
- Hexagon Mosaic Tile Backsplash: Opt for hexagon-shaped mosaic tiles to achieve a trendy and geometrically pleasing backsplash. The unique shape of hexagon tiles can add a contemporary touch to your kitchen decor.
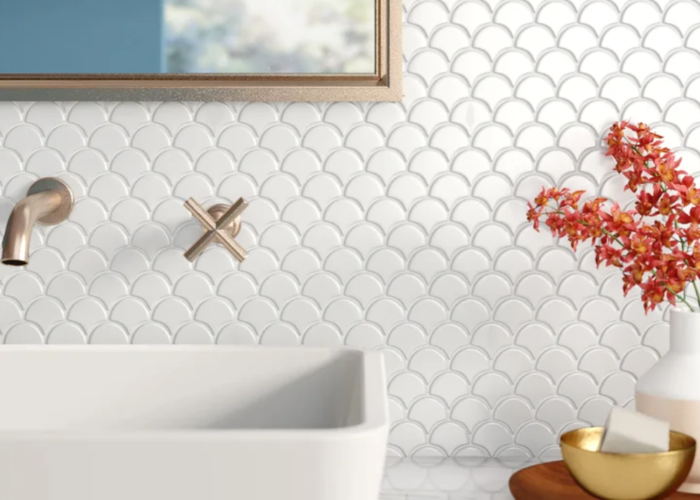
- Mesh Tile Backsplash: Mesh-mounted mosaic tiles offer versatility and ease of installation. These tiles come in various colors and patterns, allowing you to customize your kitchen walls effortlessly.
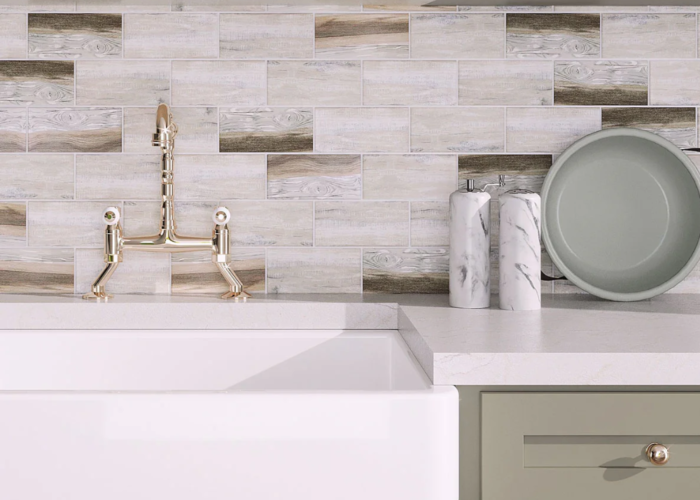
- Mosaic Subway Tile Backsplash: Put a twist on the traditional subway tile by using mosaic tiles. This variation adds texture and depth to your kitchen walls while maintaining the timeless appeal of subway tile.
Each of these mosaic tile ideas can be tailored to suit your personal style and kitchen design, ensuring a stunning and functional space that reflects your taste.
2. How to install mosaic tile backsplash?
A mosaic tile backsplash can elevate the appearance of your kitchen or bathroom while providing practical benefits like protection against stains and moisture. To install glass mosaic backsplash, follow this guide:
Materials Needed:
- Mosaic Tiles: Choose tiles in your desired colors and patterns.
- Tile Adhesive: Ensure it’s suitable for your tiles and substrate (wall).
- Grout: Select a color that complements your tiles.
- Tile Spacers: To maintain even spacing between tiles.
- Grout Float: For applying grout.
- Sponge and Bucket: For cleaning excess grout.
- Level: To ensure tiles are installed straight.
- Tape Measure and Pencil: For marking and measuring.
- Tile Cutter or Wet Saw: To cut tiles to fit.
- Protective Gear: Gloves, safety glasses, and knee pads (if necessary).
Step-by-Step Installation:
Step 1: Prepare the wall
Before beginning the installation, carefully measure the area to be tiled and plan your layout to incorporate any focal points or design preferences you have in mind. Utilize a level and pencil to mark precise guidelines on the wall, ensuring accurate placement of each tile.
Step 2: Plan your layout
Measure the area to be tiled and carefully plan your layout, taking into account any focal points or design preferences. Use a level and pencil to mark guidelines on the wall, ensuring precise tile placement.
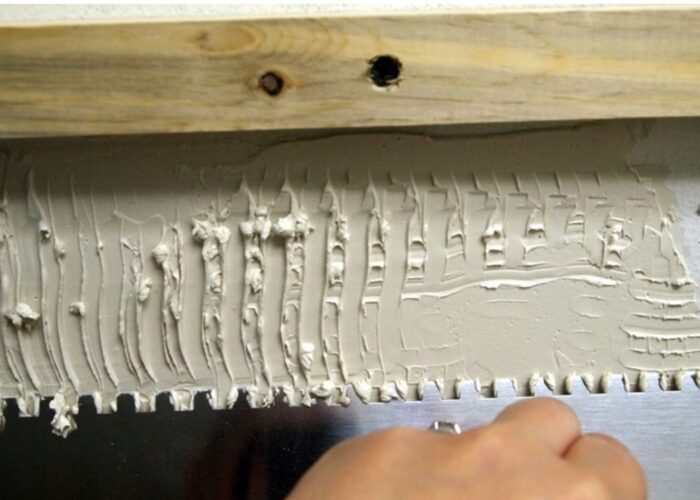
Step 3: Apply tile adhesive
Using a notched trowel, spread tile adhesive on a small section of the wall. Begin from the bottom and work upwards to ensure tiles adhere securely without slipping.
Step 4: Install mosaic tiles
Press the mosaic tiles firmly into the adhesive according to your layout plan. Ensure they are aligned correctly and use tile spacers to maintain consistent spacing between each tile. This meticulous approach ensures a neat and professional-looking mosaic tile backsplash in your kitchen or bathroom.
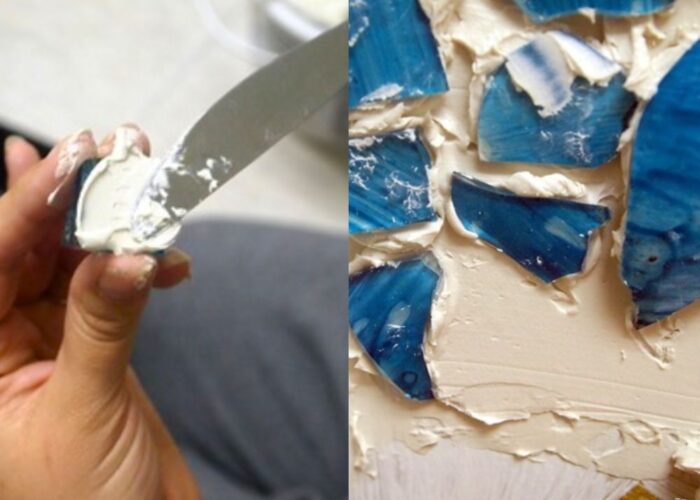
Step 6: Allow adhesive to cure
Let the adhesive dry according to the manufacturer’s instructions, typically 24 hours.
Step 7: Apply grout
Once the adhesive is dry, prepare the grout mixture following the manufacturer’s directions. Use a grout float to spread grout over the tiles, working it into the joints at a 45-degree angle.
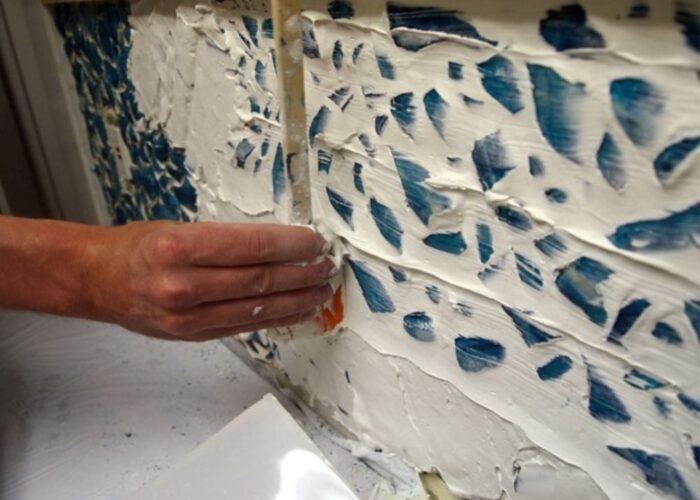
Step 8: Clean excess grout
After 10-15 minutes, when the grout begins to set, wipe off excess grout from the tiles with a damp sponge. Rinse the sponge frequently to ensure a clean finish.
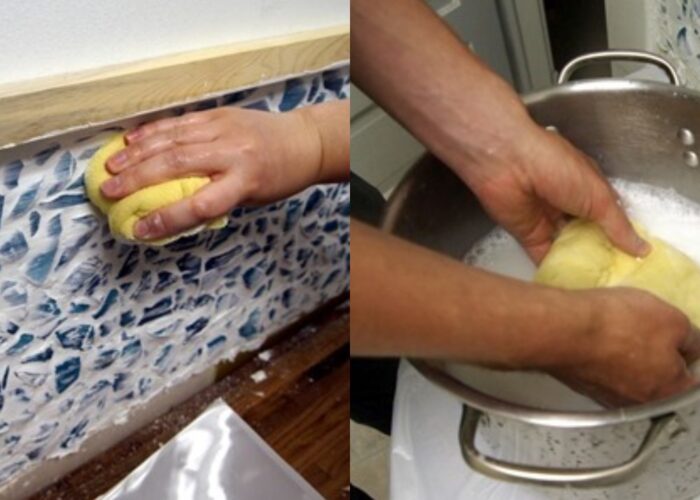
Step 9: Final touches
Polish tiles with a dry cloth once the grout has cured completely. Seal the grout if recommended by the manufacturer to protect against stains and moisture.
Step 10: Enjoy your new mosaic tile backsplash
Step back and admire your beautifully installed mosaic tile backsplash, adding style and functionality to your space.
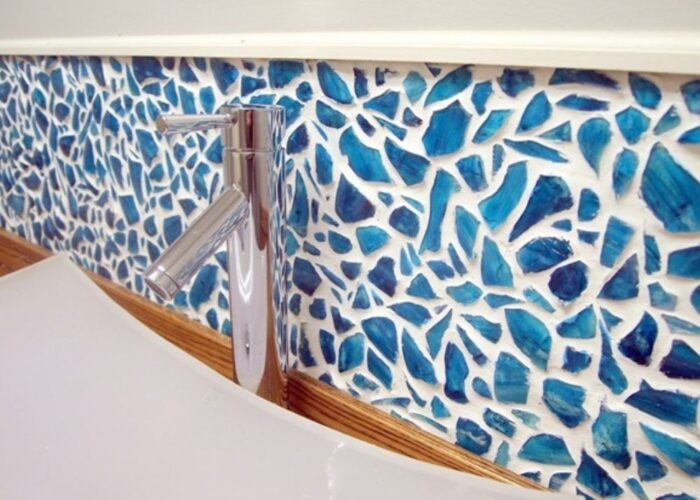
By following these steps and using the right materials, you can achieve a professional-looking mosaic tile backsplash that enhances the beauty and value of your kitchen or bathroom.
3. FAQs
3.1 Are mosaic tiles easy to install?
Mosaic tiles can be easy to install if you follow the right steps and use the proper tools and materials. They often come in sheets mounted on a mesh backing, which simplifies the process. However, it requires attention to detail, especially when cutting tiles to fit around edges and outlets, and when applying grout to achieve a polished finish. With careful planning and preparation, even beginners can successfully install mosaic tiles.
3.2 What is the best adhesive for mosaic tile backsplash?
The best adhesive for a mosaic tile backsplash is a high-quality, thin-set mortar. Thin-set mortar is a cement-based adhesive that provides strong bonding and is suitable for both wet and dry areas, making it ideal for kitchen and bathroom backsplashes.
For glass mosaic tiles, a white, latex-modified thin-set mortar is recommended to prevent discoloration and ensure a secure bond. Always check the manufacturer’s recommendations for the specific type of mosaic tiles you are using to ensure compatibility and optimal results.
3.3 Can I install mosaic tile directly over existing ceramic tile?
Yes, you can install mosaic tile directly over existing ceramic tile. Clean and roughen the surface, apply a bonding primer, and use a latex-modified thin-set mortar for the new mosaic tiles. This ensures proper adhesion and a durable finish.
If you have any further questions, don’t hesitate to send thanhcongcraft an email us at [email protected] or message us at WhatsApp: +84967485411. Hope to serve you soon! Best regard!


