When preparing to welcome a new member into the family, choosing and designing suitable furniture for the baby is incredibly important. One of the indispensable pieces is a changing table for the baby.
If you are passionate about making DIY items, this article will guide you on how to make a changing table. From selecting materials, designing dimensions to detailed assembly steps, each part will be presented meticulously, ensuring that you can build the perfect changing table for your beloved baby.
1. How to make a changing table?
Creating a DIY changing table can be a rewarding and practical project for preparing your nursery. Here’s a step-by-step guide on how to make a changing table:
Materials and Tools:
- Plywood or solid wood for the tabletop, legs, and shelves, screws, wood glue, sandpaper, paint or stain (optional).
- Saw, drill, screwdriver, measuring tape, pencil, paintbrush (if painting).
Step by step:
Step 1: Design your changing table
Determine the dimensions based on your available space and personal preferences. Consider the height of the table for ergonomic comfort during diaper changes. Sketch out your design, including the tabletop, legs, and any shelves or compartments you want to include.
Step 2: Cut the wood
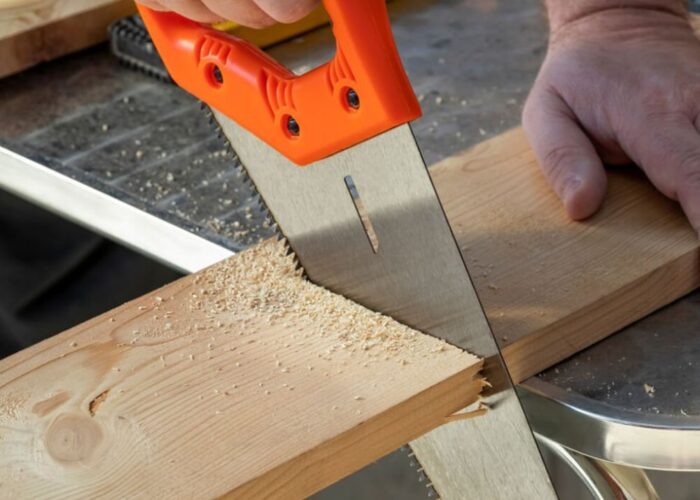
Use a saw to cut the plywood or solid wood to the desired dimensions for the tabletop, legs, and shelves. Double-check your measurements before cutting to ensure accuracy.

Step 3: Assemble the frame
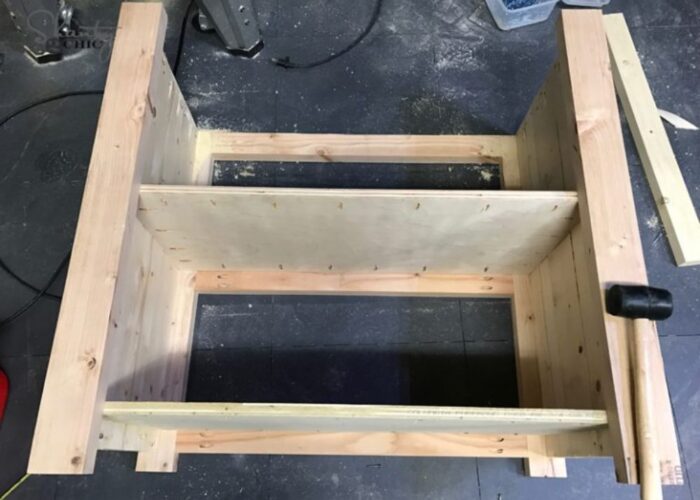
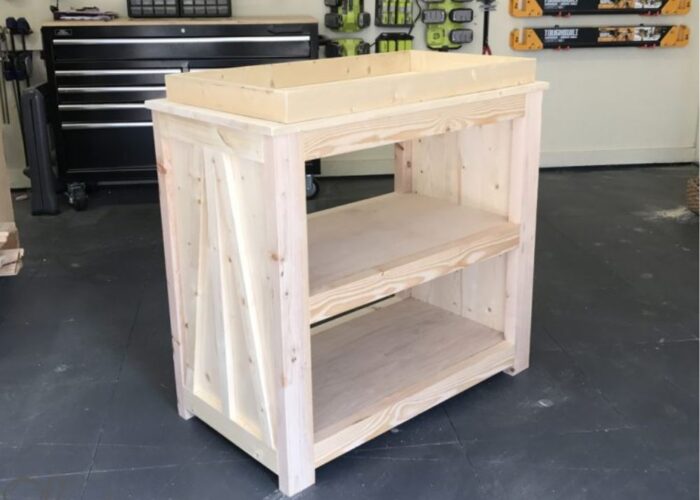
Begin by assembling the frame of the changing table. Attach the legs to the tabletop using screws and wood glue for added stability. If you’re including shelves, attach them to the frame using screws and wood glue, making sure they’re evenly spaced and level.

Step 4: Finish the changing table
Sand down any rough edges or surfaces to create a smooth finish. Apply paint or stain to the changing table if desired. Choose a non-toxic finish that is safe for use in a nursery environment.

Step 5: Add accessories (optional)
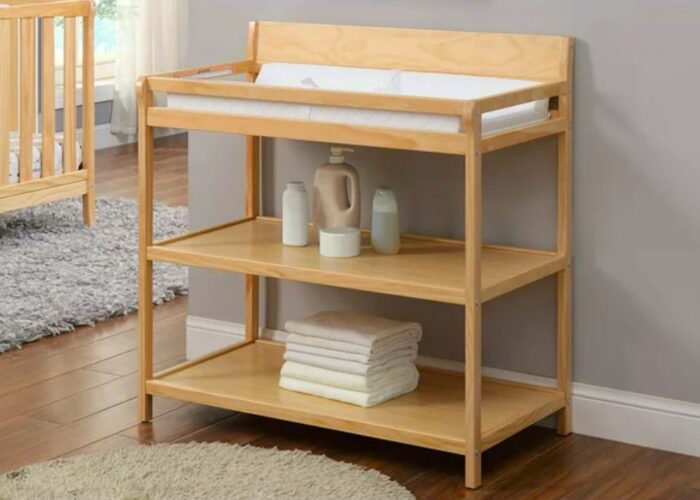
Consider adding a changing pad to the tabletop for extra comfort and protection. Install hooks or baskets on the sides of the changing table to hold diapers, wipes, and other essentials.
Step 6: Secure the changing table
Once assembled, secure the changing table to the wall to prevent tipping accidents. Use brackets or anchors for stability, especially if the table is tall or top-heavy.

Step 7: Test and adjust
Before using the changing table, test its stability and make any necessary adjustments. Ensure that all screws are tight and that the table is level and secure.
By following these steps, you can create a custom changing table that meets your needs and complements your nursery décor, providing a functional and stylish space for diaper changes.
2. FAQs
2.1 What is a changing table?
A changing table is a piece of furniture designed specifically for changing diapers and dressing babies. It typically features a flat surface, often padded for comfort, where a baby can lie down during diaper changes. Changing tables often include raised edges or guardrails to help prevent the baby from rolling off the table. They may have shelves, drawers, or compartments for storing diapers, wipes, and other diaper-changing essentials, making them convenient and practical additions to a nursery or baby’s room.
2.2 How tall should a changing table be?
The ideal height for a changing table is typically around 36 to 40 inches (91 to 102 centimeters). This height is comfortable for most adults and allows them to change diapers without straining their back. However, it’s essential to consider your own height and comfort preferences. Some tables come with adjustable heights, allowing you to customize the level to suit your needs. Ultimately, the goal is to find a height that allows you to change diapers safely and comfortably.
2.3 What is a standard size changing pad?
A standard size changing pad typically measures around 16 to 18 inches in width and 32 to 34 inches in length. These dimensions are designed to fit most changing tables and provide ample space for diaper changes. However, it’s essential to check the specific measurements of the changing pad and the changing table you plan to use to ensure compatibility. Some changing pads come in slightly different sizes, so it’s best to measure both the pad and the table before making a purchase to ensure a proper fit.
2.4 What can I use instead of a changing table?
Some popular alternatives include using a crib with an attached changing table, or a foldable table that can be stored away when not in use. You can also opt for a portable changing pad, convenient for diaper changes anytime, anywhere, or even transform an old dresser into a changing table by adding a changing pad on top. Additionally, some parents choose to use a changing basket, both stylish and practical. For families on the move, a portable changing table can be an ideal solution as it is lightweight and easy to carry.
3. Conclusion
By following this “how to make a changing table” step-by-step guide, you can design a customized piece that fits perfectly into your nursery, ensuring both functionality and safety. Starting with a clear design, precise cutting, and sturdy assembly, you can build a stable and ergonomic changing table. Finishing touches such as sanding, painting, and adding accessories will enhance its appearance and usability. Securing the table to the wall and testing its stability are crucial final steps to ensure safety.
If you have any further questions, don’t hesitate to send thanhcongcraft an email us at [email protected] or message us at WhatsApp: +84967485411. Hope to serve you soon! Best regard!


