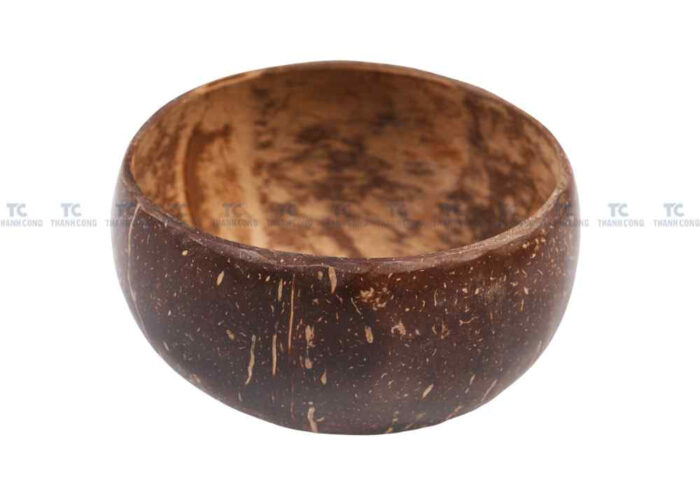
Have you ever wanted to make your own coconut bowl? It’s a fun and eco-friendly DIY project that can be done with just a few simple tools. In this article, we’ll guide you how to make a coconut bowl from scratch, including how to select the suitable coconut, clean and prepare it, and finish and decorate your bowl. So, let’s get started!
Contents
Choosing the right coconut
Before you begin to make your own coconut bowl, choosing the suitable coconut is essential. Here are some things to keep in mind:
- Look for a mature coconut: The older the coconut, the more complex the shell will be, which makes it easier to work with.
- Choose a large coconut: The bigger the coconut, the more material you’ll have to work with.
- Avoid cracked or damaged coconuts: These may not be suitable for making bowls.
Once you’ve chosen your coconut, you can move on to the next step.
Steps to Make a Coconut Bowl
Cleaning and preparing the coconut
To make a bowl out of coconut shell, clean and prepare it first. Here’s how:
- Drain the coconut: Shake the coconut to see if there’s any liquid inside. If there is, use a hammer and nail to make a small hole in one of the “eyes” of the coconut and drain the liquid into a cup.
- Remove the coconut meat: To remove the meat from the shell, use a knife to pry it away from the sides. Be careful not to damage the shell, as this will be the base of your bowl.
- Clean the coconut shell: Once you’ve removed the meat, use a spoon to scrape away any remaining flesh or fibers from the shell’s inside. Rinse the shell with water and let it dry completely.

Shaping and finishing the bowl
Now that your coconut shell is clean and dry, it’s time to shape and finish it into a bowl. Here’s how:
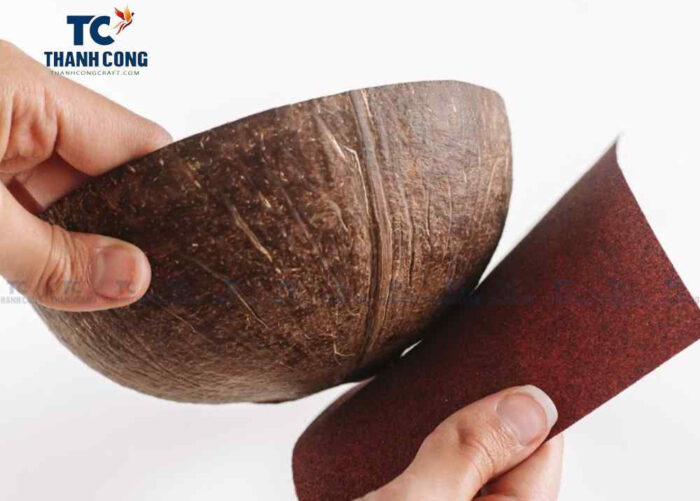
- Sand the edges: Use sandpaper to smooth out the edges of the shell. This will make it easier to work with and prevent any rough edges from causing injuries.
- Draw your design: Use a pencil or marker to draw the shape of your bowl onto the coconut shell. You can make it as shallow or deep as you like, but remember that coconut shells are not very thick, so you may need to be careful to make them wide enough.
- Cut out the bowl: Use a saw or a Dremel tool to cut out the shape of your bowl. Take your time and be careful not to cut too deep or close to the edges.
- Sand the inside: Use sandpaper to smooth out the inside of the bowl. This will make it easier to eat from and prevent any rough spots from scratching your utensils.
- Decorate the bowl: Now that it is finished, you can decorate it however you like. You can paint, stain, or add any other embellishments you desire.
FAQs
- Can I make a coconut bowl without a saw or Dremel tool? – Yes, you can use a sharp knife to cut out the shape of the bowl, but it will be much more complicated and take longer.
- Is it safe to eat from a coconut bowl? – Yes, a coconut bowl is safe as long as it has been adequately cleaned and finished.
- How long will a coconut bowl last? – With proper care, a coconut bowl can last for several years.
- Can I make a coconut bowl from a green coconut? – No, green coconuts are too soft and will not make good bowls.
- What should I do with the leftover coconut meat? – You can use it in recipes or eat it as a snack.

Making a coconut bowl is a fun and easy project that can be done with just a few simple tools. Following the steps outlined in this article, you can create your unique and eco-friendly bowl that will last for years. So, why give it a try? Happy crafting!
Reach out to us today to learn more about our products or to place a wholesale order. We look forward to connecting with you!
- Thanh Cong Handicraft Co., Ltd
- Email: [email protected]
- Tel/WhatsApp: +84967485411
Explore our Products Collection for more choices! Contact Us!


