Looking for the perfect summer accessory that’s both stylish and eco-friendly? Why not try your hand at making a raffia hat! Whether you’re heading to the beach or just wanting to add a touch of nature to your wardrobe, crafting your own raffia hat is a fun and rewarding way to embrace sustainable fashion. Raffia, a natural fiber derived from palm leaves, is not only durable but also biodegradable, making it the perfect material for a DIY project.
In this how to make a raffia hat tutorial, we’ll guide you through the process of weaving your own hat from scratch, even if you’ve never worked with raffia before. So, gather your materials, and let’s get started on your new favorite summer hat!
1. How to make a raffia hat?
Creating a raffia hat is a rewarding craft that combines sustainability with stylish design. Here’s a comprehensive guide to help you make your own raffia hat, including the materials needed and a step-by-step process.
Materials:
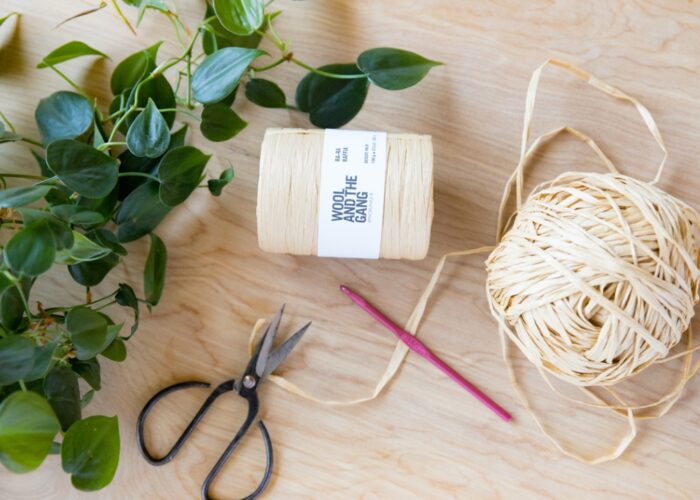
- Raffia yarn.
- A suitable crochet hook (often 3.5mm to 5mm, depending on the desired tightness of the stitches), a yarn needle, and scissors.
- Scissors: To cut the raffia fibers to the desired length.
Step-by-Step:
Step 1: Prepare the raffia
Cut the raffia fibers into manageable lengths. If you’re using raffia yarn, ensure it’s untangled and ready to use.

Step 2: Create a magic ring
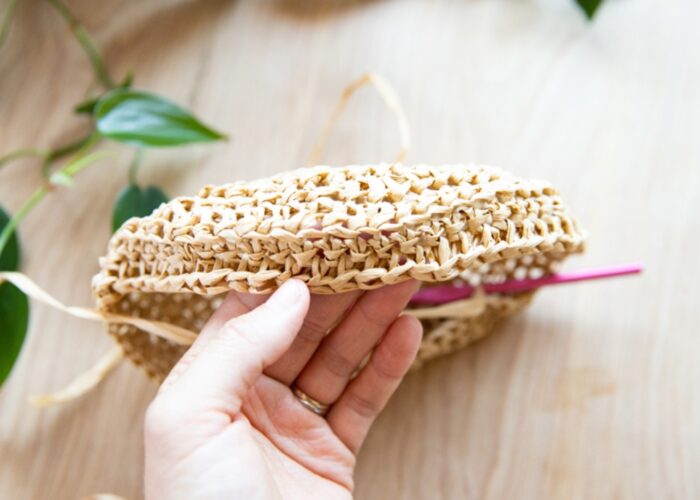
Begin by creating a magic ring and crochet single stitches into it, gradually increasing the number of stitches in each round to form the crown of the hat.

Step 3: Weave the raffia
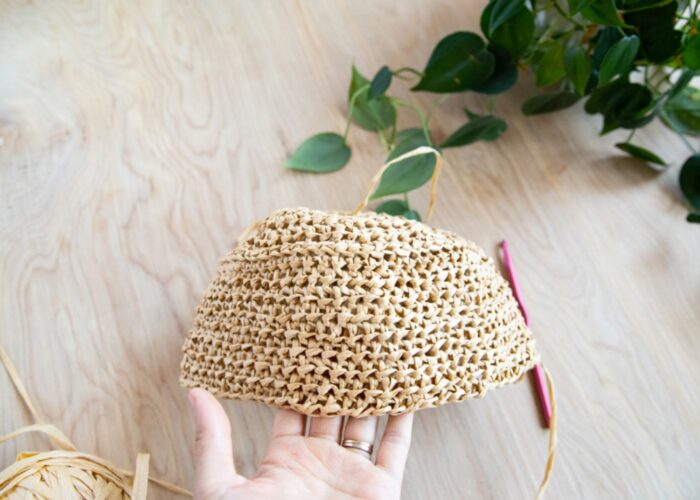
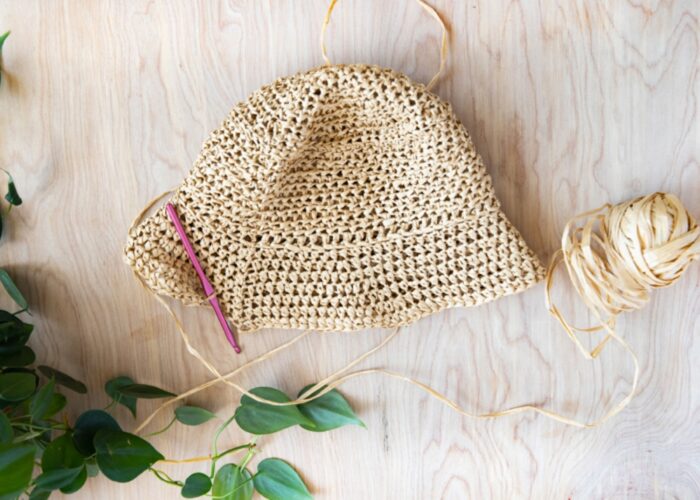
Continue crocheting in rounds, maintaining the stitch count to shape the body of the hat. Once the desired depth is reached, start increasing the stitches again to create the brim, ensuring it flares outwards.

Step 4: Finish the edges
Finish by fastening off the yarn and weaving in the ends for a neat look.

Step 5: Add embellishments (optional)
If desired, you can add decorative elements like ribbons, beads, or flowers to personalize your raffia hat.
Step 6: Final touches
Inspect the hat for any loose ends or areas needing adjustment. Make any final touches to ensure the hat is well-constructed and visually appealing.
By following these steps, you’ll create a beautiful and unique raffia hat that showcases your crafting skills and adds a touch of natural elegance to your wardrobe.
2. FAQs
2.1 How much raffia yarn to make a hat?
The amount of raffia yarn needed to make a hat can vary depending on the size and style of the hat you’re creating. However, a general guideline is to have about 200 to 300 meters (or around 220 to 330 yards) of raffia yarn for a standard-sized hat.
This estimate can vary based on the thickness of the yarn and the tightness of your weaving or stitching. It’s always a good idea to have extra yarn on hand to ensure you have enough to complete your project.
2.2 How to reshape a raffia hat?
To reshape a raffia hat, start by using a clothes steamer or holding the hat over a pot of boiling water. The steam will soften the raffia fibers, making them more pliable. Once the raffia is softened, gently shape the hat with your hands, molding the brim and crown into your desired form.
After achieving the right shape, place the hat on a hat form or any object that mimics the desired shape, and allow it to cool and dry completely to set the shape. If any areas need further adjustment, reapply steam and reshape as needed.
2.3 How do I care for my crocheted raffia hat?
To care for your crocheted raffia hat, use a damp cloth to gently wipe away any dirt or stains, avoiding soaking the hat in water as it can weaken the fibers. If the hat gets wet, let it air dry completely away from direct sunlight to prevent fading and damage. Store your hat in a cool, dry place, stuffing the crown with tissue paper and laying it flat or placing it on a hat stand to maintain its shape.
Avoid folding or crushing the hat; if traveling, use a hat box or wear it to keep its shape intact.
3. Conclusion
In conclusion, making your own raffia hat is not only a creative and enjoyable experience, but it’s also an eco-friendly way to enhance your summer wardrobe. By following these simple steps, you’ll craft a stylish accessory that reflects both your personal style and a commitment to sustainability.
Whether you’re lounging on the beach or exploring a new destination, your handcrafted hat will be a unique statement piece. Plus, with its durability and natural charm, this DIY project is sure to become a favorite that you’ll wear season after season. Happy crafting!
If you have any further questions, don’t hesitate to send thanhcongcraft an email us at [email protected] or message us at WhatsApp: +84967485411. Hope to serve you soon! Best regard!


