Creating a DIY mosaic house number plaque is not only a practical project but also an opportunity to add a personal touch to your home’s exterior. How to make a DIY mosaic house number plaque? In the article below, we will guide you how to make a DIY mosaic house number plaque using only simple, easy-to-find materials.
With a little creativity and patience, you can create a mosaic house number plaque that reflects your style and welcomes guests to your home. Have a read!
1. Steps to make a mosaic house number plaque
Creating a mosaic house number plaque is a fun and rewarding project that adds a personal touch to your home’s exterior. Here’s a step-by-step guide to help you make your own mosaic house number plaque:
Materials Needed:
- Mosaic house numbers kit (including tiles, adhesive, and grout);
- House number stencil or printed template;
- Wooden or metal plaque base;
- Tile nippers (if cutting tiles is necessary);
- Safety glasses;
- Gloves;
- Pencil;
- Ruler;
- Sponge;
- Soft cloth.
Step-by-Step Instructions:
Step 1: Prepare your workspace
Set up a clean, flat workspace, and protect the surface with newspaper or a plastic sheet. Wear safety glasses and gloves to protect yourself while handling tiles and tools.
Step 2: Design your mosaic
Place the house number stencil or printed template on the plaque base. Use a pencil to lightly trace the numbers onto the base. Plan the placement of your mosaic tiles around the traced numbers to ensure a balanced design.
Step 3: Cut and arrange tiles
If necessary, use tile nippers to cut the mosaic tiles to fit around the numbers. Arrange the tiles on the plaque according to your design, ensuring they fit well together.
Step 4: Glue the tiles
Apply tile adhesive to the back of each tile using a small brush or spatula. Press the tiles firmly onto the plaque, following your design. Leave a small gap between each tile for grouting.
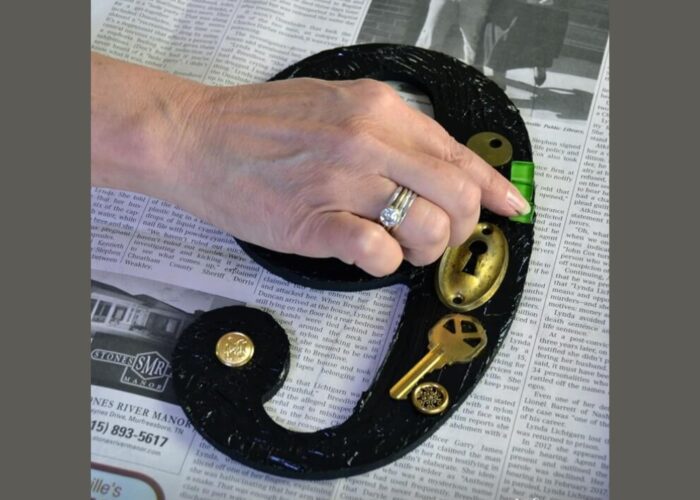
Step 5: Apply the grout
Once the adhesive has dried according to the manufacturer’s instructions, mix the grout as per the package instructions. Spread the grout over the tiles using a spatula or gloved fingers, pressing it into the gaps. Wipe off excess grout with a damp sponge before it dries completely, being careful not to disturb the tiles.
Step 6: Clean and finish
After the grout has set but is still slightly wet, use a damp sponge to clean the tiles and remove any grout haze. Allow the grout to cure completely, typically for 24 hours.
Step 7: Seal the mosaic (optional)
Apply a grout sealer to protect the mosaic from moisture and stains. Follow the manufacturer’s instructions for application and drying time.
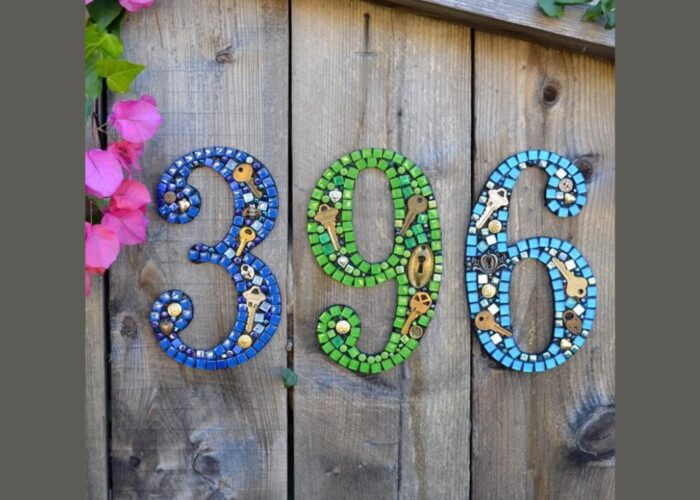
Step 8: Final touches
Once the sealant has dried, buff the mosaic plaque with a soft cloth to enhance its shine and remove any remaining residue. Ensure the plaque is fully dry and cured before hanging it outside your home.
By following these steps and using a mosaic house numbers kit, you can create a beautiful and personalized house number plaque that showcases your artistic skills and enhances your home’s curb appeal. Enjoy the process and take pride in your handmade masterpiece!
2. Some mosaic house number ideas
Adding a mosaic house number plaque is a creative way to personalize your home’s exterior. Here are five mosaic house number ideas to inspire your next project:
- Traditional Elegance: Create a classic look using ceramic tiles in neutral tones like white or beige. Arrange them in a clean and simple layout that complements the architectural style of your home.
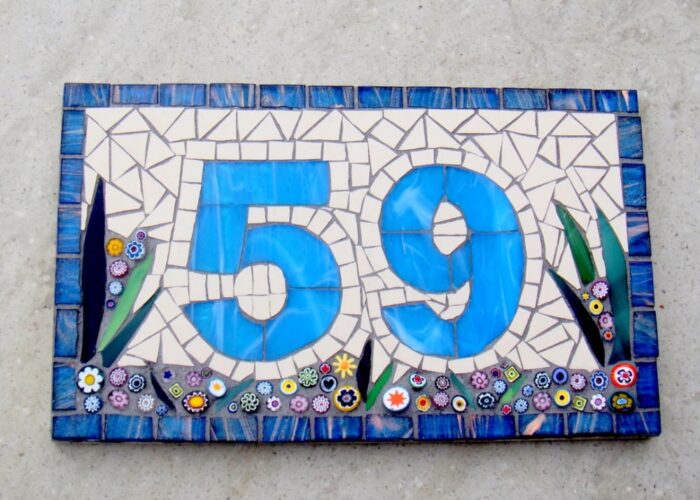
- Bold Geometric Design: Opt for a modern approach with geometric shapes such as triangles or hexagons. Use contrasting colors like black and white to make your house numbers pop.
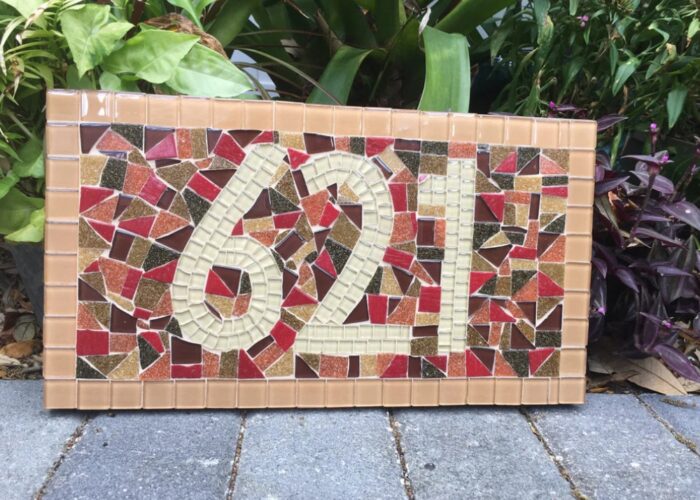
- Nature-Inspired Theme: Incorporate natural elements like leaves, flowers, or vines around the numbers using colorful glass or ceramic tiles. This design adds a touch of organic beauty to your entryway.
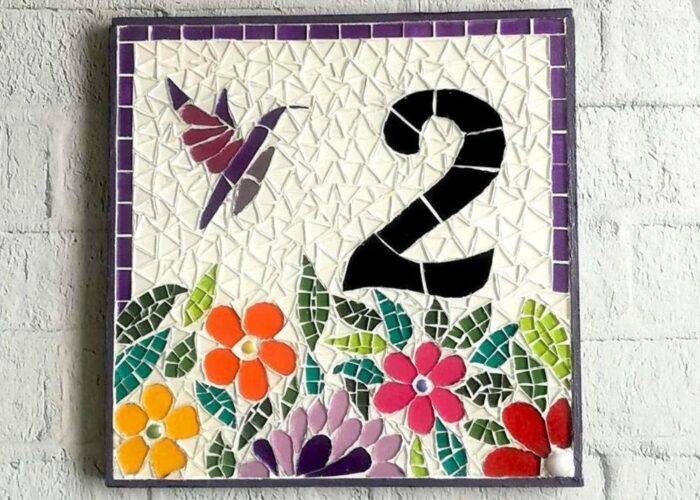
- Vintage Charm: Use mosaic techniques with vintage tiles or repurposed ceramic pieces for a nostalgic feel. Arrange them in a mosaic pattern that evokes a sense of history and character.
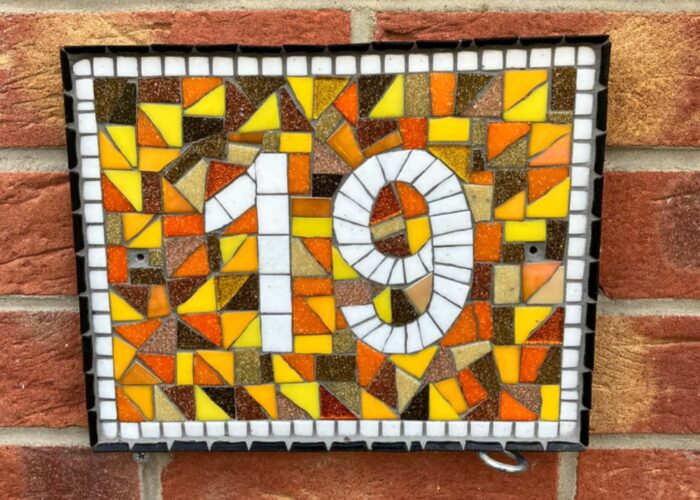
- Whimsical and Playful: Create a whimsical design with bright and cheerful colors. Add playful elements like stars, hearts, or abstract shapes to bring a fun and lively vibe to your house number plaque.
These mosaic house number ideas can be customized to reflect your personal style and enhance the curb appeal of your home. Whether you prefer a traditional, modern, or eclectic design, a mosaic house number plaque adds a unique and artistic touch to your exterior decor.
3. FAQs
3.1 Is a mosaic house number plaque durable enough for outdoors?
Yes, a properly sealed mosaic house number plaque is durable enough for outdoor use. When sealed with a suitable grout sealer, the mosaic becomes resistant to weather elements such as rain, sun exposure, and temperature fluctuations.
This protective sealant helps prevent moisture penetration and ensures the longevity of the mosaic artwork, making it suitable for displaying outdoors and maintaining its vibrant appearance over time.
3.2 What kind of adhesive should I use for outdoor mosaic projects?
For outdoor mosaic projects, it’s important to use a strong and weather-resistant adhesive that can withstand outdoor conditions. Epoxy adhesives or specific outdoor mosaic adhesives are highly recommended. These adhesives are designed to bond well with various materials used in mosaics, such as glass, ceramic, or stone tiles, and they provide excellent durability against moisture, UV exposure, and temperature changes.
Always follow the manufacturer’s instructions for application and ensure the adhesive is fully cured before exposing the mosaic to outdoor elements.
3.3 How to hang a mosaic house number plaque?
To hang a mosaic house number plaque, begin by selecting a suitable location that is easily visible from the street. Clean the mounting surface thoroughly to remove any dirt or debris. Choose appropriate hanging hardware such as screws or hooks, depending on the surface type (e.g., wood, stucco).
Install the hardware securely, ensuring it is level and spaced correctly. Align the holes or hooks on the back of the plaque with the installed hardware, then carefully mount the plaque. Adjust as needed to ensure it hangs straight and securely.
If you have any further questions, don’t hesitate to send thanhcongcraft an email us at [email protected] or message us at WhatsApp: +84967485411. Hope to serve you soon! Best regard!


