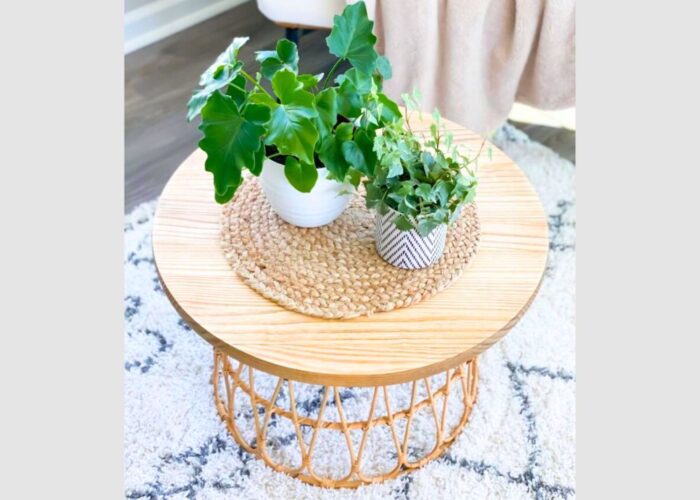
A rattan table is a stunning and resilient addition to your home decor. Crafting your own rattan table in a DIY (do-it-yourself) fashion requires only simple materials and tools. In this article, we will guide you how to make a rattan table from a woven basket from the most basic steps.
Let’s embark on the journey of crafting a unique and personalized piece for your living space.
1. How to make a rattan table?
Wicker rattan table is a beautiful and durable piece of furniture that can be used both indoors and outdoors. To create a diy wicker table, you will need to prepare the following materials and tools:
Materials:
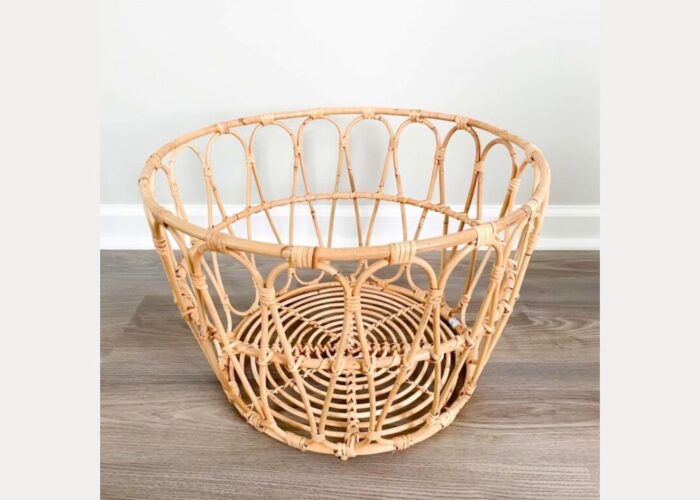
- A rattan basket;
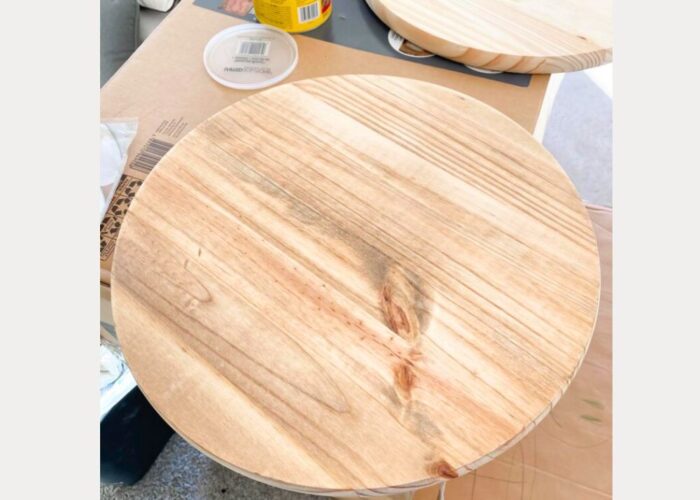
- 24″ Round Pine Board;
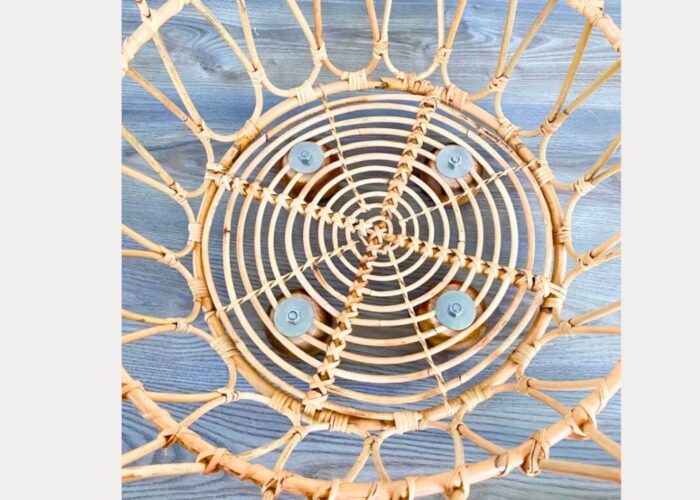
- 4 – Round Bun Feet;
- Orbital Sander;
- E6000 Glue;
- Washers & long screws.
Step by step instruction:
Step 1: Handle removal prelude
Take your rattan basket and remove the handles. This is a straightforward process; simply unwind the rattan from the handles and pull them off. They are usually attached with staples, so you might need pliers. Once the handles are off, you’re ready to begin!
Step 2: Sunbleached transformation
Stain a 24″ round wood table top with Varathane interior wood stain in “Sunbleached”. After the stain dries, apply two coats of Polycrylic Clear Satin to seal it.
Step 3: Elevated base assembly
Now, you could take the easy route and opt for the basic version of this hack, but I always like to go the extra mile. If you want your coffee table a bit taller, attach the feet to the basket with some washers; this will serve as a pedestal for your tabletop.
Step 4: Structural fusion
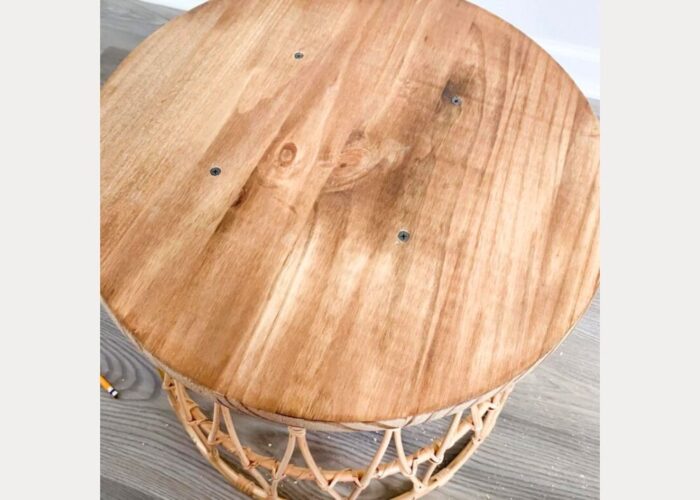
Center the small round board on top of the feet, then attach the screws through the board into the feet (make sure they are long enough).
Step 5: Bonding brilliance
Apply E6000 glue to the small board, then center your larger board on top. Flip your table over and place something heavy inside the basket. This will help ensure the glue is evenly distributed as it dries.
2. FAQs
2.1 Does rattan go with wood?
Yes, rattan generally complements wood well, and the combination of rattan and wood can create a harmonious and natural aesthetic. Both materials have a warm and organic feel, making them suitable for a variety of interior and exterior design styles.
When using rattan with wood, consider factors such as the color, finish, and style of the wood to ensure a cohesive look. Combining these two materials can add texture, visual interest, and a touch of nature to your decor, whether it’s in furniture, accessories, or other design elements.
2.2 How do you adhere to rattan? What kind of glue to use for rattan?
E6000 glue is a popular and versatile adhesive that is often recommended for bonding rattan. E6000 is a clear, industrial-strength adhesive that provides a strong and flexible bond. It’s known for its durability and ability to bond a wide range of materials, including porous surfaces like rattan.
To glue rattan to wood, you can use E6000. You need to clean the surface of rattan and wood before gluing, then apply a thin layer of glue to both surfaces to be glued, leave it for about 10 minutes for the glue to dry partially, then press the two surfaces together.
You can use clamps or nails to hold the two surfaces firmly while the glue dries completely.
2.3 Does rattan furniture need to be oiled?
One of the effective ways to preserve rattan is to use oil to lubricate it. Oil will prevent rattan from drying, cracking and fading. Oil will also create a protective layer for rattan against harmful agents such as water, insects and dust. Oil can be vegetable oil, mineral oil or specialized oil for rattan.
To use oil for rattan, you need to clean rattan first by wiping or vacuuming dust. Then, you use a soft cloth or cotton ball soaked in oil and rub it evenly on the rattan surface. You should choose a sunny day to do this work so that the oil dries faster. You should use oil for rattan at least once a year to maintain its quality.
3. Final thought
Crafting a rattan table is a rewarding process that showcases your woodworking skills. Treat the rattan for durability, and whether stained or in its natural state, appreciate the unique charm it brings to your space.
Place your handmade table in your preferred room, gather around with loved ones, and relish the satisfaction of creating a functional and aesthetically pleasing piece. Embrace the compliments and share the story behind its creation, inspiring others to embark on their own crafting journey. Happy crafting!
If you have any further questions about “how to make a rattan table“, don’t hesitate to send thanhcongcraft an email us at [email protected] or message us at WhatsApp: +84967485411. Hope to serve you soon! Best regard!


