In the refreshing sea breeze, there’s nothing better than creating a unique decoration from driftwood that carries the essence of the ocean. Today, we will explore how to make a driftwood wreath – a simple way to add a touch of nature and creativity to your living space. How to make a driftwood wreath is not just a question, but a creative journey that anyone can undertake and enjoy. This is a promising start, opening up a space for readers to imagine and act, step by step, creating their own masterpiece.
1. How to make a driftwood wreath?
Creating a driftwood wreath is a wonderful way to bring a touch of the ocean into your home. The natural textures and colors of driftwood can add a rustic and coastal charm to your decor. Here’s a guide to making your own driftwood wreath, including the materials you’ll need and step-by-step instructions.
Materials:
- Driftwood pieces (various sizes and shapes)
- A wire wreath frame or a sturdy circular base
- Hot glue gun and glue sticks
- Floral wire
- Scissors or wire cutters
- Twine or ribbon (for hanging, optional)
- Sandpaper (optional, for smoothing rough edges)
Step-by-Step:
Step1: Prepare the Materials
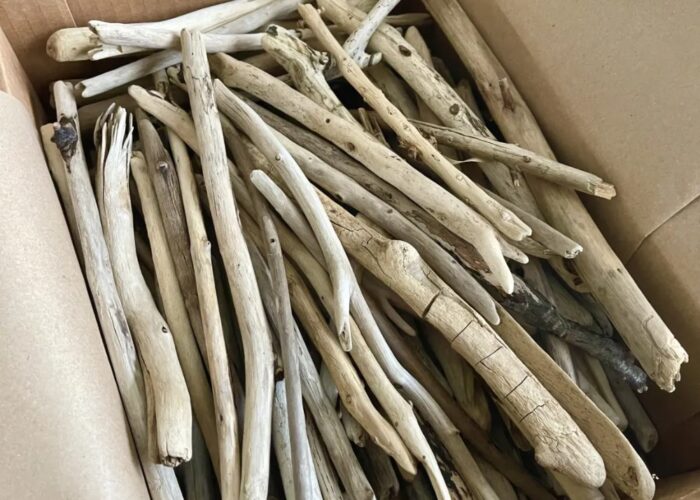
Gather all your driftwood pieces. If needed, use sandpaper to smooth out any rough edges or splinters. This will make handling the driftwood easier and safer.
Step 2: Prepare the Wreath Base
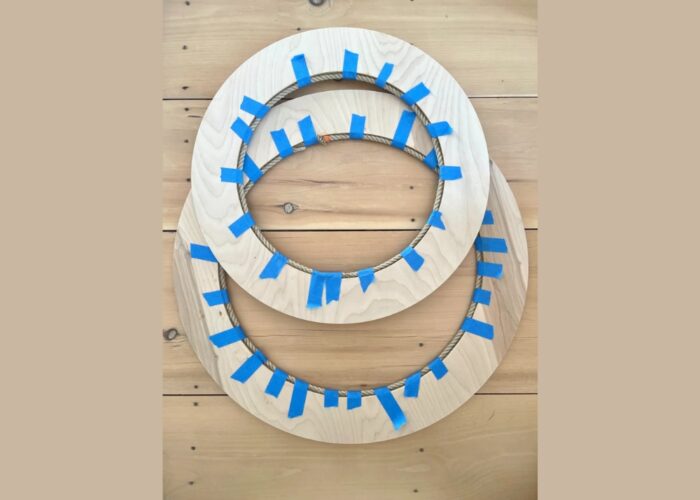
If you’re using a wire wreath frame, you can start attaching the driftwood pieces directly. For a sturdier base, consider wrapping the frame with floral wire to provide additional grip for the driftwood pieces.
Step 3: Arrange the Driftwood
Before attaching the driftwood, lay out the pieces on the wreath frame to visualize your design. Arrange the pieces to cover the entire frame, mixing different sizes and shapes for a natural look.

Step 4: Attach the Driftwood
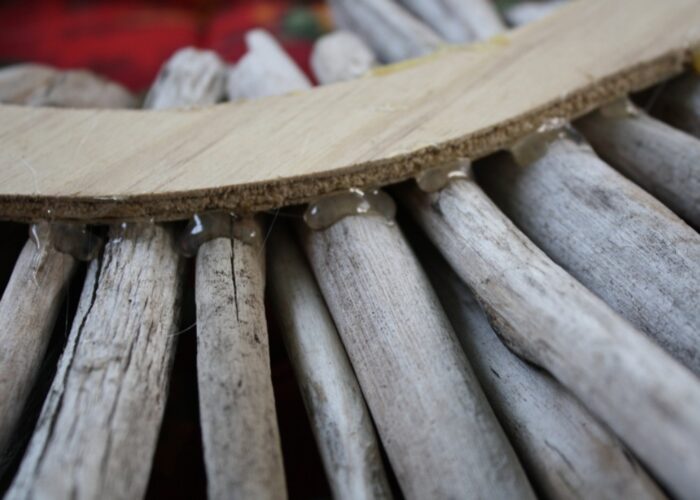
Use a hot glue gun to attach the driftwood pieces to the wreath frame. Apply a generous amount of glue to the base of each piece and press it firmly onto the frame. Hold it in place for a few seconds to ensure it adheres properly. For added stability, use floral wire to secure larger pieces of driftwood. Wrap the wire around the driftwood and the frame, twisting it tightly at the back to keep it in place.
Step 5: Layer the Driftwood
Continue attaching driftwood pieces, layering them to cover any gaps and create a full, balanced look. Overlap smaller pieces on top of larger ones to add depth and dimension to the wreath.
Step 5: Add Finishing Touches
Once all the driftwood pieces are attached and the wreath looks balanced, inspect it for any loose pieces. Secure any wobbly driftwood with additional glue or wire as needed.
Step 6: Create a Hanger
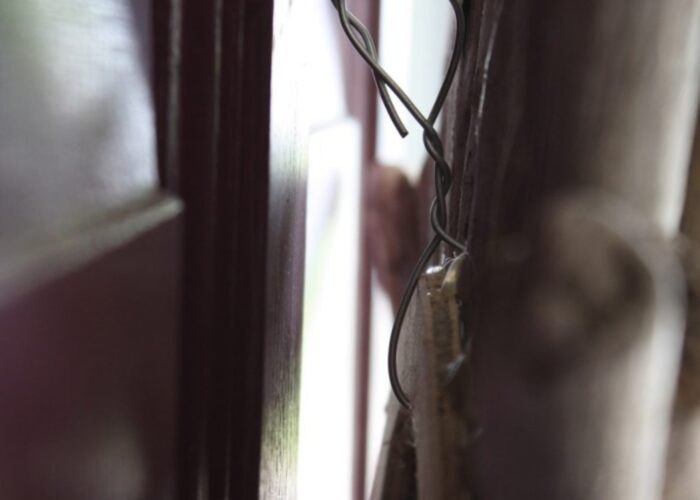
If desired, attach a piece of twine or ribbon to the top of the wreath for hanging. Loop the twine or ribbon through the wreath frame and tie it securely.
Step 7: Display Your Driftwood Wreath
Hang your completed driftwood wreath on a door, wall, or any desired location. Enjoy the natural beauty and coastal charm it brings to your space.

By following these steps, you can create a beautiful and unique driftwood wreath that adds a touch of nature and creativity to your home decor. Enjoy the process and the stunning result of your handiwork!
2. Some driftwood wreath ideas
Creating a driftwood wreath is a wonderful way to bring a touch of coastal charm and natural beauty into your home. Here are some inspiring driftwood wreath ideas to spark your creativity and help you make a unique decoration that reflects your style.
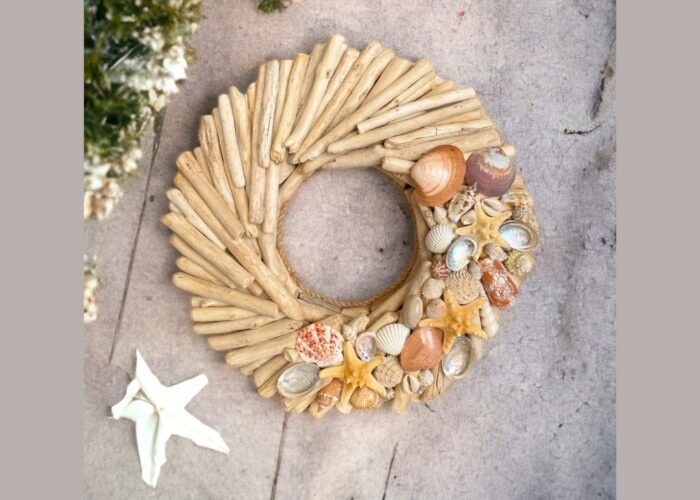
2.1 Coastal Charm Driftwood Wreath
Combine driftwood with seashells, starfish, and fishing net for a seaside feel. Glue driftwood pieces to a wire wreath frame, add sections of netting, and attach seashells and starfish. Finish with a twine or nautical rope loop for hanging.
2.2 Rustic Driftwood Wreath
Create a natural, earthy look using driftwood, burlap ribbon, and dried flowers. Glue driftwood pieces to a grapevine wreath base, attach a burlap bow, and add dried flowers or faux greenery. This rustic design is perfect for a cozy, nature-inspired touch.

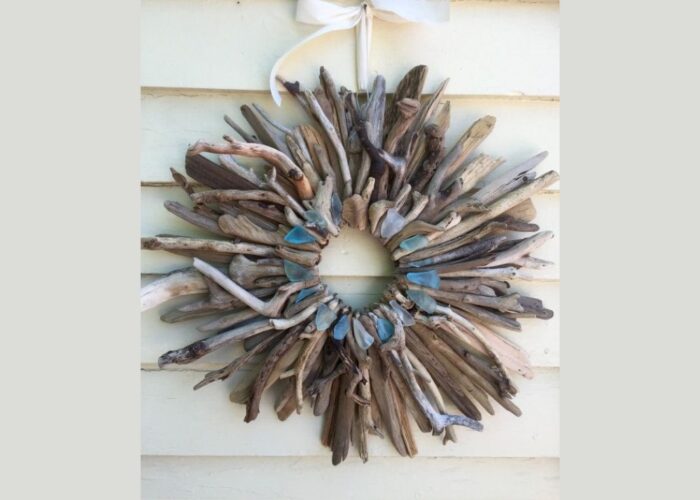
2.3 Minimalist Driftwood Wreath
Highlight the beauty of driftwood with a minimalist design. Arrange and secure long driftwood pieces around a wire wreath frame with floral wire. Add a few sprigs of eucalyptus or simple greenery to one side for a clean, elegant look.
2.4 Beach-Themed Driftwood Wreath
Incorporate fun beach elements like coral and miniature decorations. Glue driftwood pieces to a wire frame, add small pieces of coral, and attach beach-themed items such as mini anchors or lighthouses. This whimsical wreath is perfect for a coastal-themed room.

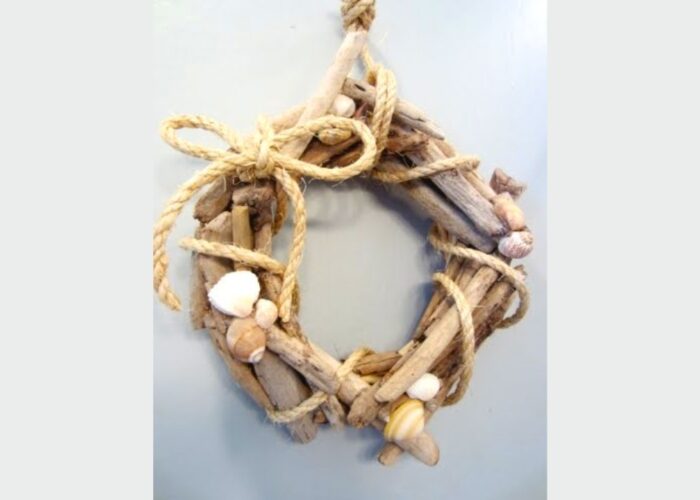
2.5 Driftwood and Rope Wreath
Combine driftwood with thick rope for a nautical touch. Cover a wire wreath frame with rope, glue on driftwood pieces, and add a decorative anchor or nautical charm. Create a hanging loop with rope for a maritime-inspired design.
These five driftwood wreath ideas offer a variety of styles, from coastal charm to rustic elegance. Each wreath brings unique natural beauty to your home, letting you enjoy the essence of the seaside indoors.
3. FAQs
3.1 What glue is best for driftwood?
For securing driftwood pieces, the best glue is a hot glue gun with high-quality hot glue sticks. Hot glue provides a quick and strong bond, ideal for the irregular shapes of driftwood. For added strength, especially with larger pieces, epoxy adhesive is also a great choice. It creates a durable, long-lasting hold but takes longer to dry. Both options are excellent, depending on your project’s needs.
3.2 Where can I find driftwood?
You can find driftwood along coastlines, riverbanks, and lakeshores where water naturally washes wood ashore. Beachcombing is a popular way to collect driftwood, especially after storms or high tides, which often bring new pieces to the shore. Local craft stores, garden centers, and online marketplaces like Etsy or Amazon also sell driftwood if you prefer to purchase it. Additionally, some specialty stores focus on natural decor and may have a selection of driftwood for your projects.
3.3 Can I paint my driftwood?
Yes, you can paint driftwood to enhance its appearance or match your decor. Before painting, make sure the driftwood is clean and dry. Use sandpaper to smooth any rough areas and remove debris. Choose a paint suitable for wood, such as acrylic or spray paint, and apply a primer if needed for better adhesion. You can create various effects, from solid colors to distressed finishes, depending on your style preference. Seal the painted driftwood with a clear varnish to protect the paint and ensure its longevity.
3.4 Should I oil my driftwood?
Oiling driftwood can be a good idea to enhance its appearance and protect it. Applying a light wood oil, like mineral oil or tung oil, can enrich the natural color and grain of the driftwood, giving it a polished look. It also helps to seal the wood, preventing it from drying out and becoming brittle. To oil driftwood, simply apply the oil with a clean cloth, let it soak in, and then wipe off any excess. Be sure to do this in a well-ventilated area and allow the driftwood to dry completely before use.
If you have any further questions, don’t hesitate to send thanhcongcraft an email us at [email protected] or message us at WhatsApp: +84967485411. Hope to serve you soon! Best regard!


