Creating a mosaic mirror is not only a fun art project but also a great way to add a unique touch to your living space. The following guide on how to make a mosaic mirror will help you understand each step of the process, from selecting the right materials to mastering mosaic tiling techniques, ensuring that even beginners can confidently complete their own artwork.
Let’s explore and turn your creative ideas into reality with a colorful and personalized mosaic mirror!
1. Steps to make a mosaic mirror frame
Making a mosaic framed mirror is a delightful and rewarding project that allows you to express your creativity while crafting a functional piece of art. Here’s a comprehensive guide to help you through the process.
Materials:
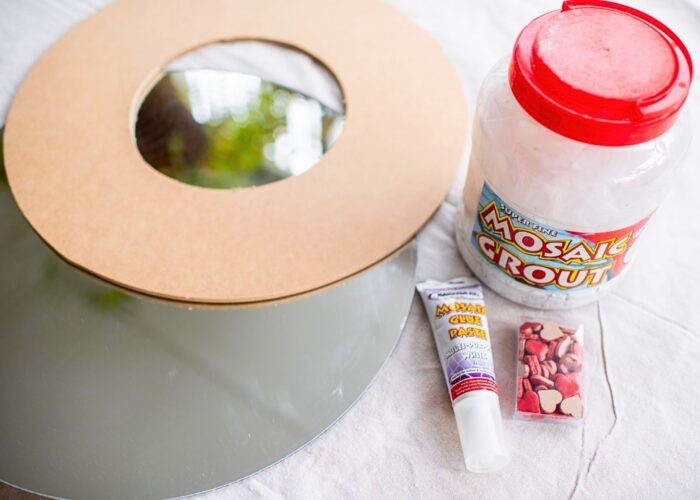
- A mirror: A plain mirror of your chosen size.
- Mosaic tiles: Assorted colors and shapes of glass, ceramic, or stone tiles.
- Tile adhesive: Strong adhesive suitable for your chosen tile materials.
- Grout: To fill the gaps between the tiles.
- Frame: A wooden or MDF frame to hold the mirror.
- Plywood: As a base for the mosaic, cut to fit the frame.
- Tile cutters: For shaping the tiles to fit your design.
- Spatula/Putty knife: To spread adhesive and grout.
- Sponge and cloth: For cleaning excess grout and adhesive.
- Pencil and ruler: For marking your design on the base.
- Protective gear: Gloves and safety glasses.
Step-by-Step:
Step 1: Design your mosaic
Start by sketching your design on a piece of paper. This will help you visualize the final product and ensure you have enough tiles. Once you are satisfied with the design, transfer it to the plywood base using a pencil and ruler.
Step 2: Prepare the base
Cut the plywood to fit within the frame. Ensure it’s slightly smaller than the frame’s inner dimensions to allow for the thickness of the tiles and grout. Attach the plywood to the frame using strong adhesive or nails
Step 3: Arrange the tiles
Lay out your tiles on the plywood according to your design. This step allows you to adjust the arrangement before permanently adhering to them. Use tile cutters to trim any pieces that need to fit specific spaces.
Step 4: Adhere the tiles
Starting from one corner, apply a thin layer of tile adhesive to a small section of the plywood using a spatula or putty knife. Press the tiles into the adhesive, following your design. Work in small sections to prevent the adhesive from drying before you place the tiles.
Allow the adhesive to set according to the manufacturer’s instructions, usually about 24 hours.

Step 5: Apply the grout
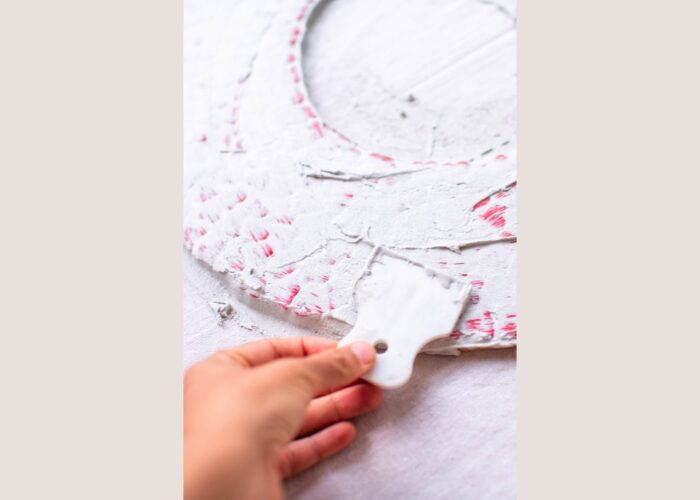
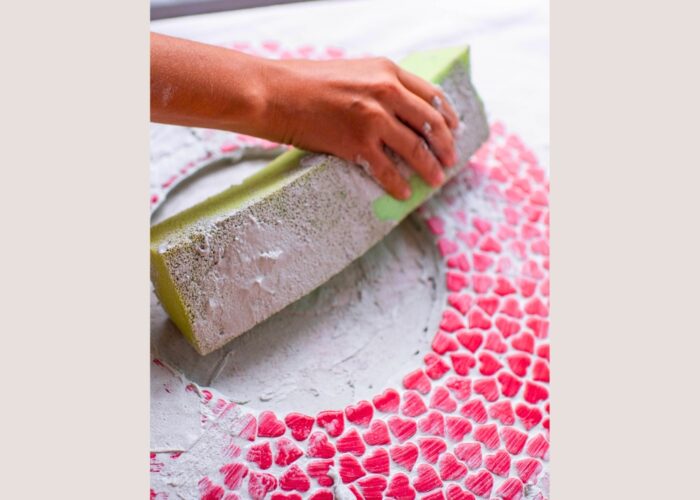
Once the adhesive is completely dry, it’s time to grout. Spread grout over the entire surface, ensuring it fills all the gaps between the tiles. Use a spatula to spread the grout evenly and push it into the spaces. Wipe off excess grout with a damp sponge before it dries on the tile surfaces.
Step 6: Clean and polish
Allow the grout to dry for about 24 hours. After it has set, clean any remaining grout haze from the tiles with a damp cloth. Polish the tiles with a dry cloth to make them shine.
Step 7: Attach the mirror
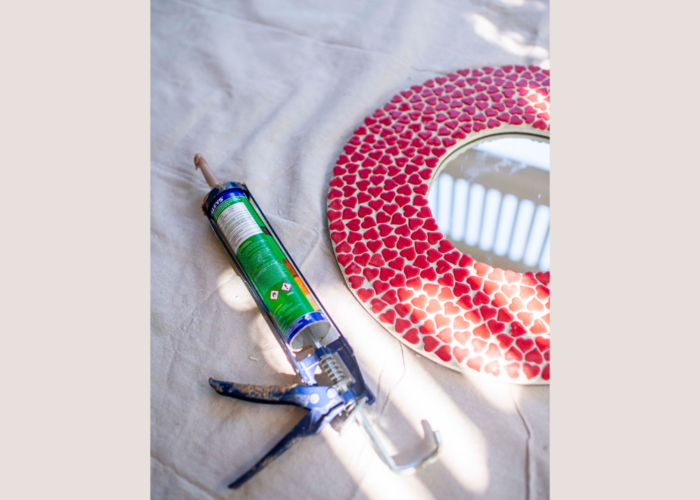
Secure the mirror inside the frame using mirror adhesive. Ensure the mirror is centered and firmly attached. Allow the adhesive to cure as per the manufacturer’s instructions.
Step 8: Finish and display
Check for any final touch-ups, such as cleaning off any remaining adhesive or grout. Your mosaic mirror frame is now complete and ready to be displayed. Hang it in your desired location and enjoy your custom-made piece of art!
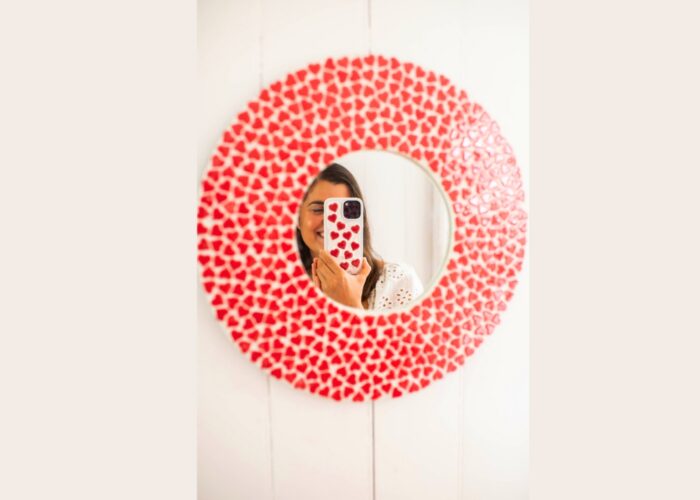
2. FAQs
2.1 Can you glue mosaic tiles to a mirror?
Yes, you can glue mosaic tiles directly onto a mirror using the right adhesive. Silicone adhesive, epoxy adhesive, and mirror adhesive are all suitable options. Silicone adhesive is clear and flexible, epoxy is extremely strong and fast-setting, while mirror adhesive is designed specifically for mirrors to avoid damage.
To attach the tiles, clean the mirror surface, plan your design, apply the adhesive to the back of each tile, and press them firmly onto the mirror. Allow the adhesive to cure fully, usually 24-48 hours, for a secure bond. Optionally, you can grout between the tiles after the adhesive has set.
2.2 What kind of tiles can I use for a mosaic mirror?
For a mosaic mirror, you can use various types of tiles, including glass, ceramic, stone, mirror, metal, porcelain, and mixed media tiles. Glass tiles are vibrant and reflective, ceramic tiles are versatile and easy to work with, and stone tiles add a natural, earthy look.
Mirror tiles enhance the reflective quality, metal tiles offer a modern, industrial feel, and porcelain tiles are durable and water-resistant. Mixed media tiles combine different materials for a unique, eclectic design. Each type brings its own aesthetic and can be chosen based on your desired style and effect.
2.3 Do I need to seal my mosaic mirror?
Yes, you may need to seal your mosaic mirror, especially if you use porous materials like unglazed ceramic or stone tiles. Sealing helps protect the tiles and grout from moisture, stains, and dirt, ensuring the longevity and durability of your mosaic mirror.
However, if you use non-porous materials like glass or glazed ceramic tiles, sealing might not be necessary. Always check the manufacturer’s recommendations for the tiles and grout you use.
2.4 How can I hang my mosaic mirror?
To hang a mosaic mirror, you will need to choose a method based on the weight of the mirror and the type of wall surface. For lighter mirrors, adhesive strips or hooks can be sufficient, especially if you’re hanging on a drywall or similar surface.
For heavier mirrors, using a wall anchor and screw is advisable to ensure it stays securely in place. If you’re attaching it to a tile wall, you might consider using a drill with a masonry bit or a diamond bit for a cleaner installation. Always ensure that the mirror is level and securely fastened to avoid any accidents.
3. Conclusion
In conclusion, making a mosaic mirror is an enjoyable and fulfilling project that not only enhances your artistic skills but also adds a personal touch to your home decor. By following the detailed steps outlined in this guide, from designing your mosaic to applying the final touches, you can craft a beautiful and unique piece that reflects your creativity.
So gather your materials, unleash your imagination, and start creating a stunning mosaic mirror that will brighten up any room in your home.
If you have any further questions, don’t hesitate to send thanhcongcraft an email us at [email protected] or message us at WhatsApp: +84967485411. Hope to serve you soon! Best regard!


