Mosaic art has been beautifying spaces for centuries, combining color and pattern to create stunning visuals. Today, the tradition continues with DIY enthusiasts crafting their own mosaic masterpieces. Starting with a simple project like a mosaic tray can be a delightful way to enter the world of mosaic art.
This guide will guide you how to make a mosaic tray DIY, ensuring that even beginners can achieve beautiful results. From selecting the right materials to the final touches, we’ll cover all the steps necessary to make your mosaic serving tray a functional piece of art.
1. How to make a mosaic tray?
Creating a diy mosaic tray is a fun and creative project that adds a personalized touch to your home decor. Here’s a step-by-step guide to help you make your own mosaic tray:
Materials Needed:
- Plain wooden or metal tray;
- Mosaic tiles (glass, ceramic, or other materials);
- Tile adhesive or glue suitable for your tray surface;
- Grout;
- Grout sealer;
- Tile nippers (for cutting tiles, if necessary);
- Safety glasses;
- Gloves;
- Sponge;
- Soft cloth;
- Pencil and ruler;
- Optional: Mosaic design pattern or template.
Step-by-Step Instructions:
Step 1: Prepare your workspace
Set up a clean, flat workspace and protect the surface with a plastic sheet or newspaper. Wear safety glasses and gloves to protect yourself while handling tiles and tools.
Step 2: Design your mosaic
Use a pencil and ruler to lightly mark your design on the tray. You can also use a pre-made mosaic design pattern or template for guidance. Plan the placement of your mosaic tiles to ensure a balanced and aesthetically pleasing design.
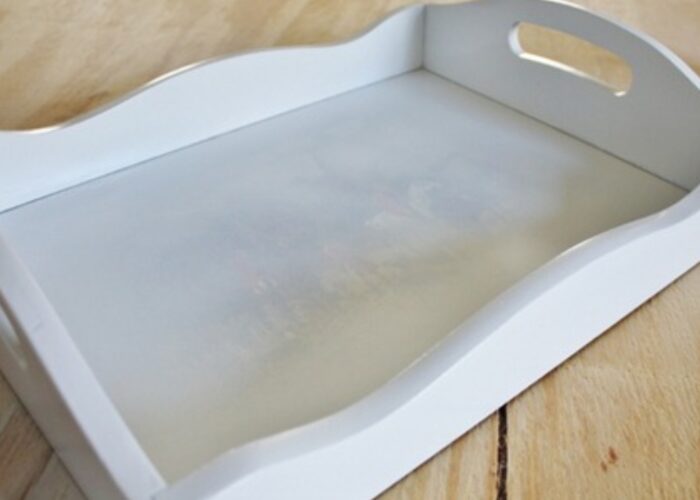
Step 3: Cut and arrange tiles
If necessary, use tile nippers to cut mosaic tiles to the desired size and shape. Arrange the tiles on the tray according to your design, ensuring they fit well together and align with your pattern.
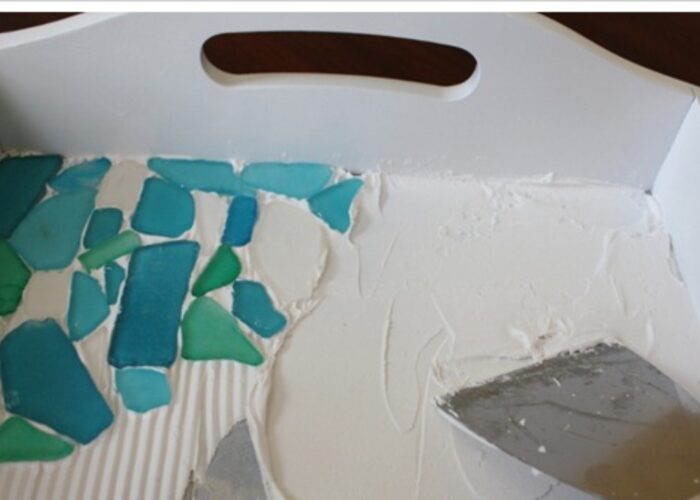
Step 4: Glue the tiles
Apply tile adhesive to the back of each tile using a small brush or spatula. Press the tiles firmly onto the tray, following your design. Leave a small gap between each tile for grouting.
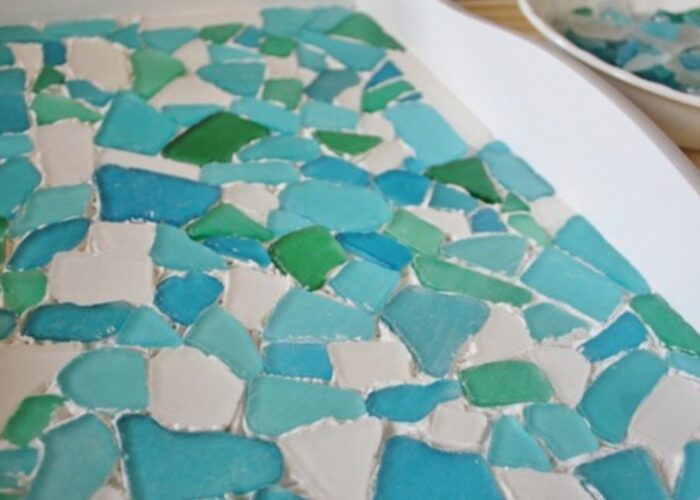
Step 5: Apply grout
Once the adhesive has dried according to the manufacturer’s instructions, mix the grout to the desired consistency. Use a spatula or gloved fingers to spread the grout over the tiles, pressing it into the gaps. Wipe off excess grout with a damp sponge before it dries completely, being careful not to disturb the tiles.
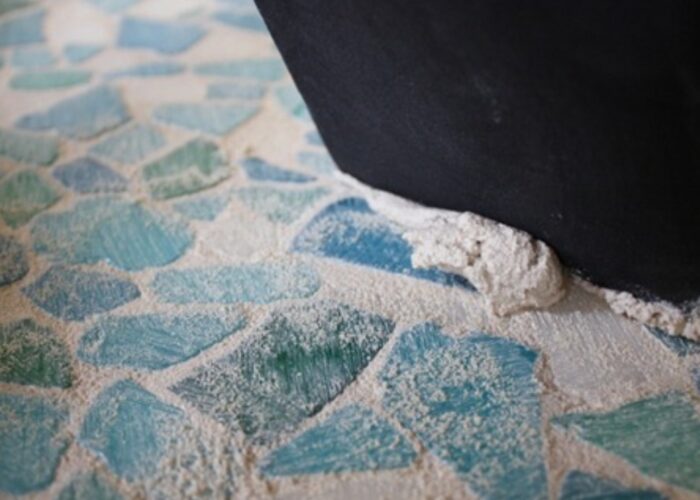
Step 6: Clean and finish
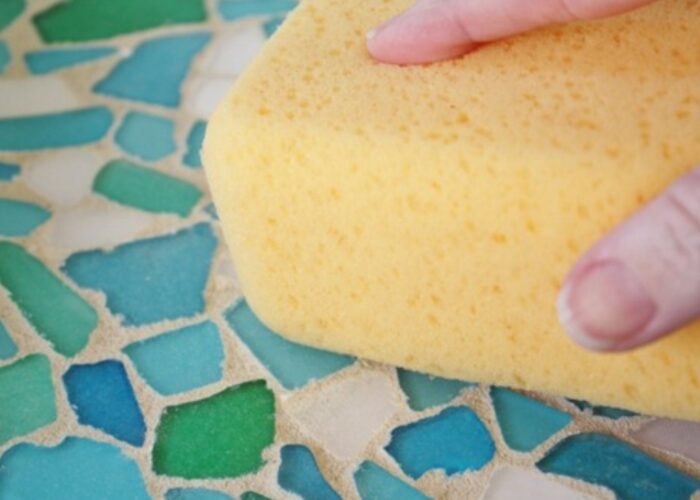
After the grout has set but is still slightly wet, use a damp sponge to clean the tiles and remove any grout haze. Allow the grout to cure completely, typically for 24 hours.
Step 7: Seal the mosaic (optional)
Apply grout sealer to protect the grout and tiles from moisture and stains. Follow the manufacturer’s instructions for application and drying time.
Step 8: Final touches
Once the sealant has dried, buff the mosaic tray with a soft cloth to enhance its shine and remove any remaining residue. Ensure the tray is fully dry and cured before using it to serve items or as a decorative piece.
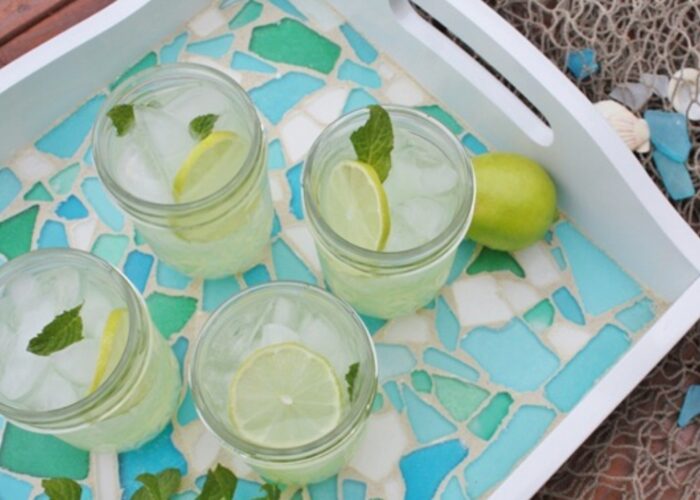
By following these steps and using your creativity, you can create a beautiful and personalized mosaic tray that showcases your artistic skills and adds a unique touch to your home. Enjoy the process and take pride in your handmade masterpiece!
2. FAQs
2.1 Can I use any type of tray for making a mosaic tray?
Yes, you can use various types of trays for making a mosaic tray. Wooden, metal, and even sturdy plastic trays can be suitable bases for mosaic work. The key is to ensure that the surface of the tray is clean, smooth, and strong enough to support the weight of the mosaic tiles and grout.
If the tray has a slippery surface, you may need to roughen it slightly with sandpaper to help the adhesive bond better. Always use a suitable adhesive for the tray material to ensure a durable and lasting mosaic tray.
2.2 Can I use broken dishes instead of mosaic tiles?
Yes, you can use broken dishes instead of mosaic tiles for your mosaic projects. Broken dishes, also known as “pique assiette,” can add a unique and eclectic look to your mosaic design. Ensure that the pieces are clean and free of sharp edges by sanding them down if necessary.
Use a strong adhesive suitable for the base material, and follow the same steps as you would for traditional mosaic tiles, including arranging the pieces, applying grout, and sealing the finished mosaic to protect it from moisture and stains. This approach allows for creative recycling and adds a personal touch to your mosaic artwork.
2.3 How can I seal the finished mosaic tray?
To seal a finished mosaic tray, select a waterproof sealant appropriate for your materials. Ensure the mosaic surface is clean and dry, then apply the sealant with a brush, making sure it penetrates the grout lines. Wipe off any excess sealant before it dries to avoid residue.
Typically, two coats are recommended, with drying time between applications. Allow the tray to fully cure for a couple of days before use.
3. Final thought
Creating a DIY mosaic serving tray is not just about crafting a functional item; it’s an opportunity to express your creativity and add a personal touch to your home décor. Through this step-by-step guide, even beginners can experience the joy of mosaic art and produce stunning results. From the initial design to the final polish, each stage of this project allows for individual flair and artistic vision.
Embrace the process, experiment with colors and patterns, and take pride in the unique piece you’ve crafted. Happy crafting!
If you have any further questions, don’t hesitate to send thanhcongcraft an email us at [email protected] or message us at WhatsApp: +84967485411. Hope to serve you soon! Best regard!


