In the world of home decoration, creating lush green spaces is often a goal that many aspire to achieve. How to make a moss ball diy for home decor is not just a question, but also the beginning of a creative journey, transforming small stones, twine, and moss into a vibrant work of art.
Through this article, you will be guided step by step to create charming moss balls/sphere, effortlessly and enjoyably, bringing a fresh breath to your living space. Have a read!
1. How to make a moss ball?
Creating a moss ball is a delightful and creative way to incorporate natural elements into your home decor. To begin, gather your materials, including:
Materials:
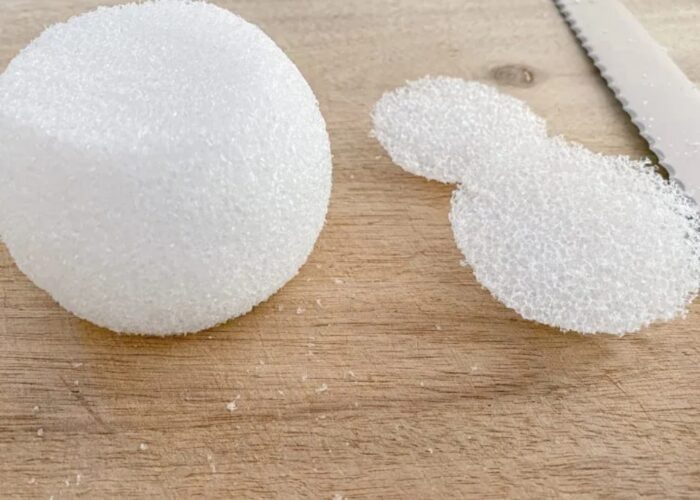
- Foam ball: Choose a foam ball as the base for your moss ball. These are readily available at craft stores and come in various sizes to suit your preferences.
- Preserved moss: Opt for preserved moss, which retains its color and texture over time. You can find preserved moss in craft stores or online.
- Sheet moss or Spanish moss: This will be used to cover the foam ball and give your moss ball a natural appearance.
- Scissors: For trimming the moss to fit the foam ball.
- Glue gun and glue sticks: You’ll need these to attach the moss to the foam ball securely.
- Optional: Decorative elements such as small rocks, twine, or faux flowers to embellish your moss ball.
Step by Step:
Step 1: Prepare the foam ball
Start by ensuring that your foam ball is clean and free of any dust or debris. This will help the moss adhere better to the surface.

Step 2: Cut the moss
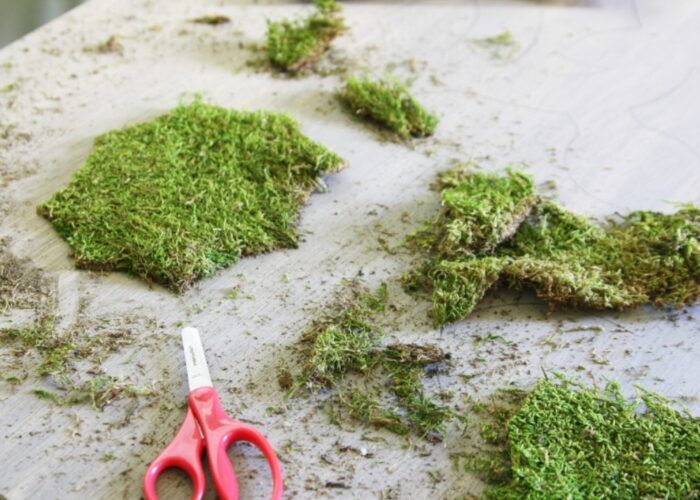
Use scissors to trim the preserved moss into smaller pieces that are manageable and easy to work with.

Step 3: Attach the moss
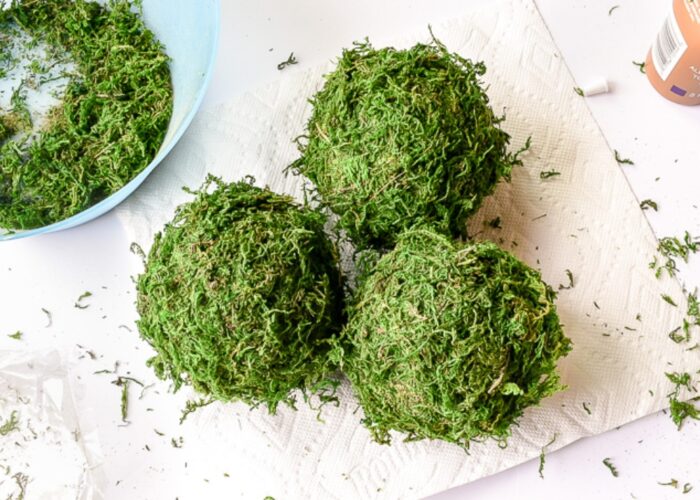
Heat up your glue gun and apply a small amount of glue to the foam ball. Press a piece of sheet moss or Spanish moss onto the glue, holding it in place until it adheres securely. Continue adding pieces of moss, slightly overlapping them to cover the entire surface of the foam ball.
If there are any gaps or areas where the foam ball is still visible, add more moss and glue to fill them in until the entire surface is covered.

Step 4: Shape and refine
Once the moss is attached, use your hands to gently shape the moss ball into a round, uniform shape. Trim any excess moss with scissors to create a neat and tidy appearance.

Step 5: Add embellishments (optional)
If desired, you can further customize your moss ball by adding decorative elements such as small rocks, twine, or faux flowers. Use the glue gun to attach these embellishments securely to the moss ball.
Step 6: Allow to dry
Let the moss ball dry completely before handling or displaying it. This will ensure that the moss and any glued-on decorations are firmly attached.
Step 7: Display your moss ball
Once dry, your moss ball is ready to be displayed! Place it in a decorative bowl, terrarium, or hang it as part of a wall display to add a touch of natural beauty to your home decor.

By following these steps, you can create your own charming moss ball to enhance your living space with a touch of greenery and natural elegance.
2. FAQs
2.1 How do you display moss balls?
Moss balls can be displayed in various creative ways to enhance your home decor. They can be showcased in a decorative bowl as a striking centerpiece, hung from the ceiling for a whimsical display, or placed in a terrarium for a charming mini ecosystem.
They can also serve as elegant table centerpieces, unique wall art pieces, or even floated in water for a serene and natural touch. No matter how you choose to display them, moss balls add a touch of nature and tranquility to any space, elevating its ambiance with their organic beauty.
2.2 How do you preserve moss balls?
Preserving moss balls is essential to maintain their vibrant appearance and extend their lifespan. To do so, store them in a dry location away from moisture and direct sunlight, as these can cause them to deteriorate. Handle moss balls gently to avoid damaging the delicate moss, and clean them periodically by brushing off any dust or debris. When not in use, store moss balls in a breathable container to prevent mold growth.
3. Final thought
In conclusion, making a diy moss ball is a simple yet elegant way to bring a touch of nature into your home decor. By carefully selecting and preparing your materials, you can craft a beautiful and unique piece that complements any interior space. The process involves thoughtful steps from preparing the foam ball and cutting the moss to securely attaching the moss and adding optional embellishments.
With a little creativity and patience, your handmade moss ball can become a charming focal point in your home. Enjoy the satisfaction of making a natural and aesthetically pleasing addition to your living environment.
If you have any further questions, don’t hesitate to send thanhcongcraft an email us at [email protected] or message us at WhatsApp: +84967485411. Hope to serve you soon! Best regard!


