Crafting a live moss bowl centerpiece is a delightful project that brings the beauty of nature into your home decor. Whether you’re hosting a special event or simply adding a touch of greenery to your space, a moss bowl centerpiece is both elegant and versatile.
In this guide, we’ll explore how to make a moss bowl centerpiece from selecting the perfect materials to assembling a visually captivating arrangement. Let’s dive into the wonderful world of moss crafting and discover how to make a moss bowl centerpiece that will impress any guest and elevate your home decor.
1. How to make a live moss bowl?
Creating a moss bowl is a great way to bring a touch of nature into your living space. It’s simple and easy to do, requiring just a few basic materials and a bit of creativity. Here’s how you can make a moss bowl at home:
Materials:
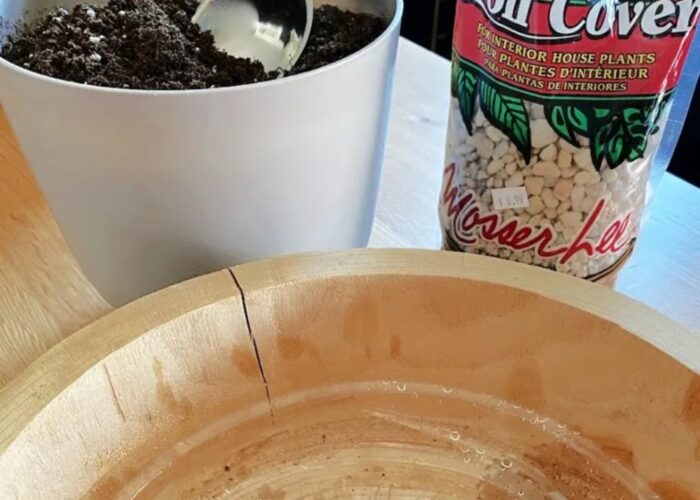
- A bowl: Choose a bowl made of glass, ceramic, or plastic, depending on your personal preference and décor style. The container should have enough depth to hold an adequate amount of moss and soil.
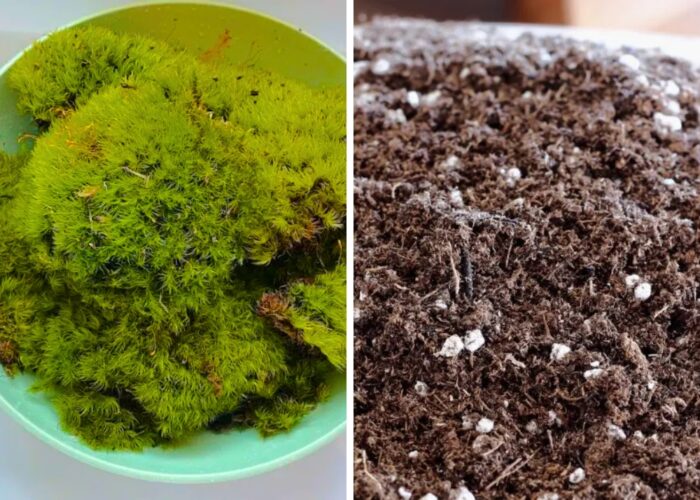
- Moss: Select a type of live moss suitable for indoor planting, such as sphagnum moss or peat moss, available at garden centers or online.
- Soil: Light, nutrient-rich soil with good drainage is the best choice for a moss bowl.
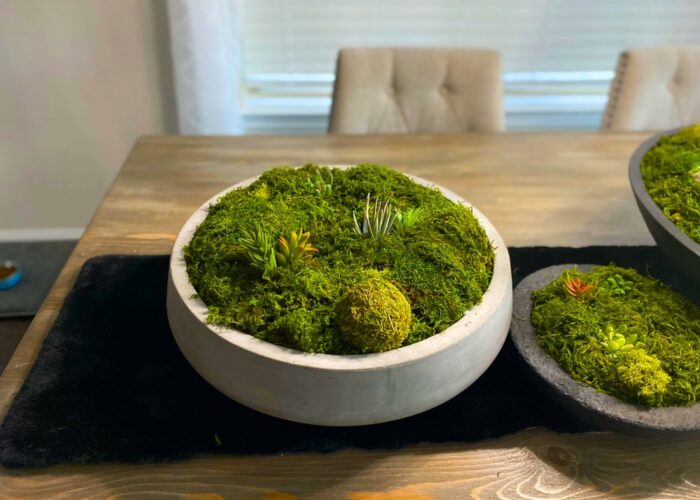
- Small Plants: Depending on personal preference, you can choose small plants such as succulents, ensuring they are suitable for the light and humidity conditions in your home.
Step-by-Step Guide:
Step 1: Prepare the bowl
Ensure the surface of the bowl is clean. If using a container with no drainage holes, place a layer of small rocks or gravel at the bottom to improve drainage.

Step 2: Prepare the moss and soil
Soak the moss in water and wring it out to remove excess water. Then, fill the bottom of the bowl with a layer of soil or substrate. The depth should be enough to anchor the moss.

Step 3: Arrange the moss
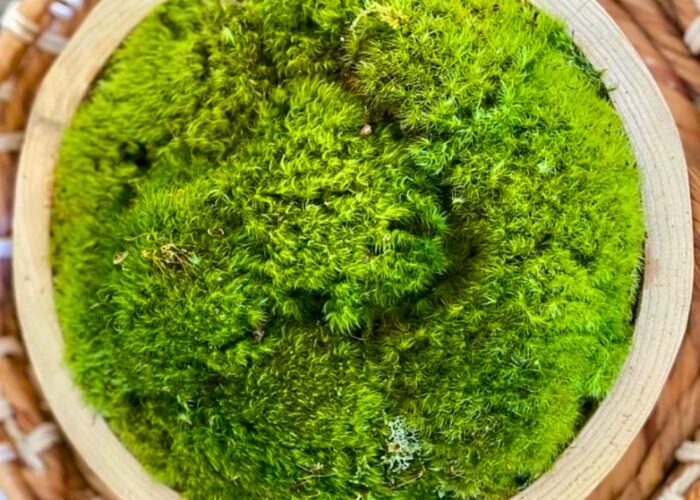
With the bowl filled with soil, begin placing the moss pieces on top of the soil surface. Spread them evenly to cover the entire area of soil inside the bowl.
As you place each piece of moss, gently press it down onto the soil. This helps the moss adhere to the soil surface and establish roots.

Step 4: Add the small plants
If you want to add plants, create a small indentation in the moss-soil mixture and place the plant into it. Use your fingers or a small tool to gently press the moss-soil mixture around the plant’s roots.

Step 5: Moisten
Use a spray bottle to lightly mist the surface of the moss and soil, ensuring they are damp but not waterlogged.
Step 6: Maintenance and care
Place the moss bowl in a location with indirect light and avoid direct sunlight. Water lightly when the moss-soil mixture becomes dry, and remember to check regularly to ensure the living environment of the plants and moss is maintained properly.
With these simple steps, you can create a beautiful and intriguing moss bowl to decorate your indoor space. Enjoy the creative and magical process of nurturing plants and moss!
2. FAQs
2.1 How long does it take for a moss bowl to mature?
The time for a moss bowl to reach full maturity can vary depending on the type of moss and growing conditions. Generally, moss starts to grow and thrive within about six weeks if planted and cared for properly. However, some moss varieties may take longer to fully develop, even up to two years.
To achieve the best results, you should select a suitable bowl, prepare a moist and shaded environment for the moss, and maintain a regular watering schedule to ensure the moss remains moist.
2.2 Can I use any type of moss for my moss bowl?
Yes, you can, but it’s important to choose carefully. Common options include sphagnum moss, peat moss, and sheet moss. Each type has its own characteristics and care needs.
For instance, sphagnum moss retains moisture well, making it ideal for maintaining a humid environment. Peat moss is also moisture-retentive and nutrient-rich, while sheet moss provides a carpet-like appearance. Consider factors such as aesthetics, moisture requirements, and maintenance level before selecting the type of moss for your bowl.
2.3 My moss bowl isn’t as green as it used to be. What’s wrong?
The green color of the moss bowl can decrease due to various factors. Typically, this can be a sign of insufficient light, inadequate watering, or unsuitable soil quality. Moss requires a moist and shaded environment to thrive best. If it is no longer as green as before, check if it’s receiving enough indirect light and appropriate watering.
The soil in the moss bowl also needs to drain well and be nutrient-rich. You can try applying a layer of iron sulfate combined with a bit of nitrogen to improve the green color and control diseases. If the issue persists, you may need to reconsider your maintenance methods or change the soil mixture to ensure that the moss can regrow vigorously.
Sometimes, adding a layer of new soil or adjusting the watering amount can help improve the moss’s condition. Don’t forget that moss can also be affected by changes in the living environment, such as temperature and humidity, so pay attention to these factors when caring for it.
2.4 Is it okay to keep my moss bowl closed?
It’s generally not recommended to keep your moss bowl completely closed, as moss requires air circulation to thrive. While moss does prefer a humid environment, it still needs access to fresh air to prevent stagnation and promote healthy growth. Keeping it closed can lead to moisture buildup, which may encourage the growth of mold or mildew and could suffocate the moss.
2.5 Do you water a moss bowl?
Moss prefers to be kept consistently moist but not waterlogged. You can water a moss bowl by lightly misting the surface of the moss and soil with a spray bottle or by gently pouring water over it.
2.6 How long do moss bowls last?
The lifespan of moss bowls can vary depending on factors such as care, environment, and the specific type of moss used. Generally, with proper care, a moss bowl can last for several months to a few years. However, it’s essential to note that moss is a living organism and may require maintenance and occasional rejuvenation to keep it healthy and vibrant.
3. Conclusion
Making a moss bowl is a rewarding way to incorporate nature into your home decor. By selecting the right materials like a suitable container, moss, soil, and small plants, and following a straightforward process of preparation and arrangement, you can craft a captivating centerpiece. Remember to maintain optimal conditions for your moss bowl by providing indirect light, periodic watering, and regular care.
If you have any further questions, don’t hesitate to send thanhcongcraft an email us at [email protected] or message us at WhatsApp: +84967485411. Hope to serve you soon! Best regard!


