Raffia bows are a charming and versatile addition to any crafting toolkit, transforming ordinary projects into standout creations with just a few simple steps. Whether you’re looking to add a personal touch to gift wrapping, enhance your home décor, or experiment with creative DIY projects, raffia bows offer endless possibilities.
This guide will guide you how to make a raffia bow, from gathering materials and mastering basic techniques to exploring innovative ideas for incorporating these bows into your everyday life. Have a read!
1. How to make a raffia bow?
Creating a raffia bow is a simple and charming way to add a natural touch to your Christmas decorations, gifts, or crafts. Here’s a step-by-step guide to making a beautiful raffia bow.
Materials:
- Raffia Strands: Natural or dyed, depending on your color preference.
- Scissors: For cutting the raffia.
- Ruler or Measuring Tape: To measure the lengths of raffia strands.
- Optional: Glue or a hot glue gun for securing the bow if needed.
Step-by-Step Guide:
Step 1: Cut raffia strands
Measure and cut several strands of raffia to the desired length. For a medium-sized bow, cut strands about 24 inches long. Adjust the length according to the size of the bow you want.

Step 2: Bundle the raffia
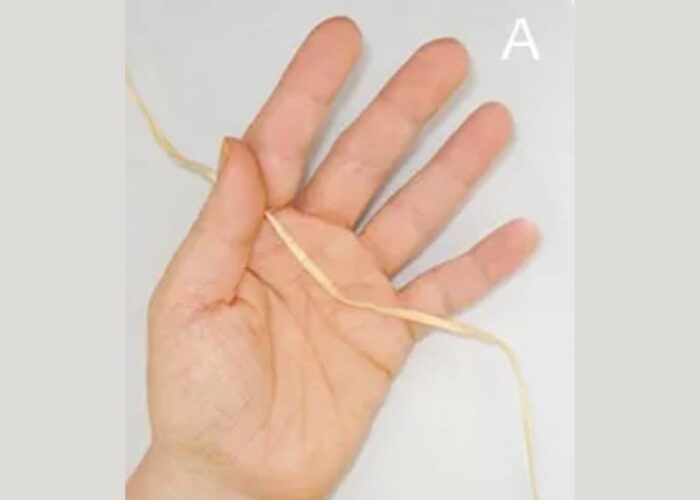
Gather the raffia strands into a bundle. The thickness of the bundle will determine the fullness of your bow. You can use more strands for a fuller bow and fewer for a simpler one.
Step 3: Create the loops
Hold the center of the raffia bundle and form loops by bending the strands back and forth. Create as many loops as you like on each side, making sure they are even in size.

Step 4: Tie the center
Take an extra piece of raffia, about 12 inches long, and wrap it tightly around the center of the bundle where you’ve been holding the loops. Tie it securely with a knot to hold the loops in place.

Step 5: Fluff and shape the bow
Spread out the loops to create a full, round bow shape. Adjust the loops and ends to make the bow look even and neat.

Step 6: Trim the ends
Trim the ends of the raffia strands to your desired length, ensuring they are even and neat. You can leave the ends straight or cut them at an angle for a different look.
Step 7: Secure the bow (optional)
If you want to attach the bow to a gift, wreath, or other item, you can use glue or a hot glue gun to secure it in place.

By following these simple steps, you can create a charming raffia bow that adds a rustic and natural touch to your projects. Whether for gift wrapping, decorating, or crafting, a raffia bow is a versatile and attractive embellishment.
2. Creative ideas for your raffia bow
2.1 Using raffia bows for gift wrapping
Raffia bows are a delightful way to elevate your gift wrapping, adding a touch of rustic charm and elegance. Whether you’re wrapping a birthday present, a holiday gift, or a special surprise, raffia bows offer a unique and eco-friendly alternative to traditional ribbons.
To create a stunning presentation, choose natural raffia in a color that complements your wrapping paper. Experiment with different bow sizes and styles to match the occasion, and consider adding a touch of greenery or a small tag for an extra personal touch.
2.2 Incorporating raffia bows in home décor
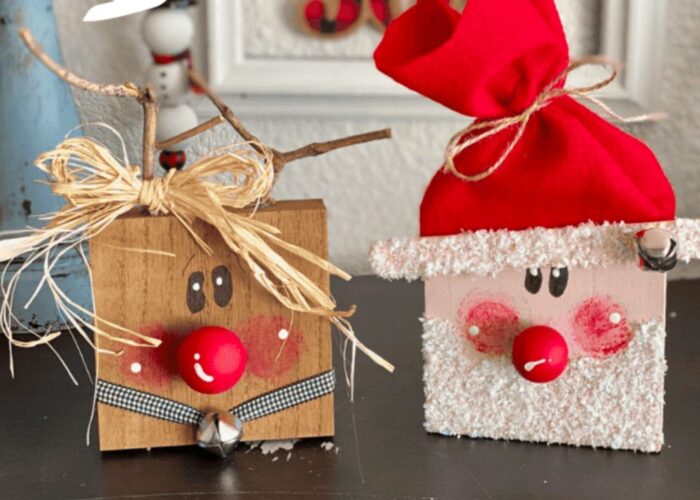
Raffia bows can be a fantastic addition to your home décor, bringing a natural and inviting element to your living space. Use them to decorate Christmas wreaths, garlands, or even lamp shades for a cozy, earthy vibe. Raffia bows also work beautifully on curtain tiebacks, adding a whimsical and textured detail to your windows.
For a seasonal touch, incorporate raffia bows into your holiday decorations, such as tree ornaments or mantel accents, to create a warm and welcoming atmosphere.
2.3. Raffia bow variations and customizations
Raffia bows come in a variety of styles and customizations, allowing you to personalize them to suit your preferences and needs. From simple, classic bows to intricate, layered designs, the possibilities are endless. You can customize the size, color, and texture of your raffia bows to match specific themes or color schemes.
For a modern twist, combine raffia with other materials like fabric or metallic accents. Whether you’re aiming for a rustic, chic, or playful look, custom raffia bows can add a unique and stylish touch to any project.
3. FAQs
3.1 Can I use any type of raffia?
Yes, you can use various types of raffia for your projects. Raffia comes in natural, dyed, and synthetic forms, allowing you to choose based on your specific needs and preferences. Natural raffia is made from palm leaves and has an organic, rustic look.
Dyed raffia offers a variety of colors for more vibrant or themed designs. Synthetic raffia, often made from plastic, is more durable and can be used for outdoor decorations. Select the type of raffia that best suits your project’s aesthetic and functional requirements.
3.2 Are there any alternative ways to tie a raffia bow?
Yes, there are several ways to tie a raffia bow for different styles. You can make a simple knot by looping and pulling the ends through. A layered bow involves stacking loops of different lengths and tying them in the center. For an elegant touch, add long tails and cut them at an angle.
A double bow, created by layering two bows, offers a fuller look. Lastly, a rosette bow, where raffia is coiled into a flower shape, adds a unique touch. Each method offers a distinct aesthetic for your project.
3.3 How can I make my raffia bow more durable?
To make your raffia bow more durable, use high-quality raffia strands and double-layer them for added strength. Secure the knots tightly and apply a small amount of clear-drying glue or hot glue to hold them in place. Seal the ends with clear nail polish or glue to prevent fraying. Additionally, minimize excessive handling to reduce wear and tear. Following these steps will help ensure your raffia bow stays sturdy and lasts longer.
4. Final thought
Incorporating raffia bows into your crafting projects can elevate their charm and functionality, making them perfect for gifts, home décor, and creative DIY endeavors. With the simple steps outlined in this guide, you can easily craft beautiful raffia bows that add a touch of natural elegance to any occasion.
Experiment with different styles, sizes, and colors to find what works best for you, and don’t be afraid to get creative. Enjoy the process and let your creativity shine with every bow you make!
If you have any further questions, don’t hesitate to send thanhcongcraft an email us at [email protected] or message us at WhatsApp: +84967485411. Hope to serve you soon! Best regard!


