Willow butterflies are a simple yet beautiful type of handmade craft, perfect for gifting or decorating your home. You can create willow butterflies on your own using easily accessible materials such as paper, glue, ribbon, and pins.
In this article, we will guide you through how to make a willow butterfly step by step in a detailed and easy-to-follow manner. Have a read!
Contents
- 1. How to make a willow butterfly?
- Step 1: Select a healthy willow branch and shape it
- Step 2: Define the wing shape
- Step 3: Secure the wings with ribbon
- Step 4: Craft the butterfly’s body
- Step 5: Attach the body to the wings
- Step 6: Form antennae
- Step 7: Attach antenna to the body
- Step 8: Final touches
- Step 9: Display your unique willow butterfly
- 2. Final thought
1. How to make a willow butterfly?
Creating a willow butterfly is a delightful and straightforward craft project. Here’s a step-by-step guide on how to make a willow butterfly:
Materials Needed:
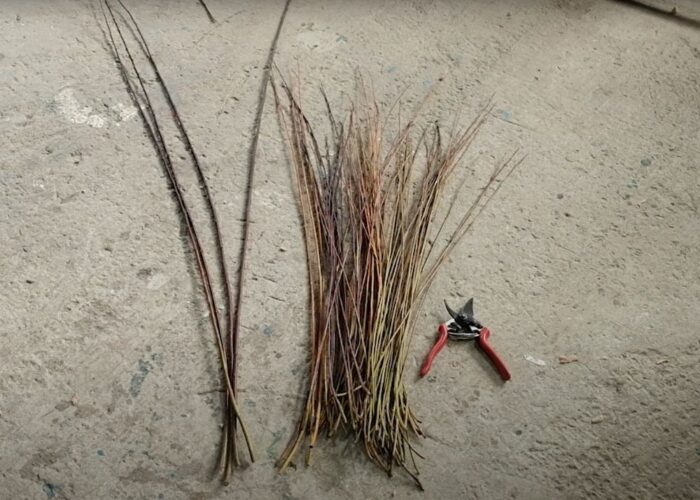
- Willow branches;
- Ribbon;
- Scissors;
- Glue.
Here are the steps:
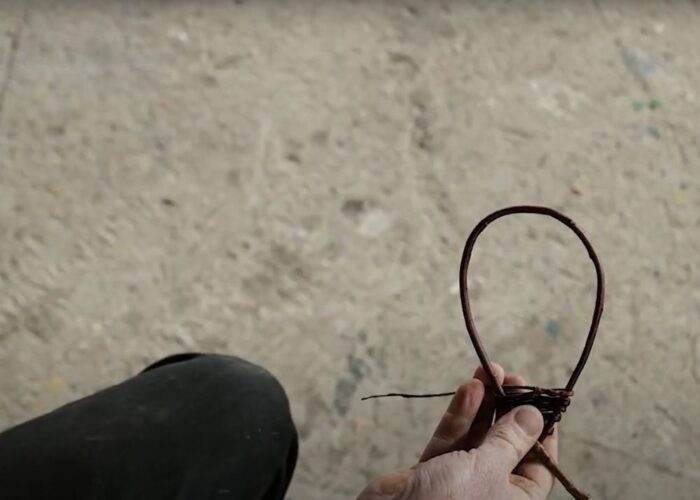
Step 1: Select a healthy willow branch and shape it
Choose a robust and flexible willow branch. Bend the branch into tear-drop shape, forming the foundation for the butterfly’s wings.

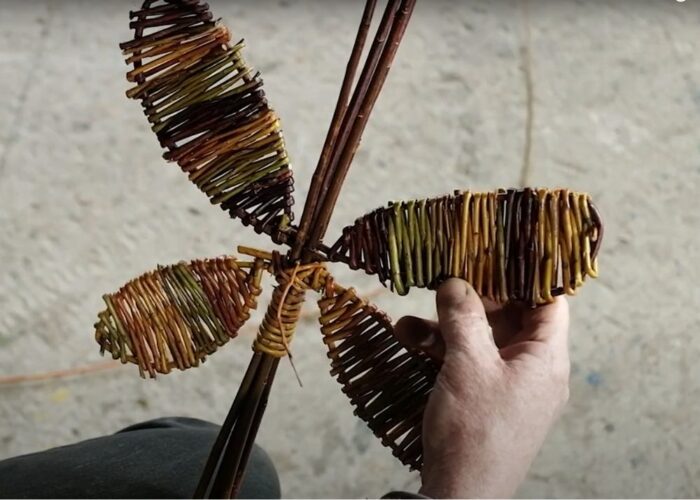
Step 2: Define the wing shape
Trim small branches and leaves from the willow, refining them to achieve the desired butterfly wing shape. Seek inspiration from online images or magazines for wing shapes.

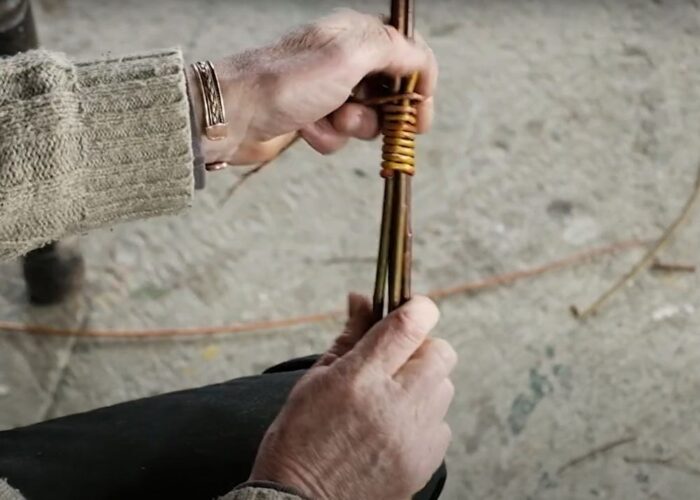
Step 3: Secure the wings with ribbon
Use ribbon to tightly bind the two ends of the willow branch together, establishing the butterfly’s body. Optionally, enhance stability by applying glue.
Step 4: Craft the butterfly’s body
Cut a 10 cm piece of ribbon and fold it in half, creating the butterfly’s body.

Step 5: Attach the body to the wings
Glue or sew the folded ribbon piece to the center of the butterfly’s wings, covering the bound section.

Step 6: Form antennae
Cut two shorter pieces of ribbon, approximately 3 cm each. Fold these pieces in half to create the butterfly’s antennae.
Step 7: Attach antenna to the body
Glue or sew the folded ends of the shorter ribbons to each end of the ribbon representing the butterfly’s body.
Step 8: Final touches
Adjust the wings and antennae to achieve the desired look. Allow the glue to dry completely before handling your willow butterfly.
Step 9: Display your unique willow butterfly
Hang the finished willow butterfly on a wall, window, or any space of your choice. Feel free to experiment with different ribbons for added creativity.
Creating a willow butterfly is a simple and enjoyable craft. We hope you find joy in the process and appreciate the charming results!
2. Final thought
In conclusion, crafting willow butterflies offers a wonderful opportunity to express creativity while creating beautiful decorations for the home or thoughtful gifts for loved ones. With just a few simple materials and easy-to-follow steps, anyone can enjoy the process of shaping willow branches into delicate winged creatures.
We encourage you to embark on this delightful crafting journey and explore the endless possibilities for creating unique willow butterflies. Happy crafting!
If you have any further questions, don’t hesitate to send us an email us at [email protected] or message us at WhatsApp: +84967485411. Hope to serve you soon! Best regard!


