As the holiday season approaches, there’s a certain magic in the air, and what better way to embrace it than by bringing nature indoors with a handmade Willow Christmas tree? With its rustic charm and graceful branches, a willow tree crafted for the festivities adds a unique touch to your home decor.
In this guide, we’ll walk you through the “how to make a willow Christmas tree” instruction to help you create your own enchanting willow tree, bringing the beauty of the outdoors into your holiday celebrations.
1. How to make a willow christmas tree?
Creating a Christmas tree from willow branches is a unique and charming DIY project that can infuse your holiday decor with a touch of natural elegance. Here’s a step-by-step guide on how to make a willow Christmas tree:
Materials Needed:
- Willow branches (fresh or dried);
- Pruning shears or scissors;
- Craft wire or twine;
- Base for the tree (pot, vase, or any stable container);
- Decorative elements (optional): ornaments, lights, ribbons, etc.
Step 1: Gather willow branches
Collect willow branches of varying lengths, ensuring you have enough to create the layers of your Christmas tree.
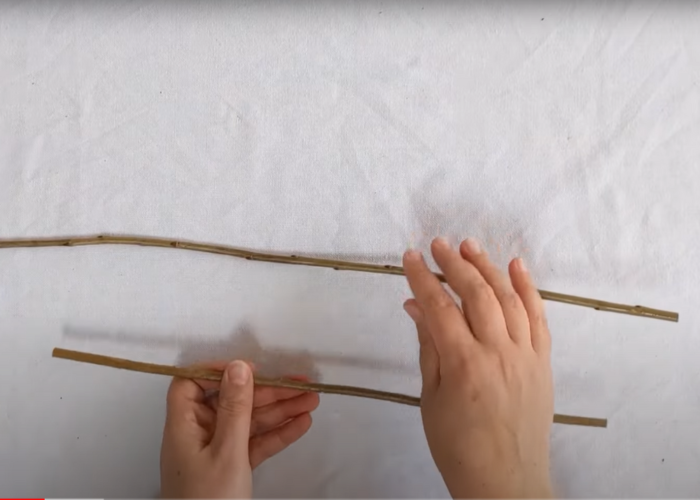
Step 2: Trim the willow branches
Using pruning shears or scissors, trim the branches to different lengths, with the longest ones at the bottom and gradually shorter ones toward the top.

Step 3: Shape the tree
Starting with the longest branches, arrange them in a cone shape, creating the base layer of your willow Christmas tree. Secure the branches together using craft wire or twine.
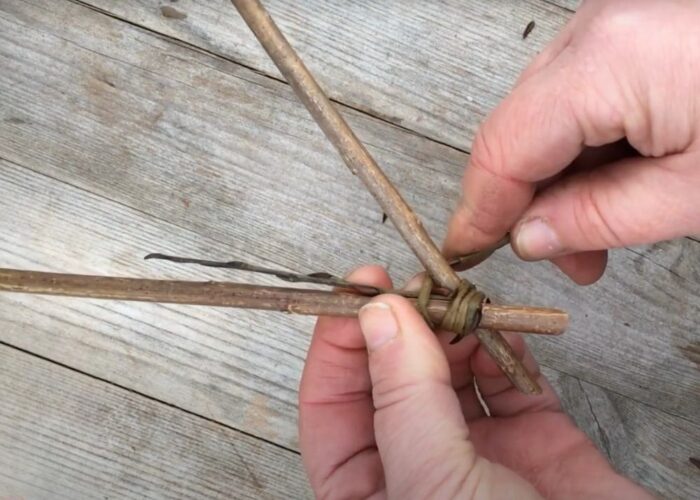
Step 4: Add subsequent layers
Continue adding layers of branches, making each layer slightly shorter than the one beneath it. Secure each layer with wire or twine, gradually forming the shape of a Christmas tree.
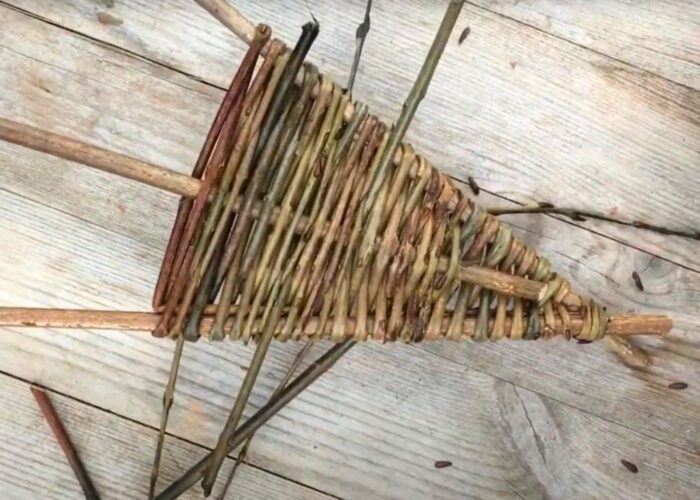
Step 5: Secure the tree in a base
Place the willow tree in a stable base, such as a pot or vase, to ensure it stands upright. You can fill the base with rocks, sand, or other materials to add weight and stability.
Step 6: Decorate (Optional)
If desired, add festive decorations to your willow Christmas tree. Hang ornaments, string lights, or wrap ribbons around the branches to enhance its holiday charm.
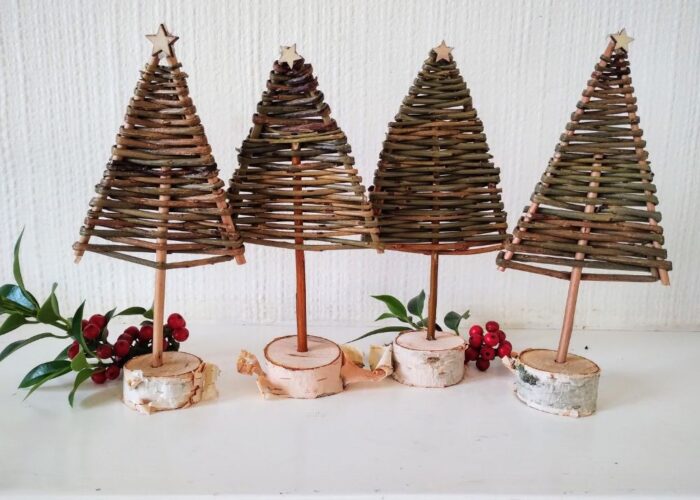
Step 7: Display and enjoy
Place your finished willow Christmas tree in a prominent location in your home. Admire the unique, rustic beauty it brings to your holiday decor.
This step-by-step guide allows you to create a one-of-a-kind Christmas tree using willow branches, adding a touch of nature and creativity to your festive celebrations. Enjoy the process and the beauty of your handmade willow Christmas tree!
2. FAQs
2.1 Where to buy willow for weaving?
If you want to buy willow for weaving, you can search for stores or websites that specialize in selling various types of branches and flowers. You can also look for online suppliers or those near your location. Some notes when purchasing willow include choosing a type that suits the size, shape, and color of the product you want to weave.
Additionally, check the quality of the willow, looking for any cracks, breaks, or mold. It’s advisable to buy willow while it is still fresh and flexible, making it easier to bend and weave.
2.2 Why do you soak willow? How long to soak willow?
Soaking willow before using it in crafting or weaving is a crucial step that serves multiple purposes. Primarily, soaking enhances the flexibility of willow branches, making them more pliable and easier to work with during the crafting process.
The soaking time depends on the thickness of the willow branches and the water temperature. A general guideline is to soak willow in warm water for 12 to 24 hours, or in cold water for 3 to 5 days. After soaking, the willow should be allowed to drain and can be used within a week.
2.3 Can you weave with fresh willow?
Yes, you can weave with fresh willow. Fresh willow is a flexible and durable material, suitable for various weaving projects such as baskets, picture frames, or decorations.
To weave with fresh willow, you need to select soft and not overly thick branches, clean them, and soak them in water to make them more pliable. After that, you can use basic weaving techniques like twisting, braiding, or twining to create desired shapes.
3. Conclusion
And there you have it! Your very own Willow Christmas tree ready to rock the holiday vibes! Now, picture this: twinkling lights wrapped around its rustic branches, maybe a few homemade ornaments dangling here and there.
So, as you kick back with your hot cocoa and admire your handiwork, remember the fun you had putting it all together. Cheers to a season filled with cozy vibes, good company, and the joy of DIY magic!
If you have any further questions, don’t hesitate to send thanhcongcraft an email us at [email protected] or message us at WhatsApp: +84967485411. Hope to serve you soon! Best regard!


