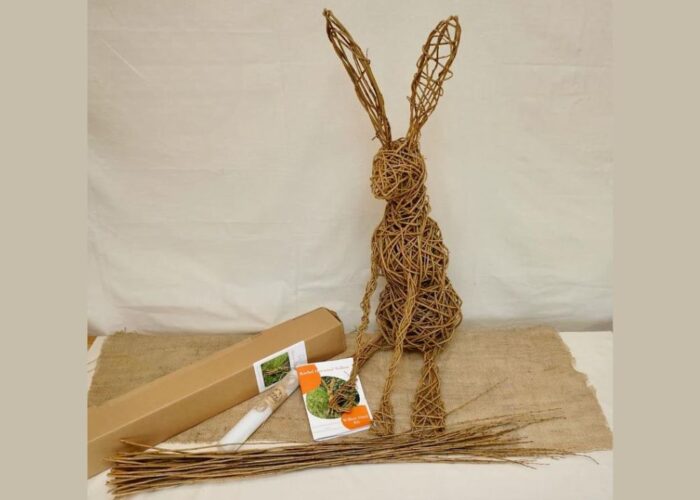
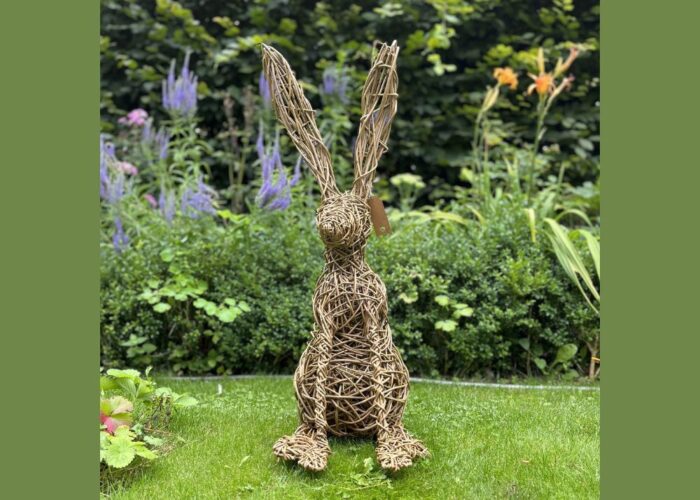
If you love sculpture art and want to create adorable willow bunnies, you can refer to this article. We will guide you on how to make a willow hare animal sculptures step by step. You just need to prepare some tools such as scissors, steel wire, duct tape, newspaper, glue, and willow branches.
The article will present each step in detail so that you can easily and quickly follow along. Have a read!
1. How to make a willow hare?
Making a willow hare sculpture is a creative and enjoyable craft. Here’s the materials and basic guide to help you create your own willow hare:
Materials Needed:
- Dried willow branches;
- Pruning shears or scissors;
- Binding wire or twine;
- Willow or grapevine wreath (optional);
- Rabbit template for reference.

Step-by-Step Instructions:
Step 1: Gather willow branches
Collect dried willow branches. Look for flexible branches that are easy to bend without breaking. Soak the branches in water for a few hours if they are too dry and brittle.
Step 2: Create the body
Choose a long, sturdy willow branch as the main body of the hare. Bend the top of the branch to form the head, leaving enough length for the body and tail. Secure the head by tightly binding it with binding wire.
Step 3: Form the legs
Select four shorter willow branches for the legs. Attach two branches near the bottom of the body for the hind legs and two higher up for the front legs. Secure the legs by tightly binding them to the main body.
Step 4: Shape the ears
Choose two smaller, flexible branches for the ears. Attach them to the head, bending them into a suitable ear shape. Secure the ears with binding wire.

Step 5: Tail and details
Use a small, flexible willow branch for the tail. Attach it to the back of the hare’s body and shape it as desired. Add any additional details or features based on your creativity.
Step 6: Secure joints
Ensure all joints are tightly secured with binding wire to prevent the hare from falling apart.
Step 7: Optional wreath base
If you want a stable base for your willow hare, consider using a willow or grapevine wreath as a foundation. Attach the hare securely to the wreath with binding wire.
Step 8: Refine and decorate
Trim any excess branches or adjust the shape to achieve the desired look. You can add decorative elements like eyes, nose, or use other materials for embellishments.
Remember to let your creativity guide you and adapt the steps based on your preferences. Enjoy crafting your willow hare!
2. FAQs
2.1 How long do willow sculptures last?
The longevity of willow sculptures depends on various factors, including the type of willow used, environmental conditions, and how well the sculpture is maintained. In general, well-constructed willow sculptures made from durable varieties of willow and properly cared for can last for several years. However, exposure to harsh weather conditions such as heavy rain, strong winds, or prolonged sunlight can accelerate the deterioration process.
To extend the lifespan of willow sculptures, consider applying a protective sealant, storing them indoors during extreme weather, and periodically checking for any signs of damage or wear. Regular maintenance, such as reinforcing weak joints or replacing damaged sections, can also contribute to the longevity of the sculpture.
2.2 How do you preserve willow sculptures?
To preserve the willow sculptures, consider applying a sealant or wood preservative to shield them from moisture. Avoid exposing sculptures to harsh weather conditions by placing them in sheltered locations or bringing them indoors during extreme weather.
Regular maintenance, including reinforcing weak joints and promptly addressing signs of wear, is crucial. Applying a weather-resistant coating and storing sculptures indoors during winter can provide additional protection. Regular cleaning with a soft brush or cloth ensures removal of dust and debris.
2.3 How do you dry willow for weaving?
To dry willow for weaving, start by selecting fresh, undamaged branches, and removing leaves and small twigs. Place these branches on a dry, well-ventilated surface, avoiding direct sunlight. Cover them with a large cloth to shield from dust.
Allow the willow to air dry naturally for 2 to 4 weeks, depending on air humidity. Regularly check and rotate the branches for uniform drying. Once completely dry, the willow becomes suitable for weaving into various items like baskets or decorative pieces. Before weaving, soak the willow in warm water for 15 to 20 minutes to enhance its pliability and ease of bending.
This process ensures the willow is ready for crafting durable and beautiful woven creations.
3. Final thought
In conclusion, crafting willow hare sculptures offers a delightful opportunity for creativity and expression. With readily available materials and simple step-by-step instructions, you can make these adorable creatures to decorate your garden.
So, gather your tools, let your imagination run wild, and embark on the journey of crafting your own whimsical willow hare sculptures.
For any further questions, don’t hesitate to send us an email us at [email protected] or message us at WhatsApp: +84967485411. Best regard!


