The willow lampshade is a unique and elegant lighting accessory crafted from willow materials. Known for its natural and organic appeal, the lampshade features a delicate and intricate design, showcasing the beauty of willow branches or strands carefully woven or arranged to create a stylish and charming piece.
In this article, we will guide you on how to make a willow lampshade with just a few basic materials and tools. Let’s explore!
Contents
- 1. Steps to make a willow lampshade
- Step 1: Material selection and preparation
- Step 2: Design planning
- Step 3: Construct the frame
- Step 4: Harvesting and shaping willow strands
- Step 5: Weaving the willow
- Step 6: Secure and trim
- Step 7: Drying
- Step 8: Finishing touches
- Step 9: Assembling the lamp
- Step 10: Enjoy your handcrafted willow lampshade
1. Steps to make a willow lampshade
Creating a willow lampshade involves a series of steps that combine craftsmanship and artistic flair. Here is a guide on the steps to make a willow lampshade:
Materials Needed:
- Willow branches or strands;
- Lampshade frame or wire;
- Pruning shears;
- Soaking container;
- Sketch or design plan;
- Scissors;
- Clear sealant or lacquer;
- Lamp fixture.
Step by step:
Step 1: Material selection and preparation
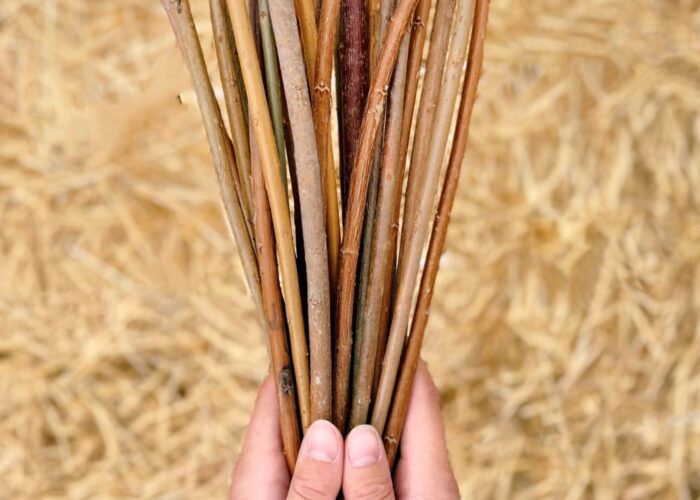
Begin by selecting flexible and sturdy willow branches. Soak the branches in water for several hours to increase their pliability. Ensure the branches are clean and free from any debris.
Step 2: Design planning
Sketch or plan the design of your willow lampshade. Consider the shape, size, and pattern you want to achieve. This step is crucial for visualizing the final product.
Step 3: Construct the frame
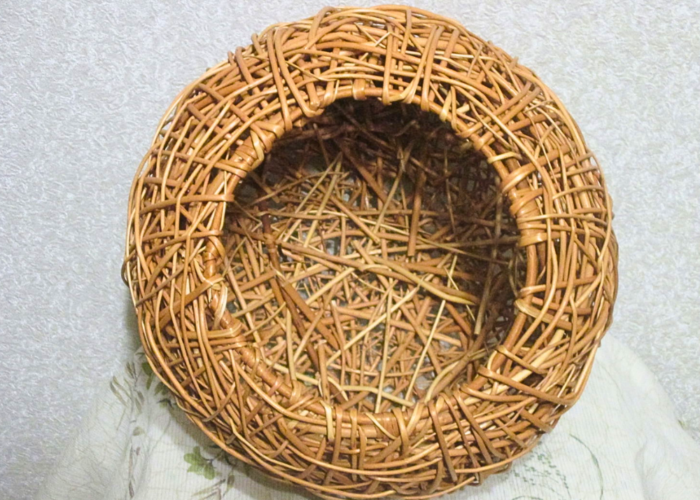
Create a frame for your lampshade using wire or an existing lampshade frame. The frame will serve as the foundation for attaching the willow strands. Ensure it is the appropriate size and shape according to your design plan.
Step 4: Harvesting and shaping willow strands
Trim the willow branches to the desired length using pruning shears. While the branches are still pliable from soaking, gently bend and shape them to match your design. This step requires patience and attention to detail.
Step 5: Weaving the willow
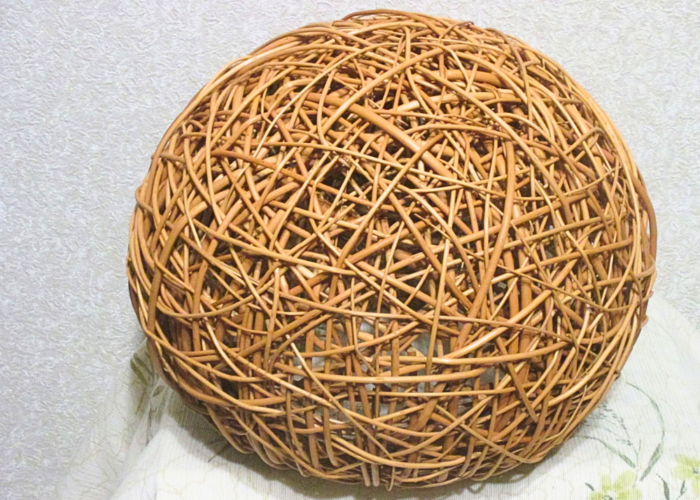
Start weaving the willow strands onto the frame. Begin at the top or bottom and work your way around, maintaining a tight weave. Experiment with different weaving techniques to create texture and visual interest.
Step 6: Secure and trim
Secure the ends of each strand onto the frame to prevent unraveling. Trim any excess willow strands, ensuring a neat and uniform appearance.
Step 7: Drying
Allow the completed lampshade to air-dry thoroughly. Ensure proper ventilation during the drying process. This step is essential for the willow to maintain its shape.
Step 8: Finishing touches
Once dry, make any final adjustments to the shape and structure of the lampshade. Apply a clear sealant or lacquer to enhance the appearance and protect the willow from damage.
Step 9: Assembling the lamp
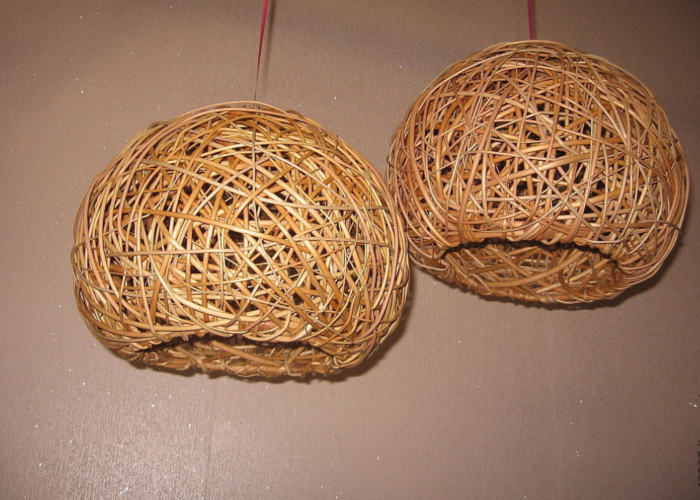
Assemble the willow lamp shade onto the lamp fixture, ensuring a secure fit and proper alignment. Follow any specific instructions provided with the lamp fixture.
Step 10: Enjoy your handcrafted willow lampshade
Place the lamp in your desired location and enjoy the warm, natural glow it provides. Admire the handcrafted beauty of your willow lampshade as it adds a touch of nature to your space.
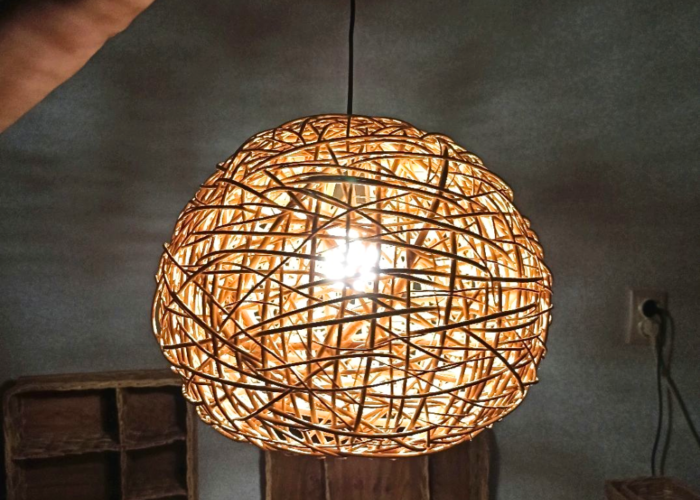
Remember to take your time with each step and enjoy the creative process of making your unique willow lampshade.
If you have any further questions, don’t hesitate to send thanhcongcraft an email us at [email protected] or message us at WhatsApp: +84967485411. Hope to serve you soon! Best regard!


