Creating beautiful and unique home décor can be both enjoyable and fulfilling, especially when using versatile materials like yarn. If you’re looking to add a cozy and handmade touch to your space, learning how to make a yarn wreath is an excellent project to start with. This delightful craft not only allows you to explore your creativity but also results in a charming wreath that can be customized for any season or occasion.
In this guide, we’ll walk you through the process of making your own yarn wreath, from selecting the perfect yarn to adding those final, decorative touches. Have a read!
1. How to make a yarn wreath?
Crafting a yarn wreath is a delightful and creative project that can add a warm and personal touch to your home décor. Here’s a step-by-step guide to help you create your own beautiful yarn wreath.
Materials:
- Foam wreath form (available in various sizes and shapes).
- Yarn (choose colors and textures based on your preference).
- Scissors.
- Hot glue gun and glue sticks.
- Decorative elements (e.g., artificial flowers, felt shapes, ribbons, beads).
Step by Step:
Step 1: Prepare your materials
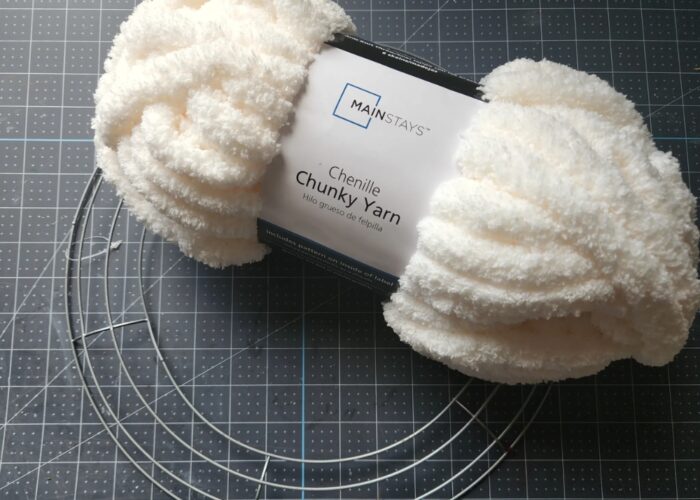
Choose the color scheme and type of yarn you want to use for your wreath. You can use a single color or multiple colors for a more dynamic look. Ensure your foam wreath form is clean and free of any debris.
Step 2: Wrap the yarn around the wreath form
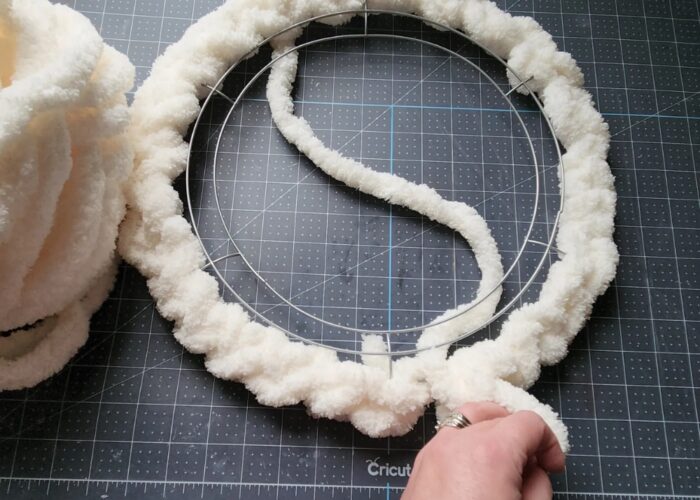
Start by attaching the end of the yarn to the back of the wreath form with a dab of hot glue. Allow it to cool and set before you start wrapping. Begin wrapping the yarn around the wreath form tightly and evenly. Make sure there are no gaps between the wraps, and periodically push the yarn together to keep it snug.
Continue wrapping until the entire wreath form is covered. If you’re using multiple colors, you can switch yarns by tying the new color to the end of the previous one and hiding the knot beneath the wraps.
Step 3: Secure the end of the yarn
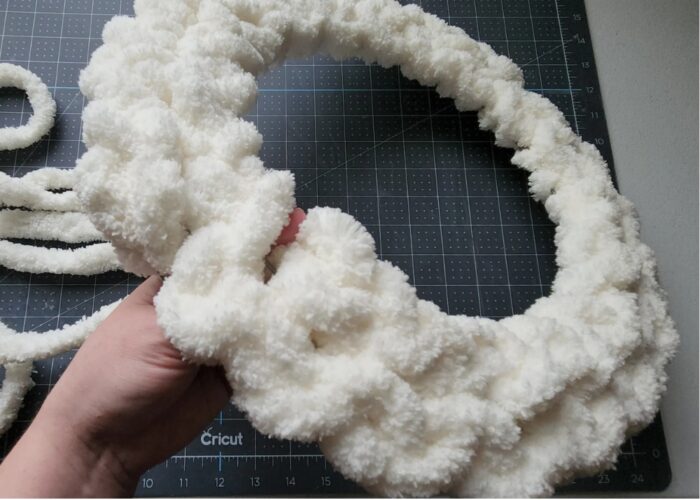
Once the entire form is covered, cut the yarn, leaving a small tail. Secure this tail to the back of the wreath form with hot glue, pressing it firmly until the glue sets.
Step 4: Add decorative elements
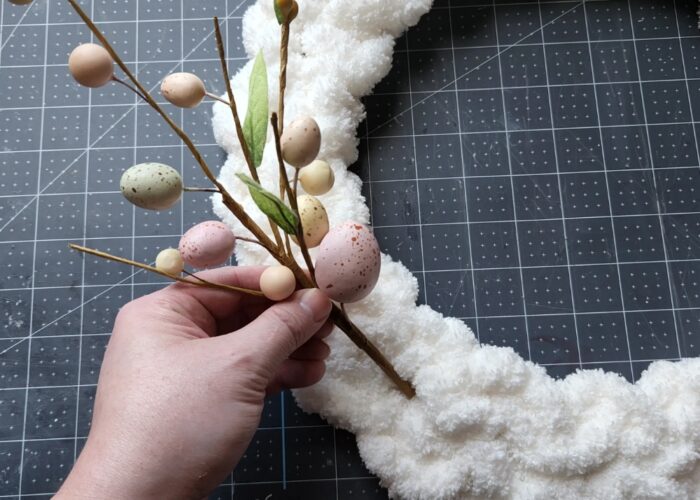
Now it’s time to personalize your wreath. Use hot glue to attach decorative elements like artificial flowers, felt shapes, or ribbons. Arrange these elements in a way that balances the overall look of the wreath. For a seasonal touch, you can add themed decorations such as snowflakes for winter, flowers for spring, or seashells for summer.
Step 5: Create a hanging loop
To hang your wreath, cut a piece of yarn or ribbon and form a loop. Attach this loop to the back of the wreath using hot glue. Make sure it’s secure and centered so the wreath hangs evenly.
Step 6: Adjust and display your wreath
Take a moment to fluff and adjust any decorations to ensure everything is positioned perfectly. Trim any excess yarn or stray glue strings for a neat finish. Your yarn wreath is now ready to be displayed. Hang it on your front door, above a mantel, or anywhere in your home where you want to add a touch of handmade charm.
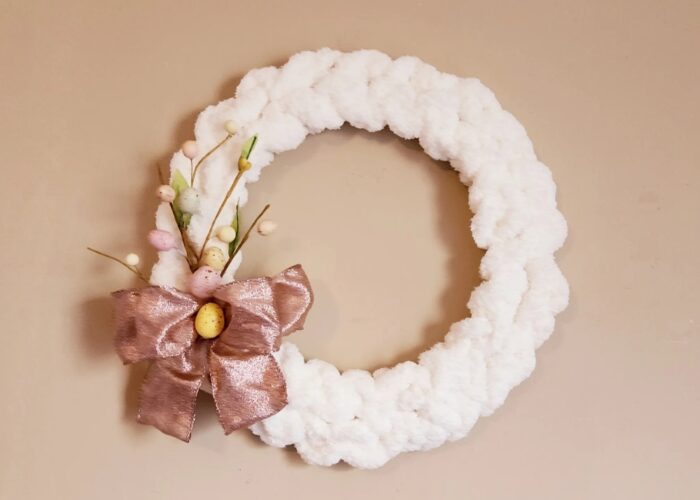
By following these steps, you can create a beautiful yarn wreath that reflects your personal style and adds a welcoming touch to your home décor. This project is not only easy and fun but also allows for endless customization to match any season or occasion.
2. 06 creative yarn wreath ideas
Yarn wreaths are a versatile and cozy way to add handmade charm to your home décor. Here are some creative ideas for different types of yarn wreaths you can make for various occasions and themes.
2.1 Chunky yarn wreath
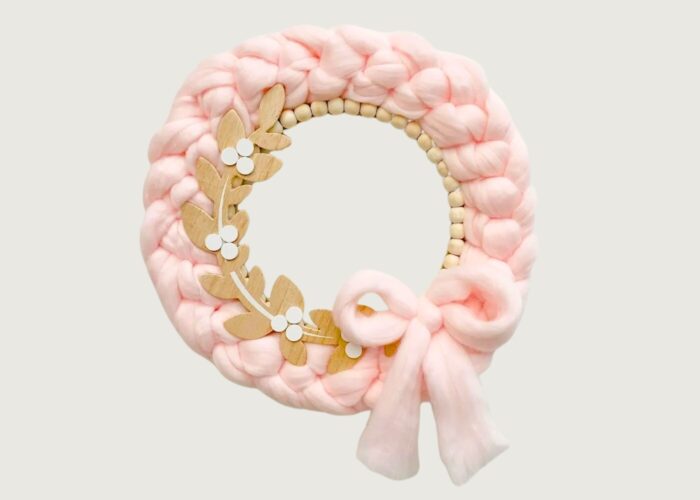
A Chunky Yarn Wreath is perfect for creating a warm and inviting look. Use thick, chunky yarn to wrap around a foam wreath form. The texture of the chunky yarn gives the wreath a plush and cozy appearance. This type of wreath is especially suited for winter décor. Add embellishments like a large burlap bow or faux pinecones to enhance the rustic, homey feel.
2.2 Pom pom wreath
Make or buy pom poms in various colors and sizes. Attach these pom poms to the wreath form using hot glue, covering the entire form for a fluffy, vibrant look. This type of wreath is great for kids’ rooms, parties, or festive occasions. For a holiday touch, use red, green, and white pom poms for Christmas or pastel colors for Easter.

2.3 Yarn ball wreath
To make this wreath, create several small yarn balls by wrapping yarn around styrofoam balls or just winding it tightly into a ball shape. Attach these yarn balls to the form using hot glue, arranging them closely together to cover the form. This wreath has a fun, crafty look and can be customized to match any color scheme.

2.4 Valentine’s yarn wreath
Use red, pink, and white yarn to wrap the wreath form. Add decorations such as felt hearts, lace ribbons, and small love notes. You can also incorporate artificial roses or a “Be Mine” sign. This wreath makes a charming decoration for your front door or an indoor display during Valentine’s Day.

2.5 Mickey mouse yarn wreath
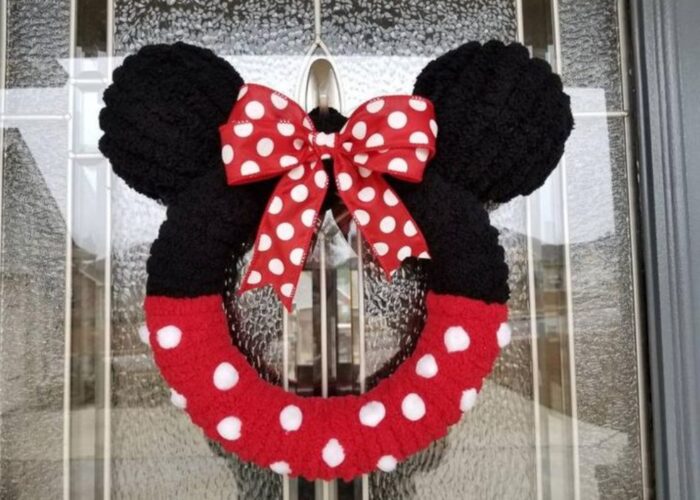
To create this wreath, you need one large foam wreath form for the head and two smaller ones for the ears. Wrap each form with black yarn and then attach the ear forms to the head form using hot glue or wire. You can add a red bow for a minnie mouse look or keep it simple with just the black yarn for Mickey. This wreath is great for a child’s room or a Disney-themed party.
2.6 Yarn pumpkin wreath
Create a pumpkin shape by adding green yarn leaves and a brown yarn stem. You can embellish the wreath with additional fall decorations such as mini pumpkins, acorns, and autumn leaves. This wreath is a wonderful way to bring seasonal warmth to your home.

Each of these yarn wreath ideas offers a unique way to use yarn to create beautiful and personalized decorations. Whether you’re celebrating a holiday, a special occasion, or just want to add a touch of handmade charm to your home, there are some ideas that’s perfect for you.
3. FAQs
3.1 What can I use as a base for my yarn wreath if I don’t have a wreath form?
If you don’t have a wreath form, there are several creative alternatives you can use as a base for your wreath like wire hangers, cardboards, foam pipes. A wire hanger can be bent into a circular shape, providing a sturdy foundation. Cardboard is another option; simply cut out a circular ring to create a lightweight and accessible base. Foam pipe insulation or a pool noodle can also be formed into a circle and secured with duct tape, offering a similar texture to a foam wreath form.
3.2 Is there a way to make a yarn wreath without using hot glue?
Yes, there are alternative methods to make a yarn wreath without using hot glue. You can try using adhesive spray or double-sided tape to attach the yarn to the form. Another option is to use sewing techniques such as stitching or wrapping the yarn tightly around the form without adhesive.
You can also use fabric or ribbon to wrap around the wreath form, securing it with pins or stitches. These methods can provide a secure hold without the need for hot glue.
3.3 Can I add lights to my yarn wreath?
Yes, you can absolutely add lights to your yarn wreath to create a cozy and festive ambiance. LED string lights are a popular choice for this purpose, as they are lightweight and easy to attach to the wreath. Simply weave the string lights through the yarn wraps, making sure to distribute them evenly for a balanced look.
Battery-operated lights are convenient and eliminate the need for a nearby power source. Adding lights can enhance the beauty of your yarn wreath, making it stand out even more, especially during the holiday season or for special occasions.
3.4 Is a yarn wreath suitable for outdoor use?
A yarn wreath may not be the best choice for outdoor use. Yarn is typically not weather-resistant and may deteriorate when exposed to moisture, sunlight, and other outdoor elements. It’s better suited for indoor decor where it can be protected from such conditions.
If you’re looking for a wreath for outdoor use, consider materials like artificial foliage, dried flowers, or synthetic fabrics that are more durable and weather-resistant.
4. Final thought
In conclusion, making a yarn wreath is a delightful way to add a personalized and cozy touch to your home décor. By following a few simple steps, you can create a beautiful and unique piece that reflects your style and complements any season or occasion.
Whether you opt for a chunky design, a vibrant pom pom arrangement, or a themed creation like a Valentine’s or Mickey Mouse wreath, the possibilities are endless.
This project not only allows for creative expression but also provides a fun and rewarding crafting experience. Embrace the versatility of materials and let your imagination guide you in creating a wreath that will bring warmth and charm to any space in your home.
For further questions, don’t hesitate to send thanhcongcraft an email us at [email protected] or message us at WhatsApp: +84967485411. Hope to serve you soon! Best regard!


