Wondering how to make bamboo hand fan step by step? Creating a bamboo hand fan is a traditional art form in many different cultures, handed down through generations. These handcrafted fans serve not only as practical accessories on warm days but also as symbols of culture and sophistication.
With basic materials and the following instructions, you can craft your own bamboo hand fan at home.
Contents
- 1. How to make a bamboo hand fan?
- Step 1: Prepare Bamboo Sticks
- Step 2: Create Holes in the Wood Sticks
- Step 3: Secure the Head Pin
- Step 4: Arrange the Wood Sticks
- Step 5: Trace the Stick Outlines
- Step 6: Apply Glue to the Backs
- Step 7: Trim Around the Fan Sticks
- Step 8: Apply Glue to the Front
- Step 9: Position the Back onto the Front
- Step 10: Trim to Final Size
- Step 15: Fold the Fan
1. How to make a bamboo hand fan?
Bamboo fan is a traditional item in Asia country, used for cooling, decoration, or as a gift. To handcraft a bamboo fan, you need to prepare the following materials and tools:
Materials Needed:
- Decorative wrapping paper;
- Plain white paper;
- Wood sticks, 11-inches long by 1/2-inch wide;
- 2-inch head pin;
- Push pin;
- Compass drawing tool;
- Scissors;
- Needle-nose pliers;
- Paint brush, Pencil, Glue;
- Tassel, Button.
Step-by-Step Instructions:
Step 1: Prepare Bamboo Sticks
Gather the bamboo sticks and trim them to the desired length using scissors or pruning shears. Typically, a bamboo hand fan consists of a series of evenly spaced sticks that form the frame.
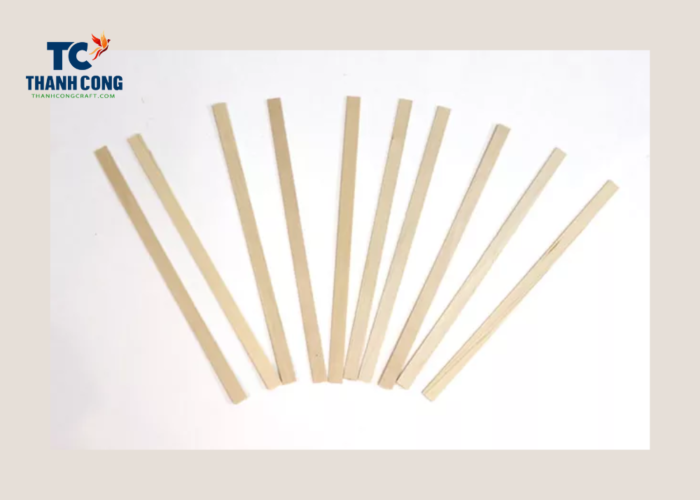
Step 2: Create Holes in the Wood Sticks
Measure 1 inch from the end of each wood stick and use a push pin to pierce a hole at the midpoint. Place a cutting mat underneath the wood to allow the pin to go through. Once holes are made in all 10 wood sticks, stack them and thread a 2-inch head pin through the holes.
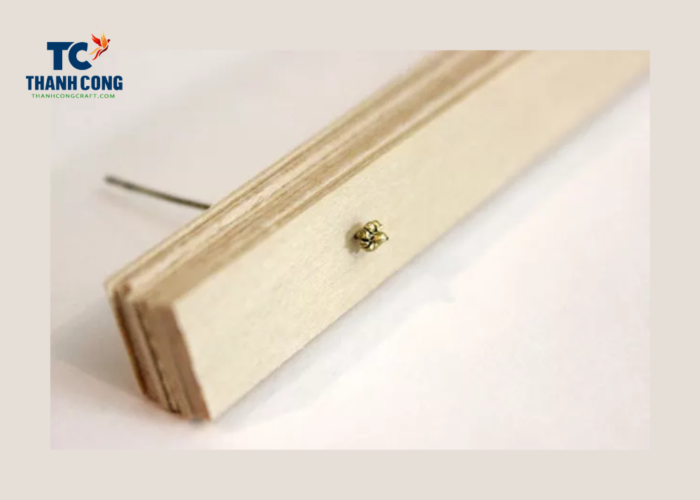
Step 3: Secure the Head Pin
Using needle-nose pliers, twist the opposite end of the head pin to prevent it from sliding out. While the twisted head pin may not be aesthetically pleasing, it will be concealed with a button later. Ensure the pin keeps the wood sticks tight yet allows for pivoting.
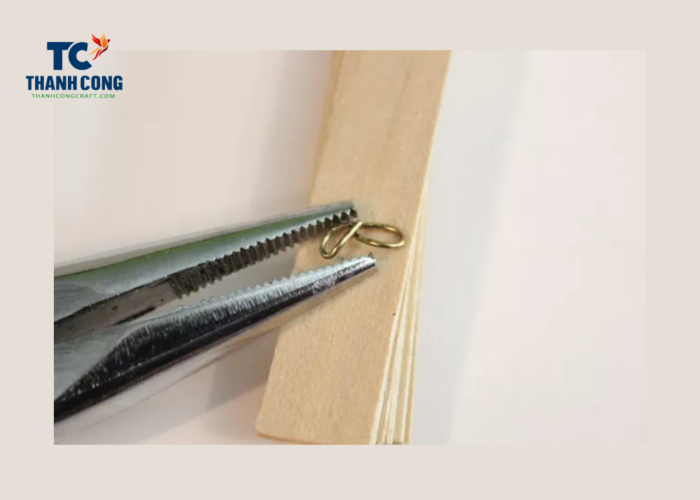
Step 4: Arrange the Wood Sticks
Position the wood sticks on white paper, aligning the pivot point at the bottom center where the half circle was removed. This arrangement exposes approximately 4 inches of the wood, with the rest covered by the white paper. Space the sticks evenly.
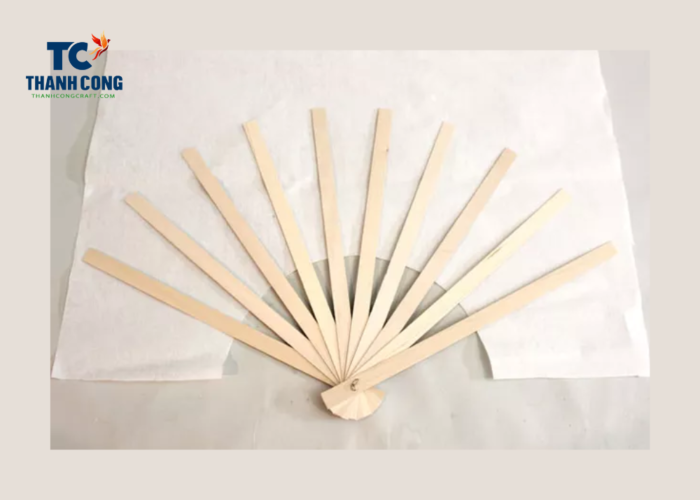
Step 5: Trace the Stick Outlines
Once the sticks are in the desired position, trace around them with a pencil. This will serve as a guide for correct placement in the upcoming steps.
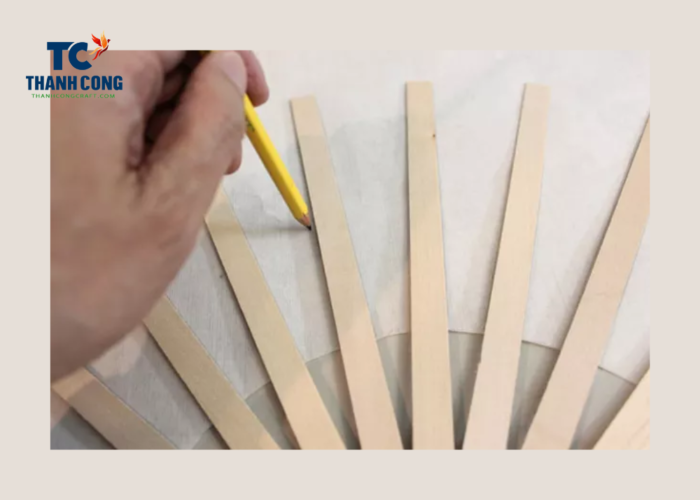
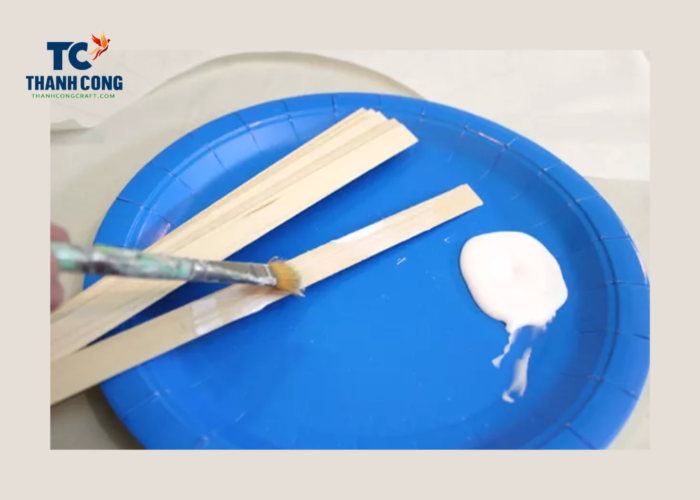
Step 6: Apply Glue to the Backs
Brush glue onto the back of the sticks for an even coating. Position the wood sticks on the paper with the glued side down, using the traced pencil marks as a guide. Press down on the sticks to ensure proper contact between the glue and paper.
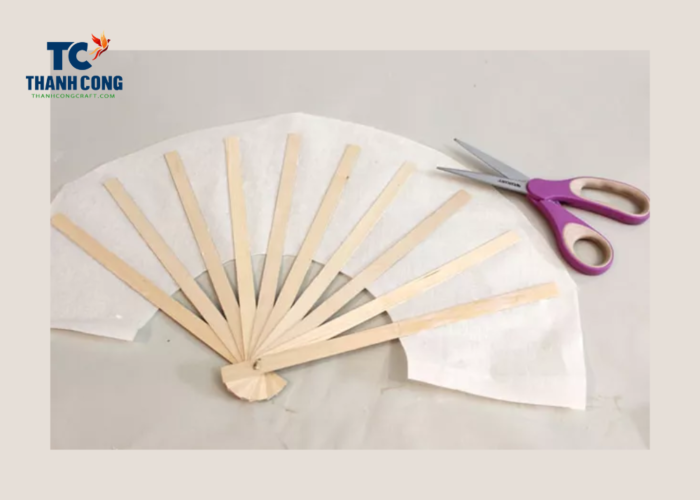
Step 7: Trim Around the Fan Sticks
Trim approximately 1 inch around the wood fan sticks with scissors to make handling easier. This is not the final shape of the fan. Choose a decorative paper that folds easily, like wrapping or origami paper. Measure an arc in the decorative paper using the compass, just as done with the white paper, and cut out the half circle.
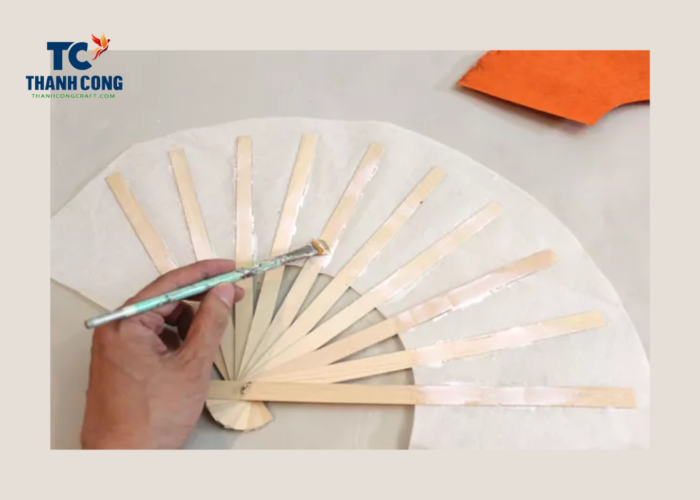
Step 8: Apply Glue to the Front
Use a brush to apply glue to the front of the wood sticks only where they contact the paper. Dab a little glue between the sticks to ensure adhesion to the white lining.
Step 9: Position the Back onto the Front
Turn the fan over, glue side down, and affix it to the “wrong” side of the decorative paper. Ensure alignment of the two half circles at the bottom, with the decorative paper extending slightly beyond the white lining. Smooth out the paper with your fingers.
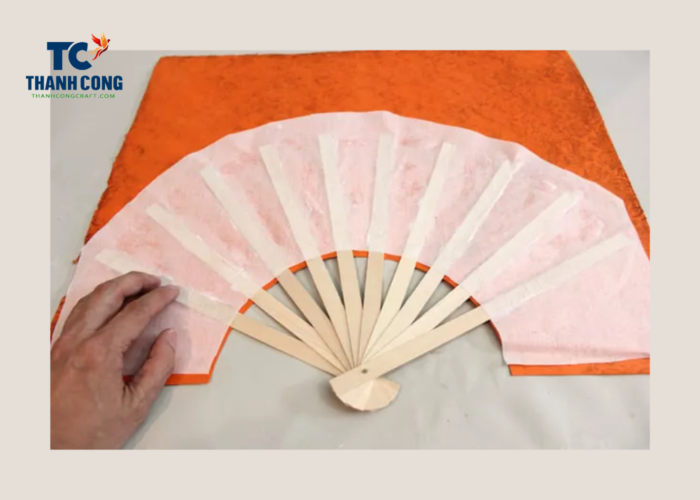
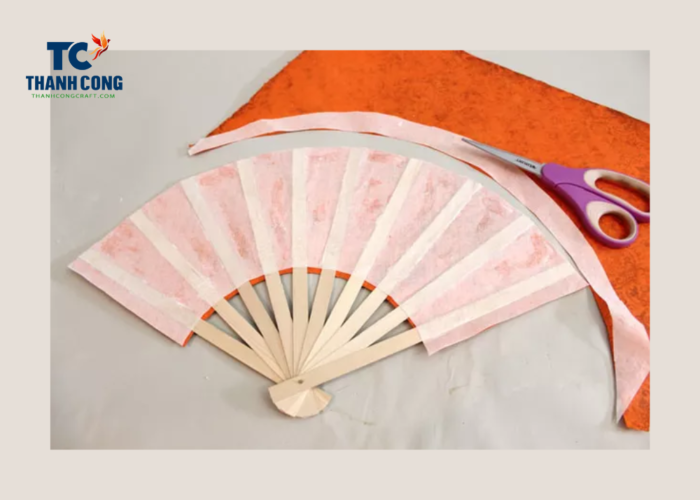
Step 10: Trim to Final Size
Use the tops of the fan sticks as a guide and cut around the top of the fan, leaving about a 1/2 inch of paper on the left and right edges.
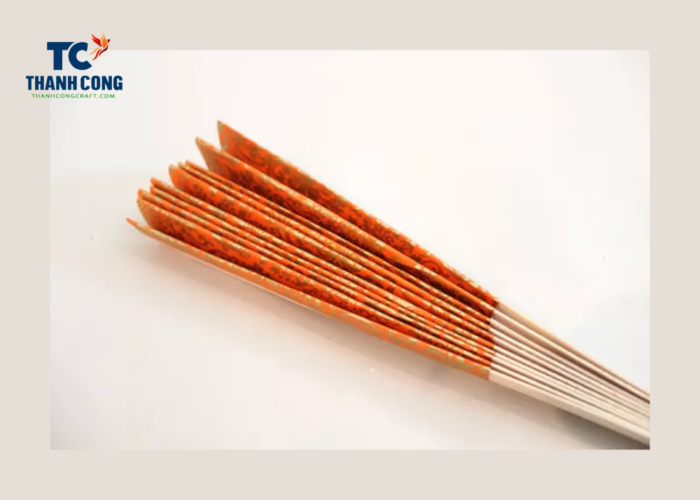
Step 15: Fold the Fan
Fold the fan, aligning the wood sticks, and create strong creases in the paper for visible pleats when unfolded. Optionally, attach a tassel to the twisted knot of the head pin for added decoration.
By following these “how to make bamboo hand fan” step by step above instruction, you can produce a beautiful and functional bamboo hand fan that reflects both cultural heritage and personal creativity. Enjoy the process of crafting your unique piece and appreciate the cultural significance embedded in each fold.
If you have any further questions, don’t hesitate to send thanhcongcraft an email us at [email protected] or message us at WhatsApp: +84967485411. Hope to serve you soon! Best regard!


