DIY mosaic birdhouse is not only a delightful project for craft enthusiasts but also a vibrant sanctuary for our feathered friends. Creating these colorful abodes is both an art and a science, requiring a keen eye for design and a methodical approach to assembly.
In this guide, we will walk you through how to make mosaic birdhouses, from selecting the right materials to following the step-by-step assembly instructions. Have a read!
1. How to make mosaic birdhouses?
Creating a DIY mosaic birdhouses is a rewarding project that combines artistic creativity with a touch of nature. Here’s a guide to help you craft your own beautiful and functional mosaic birdhouse, covering the materials you’ll need and the step-by-step process to follow.
Materials:
To make a mosaic birdhouse, gather the following materials:
- Birdhouse Base: You can use a wooden or ceramic birdhouse as your base.
- Mosaic Tiles: Choose from glass, ceramic, or stone tiles. You can also use broken china or old tiles for a unique look.
- Adhesive: Tile adhesive or a strong craft glue suitable for your base material.
- Grout: Choose a grout color that complements your mosaic tiles.
- Tile Nippers or Glass Cutter: For cutting tiles to size.
- Sponge and Bucket: For cleaning excess grout.
- Paintbrush: For applying adhesive and grout.
- Sealant: To protect your completed mosaic birdhouse from the elements.
Step-by-Step Process:
Step 1: Prepare the base
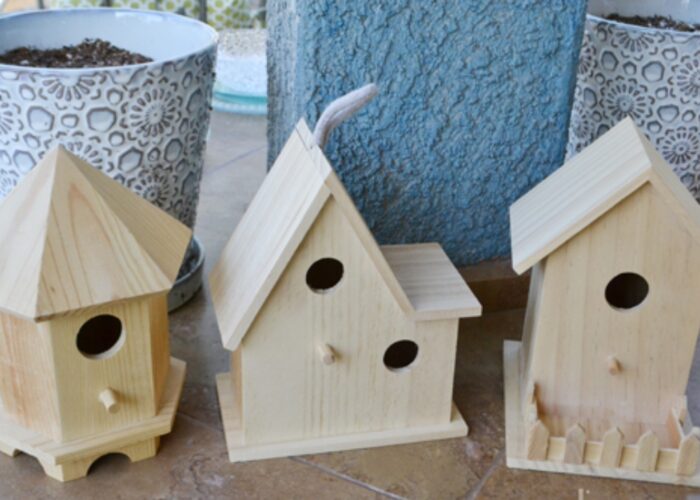
Start by cleaning your birdhouse base to remove any dust or debris. If you’re using a wooden birdhouse, consider sanding it lightly to help the adhesive bond better.
Step 2: Plan your design
Lay out your mosaic tiles on a flat surface to plan your design. This will help you visualize the arrangement and make adjustments before you start gluing.
Step 3: Apply adhesive
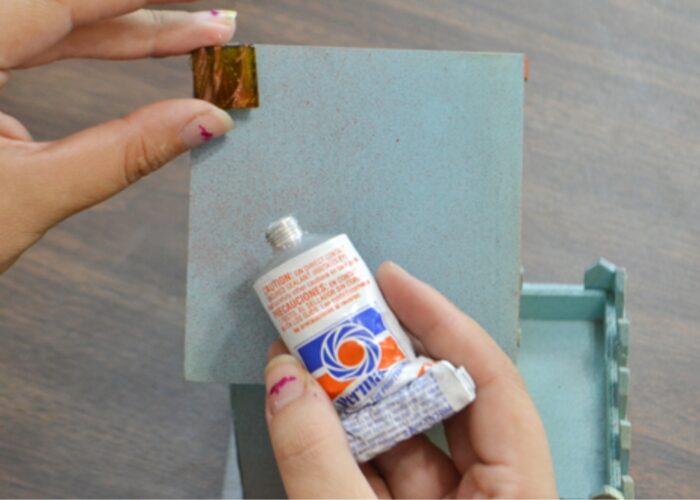
Using a paintbrush, apply a thin layer of adhesive to a small section of the birdhouse where you’ll start placing tiles. Work in manageable sections to prevent the adhesive from drying out before you place the tiles.
Step 4: Place the tiles
Carefully place your mosaic tiles onto the adhesive, following your planned design. Press each tile gently to ensure good adhesion. Continue this process, working your way around the birdhouse.
Step 5: Cut tiles as needed
Use tile nippers or a glass cutter to trim tiles to fit edges and corners. Ensure the edges of the tiles align neatly with adjacent tiles.
Step 6: Allow adhesive to dry
Let the adhesive dry completely according to the manufacturer’s instructions. This usually takes 24 hours.
Step 7: Apply grout
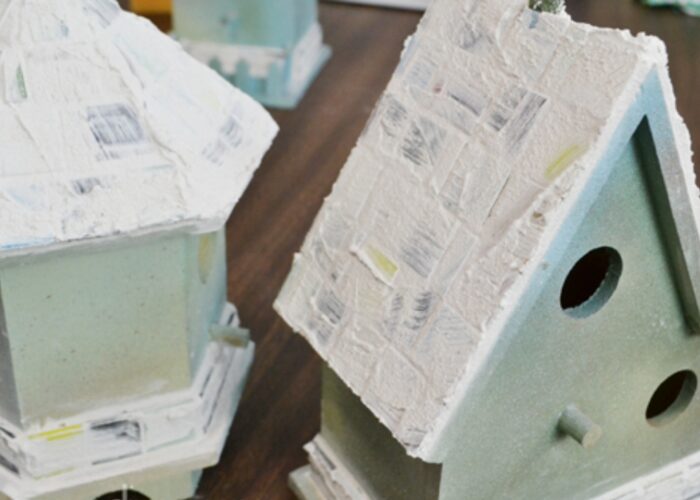
Once the adhesive is dry, apply grout over the entire surface of the mosaic using a paintbrush or a small grout float. Press the grout into the gaps between the tiles, making sure they are fully filled.
Step 8: Clean excess grout
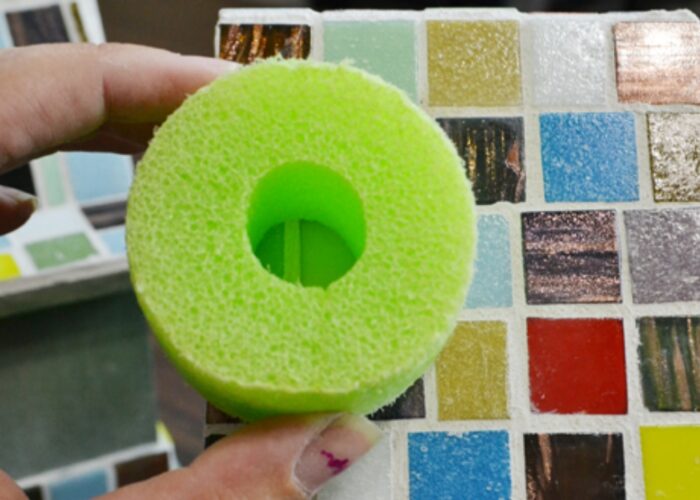
Use a damp sponge to wipe off excess grout from the surface of the tiles. Be careful not to remove grout from the gaps. Rinse the sponge frequently and continue until the surface is clean.
Step 9: Let the grout dry
Allow the grout to dry completely. This usually takes a few hours to overnight.
Step 10: Seal the birdhouse
Apply a coat of sealant to protect your mosaic birdhouse from weather conditions. This step is especially important if your birdhouse will be placed outdoors.
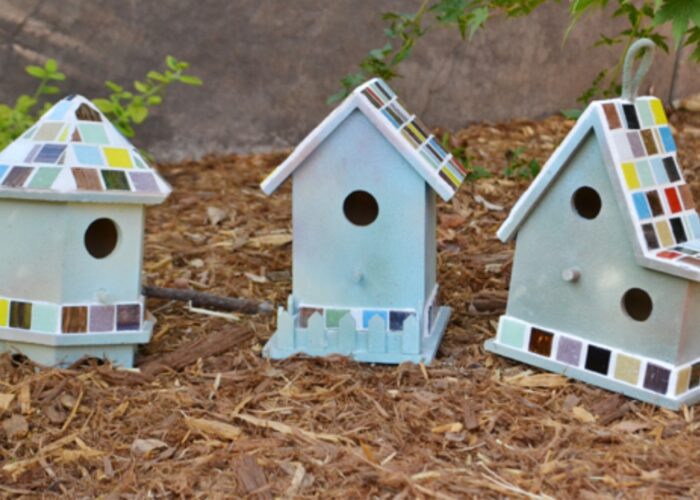
After sealing, inspect your work for any missed spots or areas needing touch-ups. Make any necessary adjustments or repairs.
By following these steps, you can create a stunning mosaic birdhouse that adds a touch of artistic flair to your garden while providing a welcoming home for local birds. Enjoy the process and the beauty of your handmade creation!
2. Some mosaic birdhouse ideas
2.1 Stone birdhouse mosaic
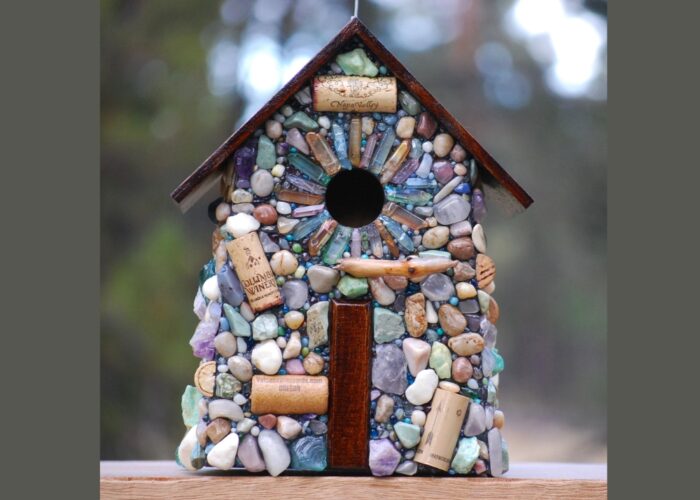
Start by gathering small, smooth stones or pebbles, choosing decorative stones in various colors for a more polished look. Arrange the stones in patterns or create a natural stone facade, opting for geometric patterns, organic shapes, or a combination of both.
Apply adhesive to the birdhouse base and press the stones into place, filling the gaps between them with grout to secure and add texture. Finally, seal the birdhouse with a weather-resistant sealant to protect it from the elements and ensure its longevity.
2.2 Stained glass mosaic birdhouse
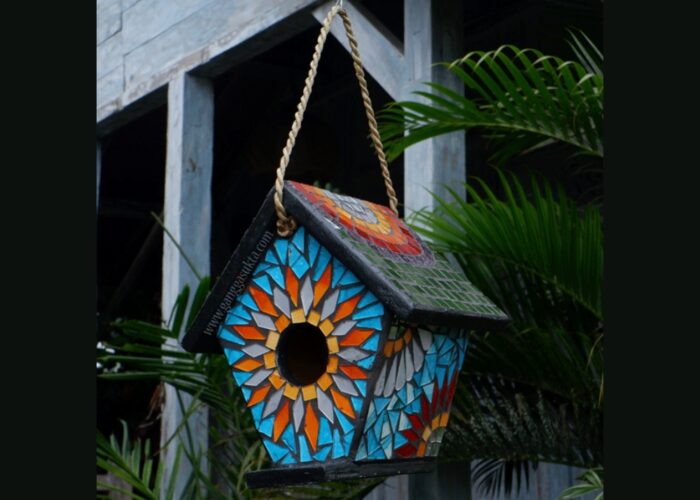
Use stained glass pieces in various colors and textures, and consider adding glass beads or gems for extra sparkle. Plan a colorful mosaic pattern or abstract design, leveraging the translucence of stained glass to create beautiful light effects.
Cut the stained glass pieces to fit your design with a glass cutter, adhere them to the birdhouse, and grout between them, handling the glass carefully. Finally, apply a clear sealant to protect the stained glass from weather conditions and enhance its shine.
2.3 Broken china mosaic birdhouse
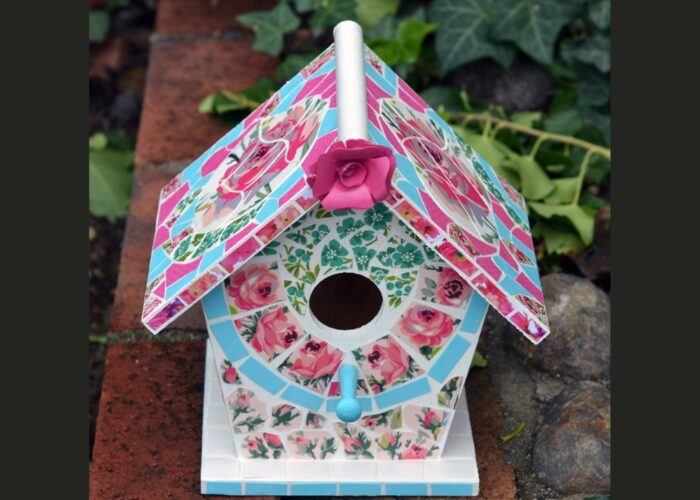
Gather broken china pieces from plates, cups, and saucers, choosing patterns and colors that complement each other. Arrange the china shards in a mosaic pattern, mixing and matching to create a visually interesting design, whether cohesive or eclectic.
Apply adhesive to the birdhouse base and place the china pieces onto it, then fill the gaps with grout to secure the pieces. Finally, seal the birdhouse to protect the mosaic from outdoor elements and ensure the longevity of your design.
Each of these mosaic birdhouse ideas allows for personal expression and creativity while creating functional and beautiful homes for birds. Choose the style that best suits your taste and enjoy the process of bringing your artistic vision to life.
3. FAQs
3.1 Are mosaic birdhouses safe for birds?
Yes, mosaic birdhouses can be safe for birds if certain precautions are taken. Use non-toxic adhesives and grout to avoid any harmful chemicals, and ensure that there are no sharp edges or protruding pieces that could injure the birds. Proper ventilation and drainage are essential to keep the birdhouse dry and comfortable.
Additionally, regular cleaning is important to prevent mold, parasites, and other harmful substances.
3.2 What kind of birdhouse base is best for mosaics?
The ideal birdhouse base for creating mosaics is one that is waterproof and sturdy to ensure durability, especially if the birdhouse will be placed outdoors. A waterproof birdhouse with an inset roof can protect the mosaic work from the elements and provide drainage to keep the interior dry.
Materials like weatherproof bonded lucite are recommended for their resilience and compatibility with mosaic adhesives like silicone sealants. Additionally, a birdhouse with a smooth surface can make the application of mosaic pieces easier and more secure.
3.3 Where to place your mosaic birdhouse?
When placing your mosaic birdhouse, choose a location that is safe and suitable for the birds you wish to attract. Ideally, place the birdhouse in a quiet, sheltered spot that provides protection from harsh weather conditions and predators.
Consider hanging it on a tree branch or mounting it on a pole at a height that is accessible but not easily reached by cats or other animals. Ensure the birdhouse is positioned away from strong winds and direct sunlight to maintain a comfortable temperature inside. Additionally, make sure the area has enough natural cover, such as shrubs or trees, to offer additional protection and a safe environment for birds.
4. Conclusion
Creating DIY mosaic birdhouses offers a unique blend of creativity and functionality, transforming an ordinary birdhouse into a vibrant, artistic sanctuary for your feathered friends. This project not only adds a colorful touch to your garden but also provides a cozy home for local birds.
By following the detailed steps outlined in this guide—from selecting materials to applying grout and sealant—you can craft a stunning mosaic birdhouse that will brighten up any outdoor space. Enjoy the process of creating your mosaic birdhouse, and revel in the satisfaction of knowing that your handcrafted creation is both a work of art and a practical haven for birds. Happy crafting!
If you have any further questions, don’t hesitate to send thanhcongcraft an email us at [email protected] or message us at WhatsApp: +84967485411. Hope to serve you soon! Best regard!


