Creating mosaic garden balls is a captivating way to blend artistry with outdoor decor, transforming your garden into a vibrant and personalized space. Making mosaic garden balls opens up a world of creative possibilities, allowing you to experiment with colors, textures, and designs while crafting eye-catching spherical artworks.
This following guide will walk you through the steps how to make mosaic garden balls that will add charm and personality to your outdoor sanctuary. Have a read!
1. Steps to make mosaic garden balls
Creating mosaic garden balls is a delightful project that adds a splash of color and artistry to your outdoor space. Here’s a detailed guide on how to craft these beautiful garden accents:
Materials:
- Garden Balls: Choose foam ball as your base. You can find these at craft stores or online.
- Mosaic Tiles: Select a variety of mosaic tiles such as glass, ceramic, or even recycled materials like broken dishes. Ensure they are weather-resistant if your garden balls will be exposed to the elements.
- Adhesive: Use a strong adhesive suitable for outdoor use, such as Weldbond or outdoor mosaic adhesive.
- Grout: Opt for outdoor grout that is weather-resistant. Sanded grout is typically used for outdoor projects to withstand moisture and temperature changes.
- Tile Nippers: Necessary for cutting and shaping tiles to fit the curved surface of the garden balls.
- Protective Gear: Wear safety glasses and gloves when handling tiles and grout.
Step-by-Step Guide:
Step 1: Prepare the ball
Begin by thoroughly cleaning the garden ball to remove any dirt or residue that may hinder adhesion. Ensure the surface is completely dry before proceeding with your mosaic project. A clean and dry base ensures optimal adherence of mosaic tiles and promotes a durable finish for your garden ball masterpiece.
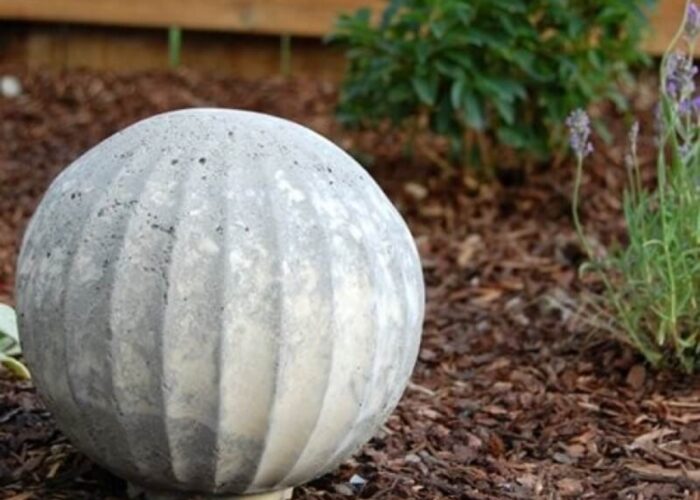
Step 2: Design your mosaic pattern
Sketch your design on paper or directly on the garden ball with a marker. Plan out your colors and patterns to achieve the desired look. This initial step allows you to carefully plan out your color scheme, patterns, and placement of tiles to achieve the desired artistic effect.
Step 3: Apply adhesive
To begin creating your mosaic garden ball, work methodically in small sections. Use a spatula or putty knife to evenly apply adhesive to the surface of the garden ball. This ensures a strong and secure bond for the mosaic tiles, facilitating precise placement and enhancing the durability of your finished artwork.
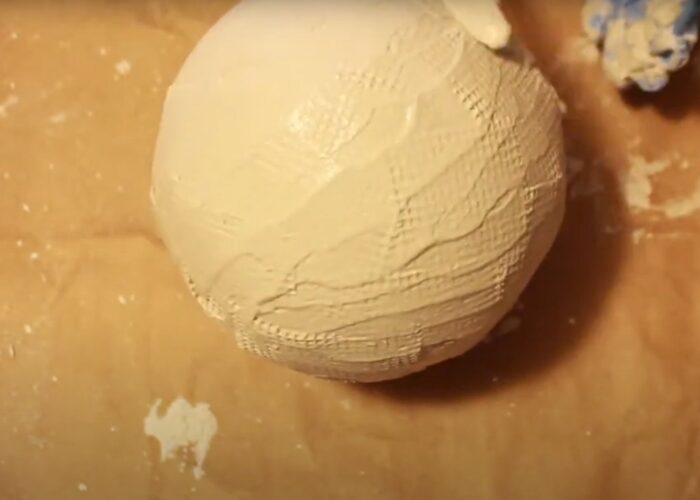
Step 4: Place mosaic tiles
Carefully place each mosaic tile onto the adhesive, adhering to your pre-designed pattern. Ensure each tile is pressed firmly into place to establish a secure bond with the garden ball’s surface. Utilize tile nippers to adjust tile sizes and shapes as necessary to fit the curved contours seamlessly.
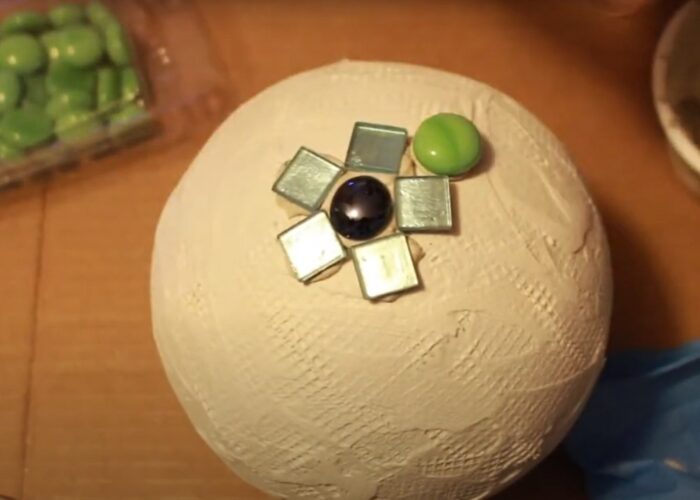
Step 5: Allow adhesive to cure
After placing all the mosaic tiles, allow the adhesive to dry and cure thoroughly as per the manufacturer’s instructions, which usually entails overnight drying. This crucial step ensures that the tiles adhere securely to the garden ball’s surface, providing a strong foundation for the next stages of your mosaic project.
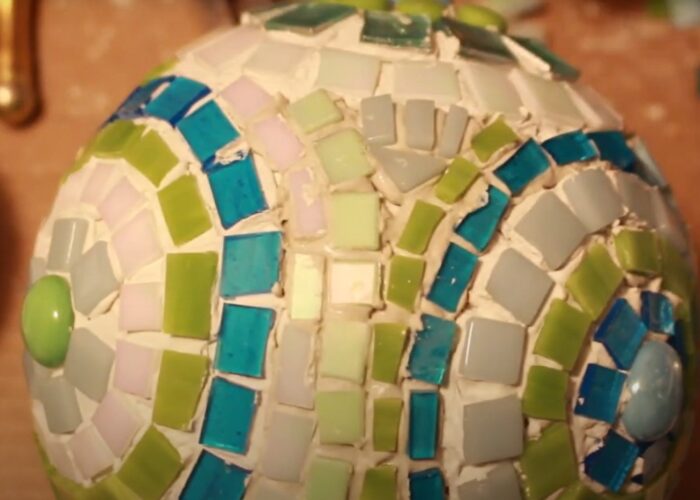
Step 6: Apply grout
Once the adhesive is fully cured, prepare outdoor grout according to the manufacturer’s instructions. Using a rubber grout float, apply the grout over the mosaic tiles, pressing it into the gaps between tiles.
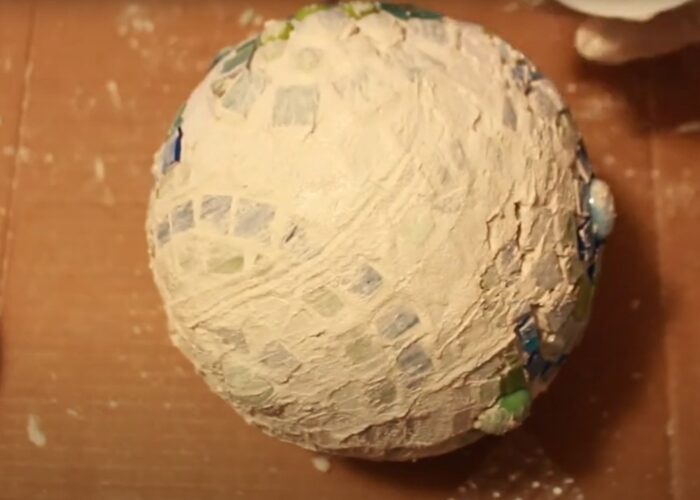
Step 7: Clean off excess grout
Once applied, allow the grout to set for a few minutes before gently wiping off excess grout from the tile surfaces using a damp sponge. Rinse the sponge frequently in clean water to maintain an effective cleaning process and ensure a smooth finish across the mosaic garden ball.
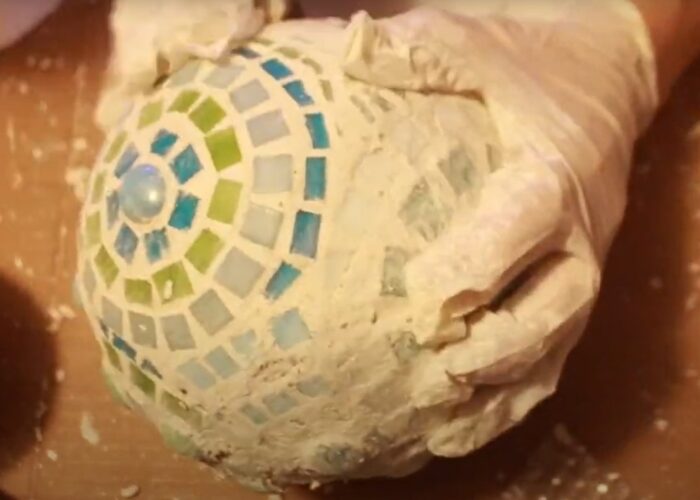
Step 8: Final touches
Once the grout has fully dried, typically within 24-48 hours, take a soft cloth and polish the tiles to eliminate any remaining haze. This step enhances the brilliance of your mosaic garden ball, ensuring that each tile gleams and the overall design shines with clarity.
Step 9: Display your mosaic garden ball
Your mosaic garden ball is now ready to display in your garden or outdoor space. Place it on a stand, in a flower bed, or amidst greenery to add a colorful and artistic touch to your outdoor sanctuary.
2. FAQs
2.1 Can I mosaic on styrofoam?
Yes, you can mosaic on styrofoam. Styrofoam can be used as a base for mosaics by adhering tiles or other mosaic materials using appropriate adhesives such as mosaic glue or thinset mortar. Just ensure the styrofoam is clean and properly prepared before starting your mosaic project.
2.2 How to make a mosaic bowling ball?
A bowling ball is a great base for a DIY gazing ball. It’s the perfect size and shape. Make sure the stand you use is sturdy enough to hold its weight.
To prepare a bowling ball for mosaic, you can lightly sand it to help the adhesive adhere better. Using silicone or epoxy adhesive, start applying it in small sections where you plan to place your mosaic pieces. Then, follow the steps above.
2.3 What is the best adhesive for mosaic bowling balls?
The best adhesive for mosaic bowling balls is typically a strong, weather-resistant adhesive like E6000 or a similar industrial-strength adhesive that can bond to both the bowling ball surface and the mosaic materials effectively. These adhesives are durable and can withstand the outdoor conditions often encountered in bowling ball mosaics.
2.4 What are some other creative items I can use for mosaics besides tiles?
In addition to tiles, there are numerous creative materials you can use for mosaics. Consider incorporating broken ceramics, glass beads, sea glass, buttons, shells, mirrors, old jewelry pieces, metal objects like washers or nuts, natural materials such as stones or pebbles, and even polymer clay.
These items offer diverse textures, colors, and shapes that can add unique flair and personalization to your mosaic projects.
3. Final thought
Making DIY mosaic garden balls is a delightful and fulfilling project that transforms your outdoor space into a vibrant and personalized haven. By following the detailed guide provided, you can craft unique and eye-catching garden accents that reflect your artistic vision and style. The process of designing, assembling, and finishing these mosaic balls not only allows for creative expression but also results in durable, weather-resistant decorations that can withstand the elements.
Embrace the joy of mosaic artistry and enhance your garden’s aesthetic with your own handmade masterpieces. Happy crafting!
If you have any further questions, don’t hesitate to send thanhcongcraft an email us at [email protected] or message us at WhatsApp: +84967485411. Hope to serve you soon! Best regard!


