Creating a beautiful and personalized mosaic photo frame/ picture frames can be a rewarding and fun project, especially for beginners. In this guide on how to make mosaic photo frame for beginners, we will walk you through the step-by-step process, from gathering materials to adding the finishing touches.
Whether you’re looking to add a unique piece to your home decor or create a heartfelt gift, this beginner-friendly tutorial will help you craft a stunning mosaic photo frame with ease.
1. Steps to make a mosaic photo frame
Creating a mosaic photo frame is a fun and creative way to add a personal touch to your home decor. Here’s a detailed guide on how to make a mosaic photo frame for beginners.
Materials:
- A photo frame – Choose a simple, flat frame.
- Mosaic tiles – You can use glass, ceramic, or even broken china pieces.
- Adhesive – Strong glue or tile adhesive.
- Grout – Available in various colors, choose one that complements your tiles.
- Sponge – For cleaning excess grout.
- Sealant – To protect the finished mosaic.
- Safety gear – Gloves and safety glasses.
- Tile nippers (optional) – For cutting tiles to fit specific spaces.
- Pencil and ruler – For planning your design.
Step-by-Step Guide:
Step 1: Prepare your frame
Lay out your materials and cover your work area to protect it. Remove any glass or backing from the frame to prevent damage.
Step 2: Design your mosaic
Begin by lightly marking your frame with a pencil and ruler to outline your desired design. Before gluing, carefully plan the placement of your tiles to achieve a balanced and visually appealing mosaic. This preparation step is crucial for ensuring that your final design meets your artistic vision.

Step 3: Cut and place tiles
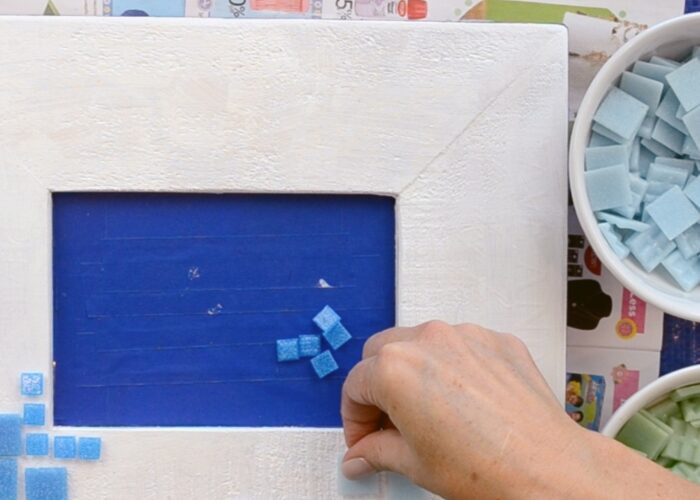
Using tile nippers to carefully cut the tiles to the desired size, ensuring they fit perfectly within your design plan. Once the tiles are cut, arrange them on the frame according to your design. Make sure to lay them out in a manner that aligns with your intended pattern.
Step 4: Glue the tiles
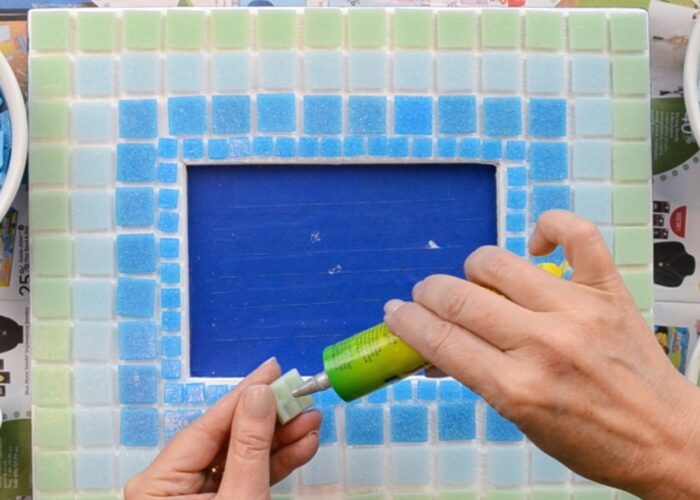
Apply a small amount of adhesive to the back of each tile and press it firmly onto the frame, ensuring that each tile is securely attached. Leave a small gap between each tile for the grout, which will be applied later. It’s important to follow the manufacturer’s instructions regarding drying times to ensure the adhesive sets properly. Allow the adhesive to dry completely before moving on to the next step.

Step 5: Apply the grout
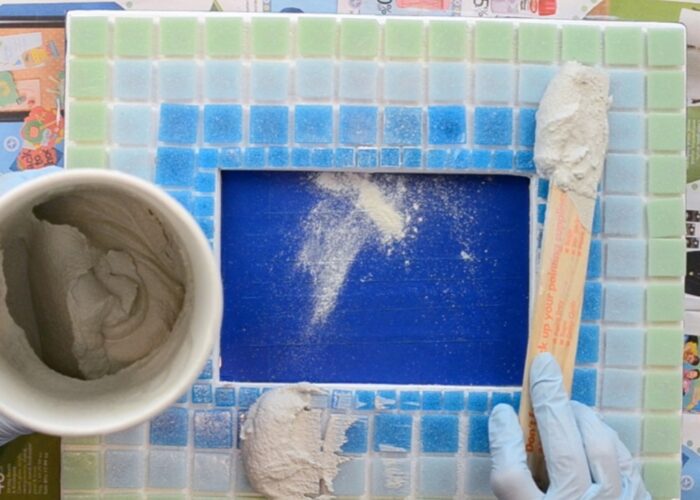
Start by mixing the grout following the package instructions carefully. Once mixed to the right consistency, use a spatula or wear gloves to apply the grout, ensuring it fills the gaps between the tiles completely. Press the grout into the spaces to secure each tile firmly. After applying, wipe off excess grout with a damp sponge before it fully dries, ensuring a clean and polished finish to your tile project.

Step 6: Clean and finish
After allowing the grout to set but before it fully hardens, clean the tiles thoroughly with a damp sponge to remove any lingering grout residue. Once cleaned, allow the grout to dry completely, typically within 24 hours, ensuring a smooth and finished surface for your tiled project.
Step 7: Seal the mosaic
To protect your mosaic photo frame from moisture and stains, apply a grout sealant. Follow the manufacturer’s instructions carefully for proper application and drying time, ensuring effective protection for your finished project.

Step 8: Assemble the frame
Once everything is dry and sealed, reassemble the frame by putting back the glass and backing.
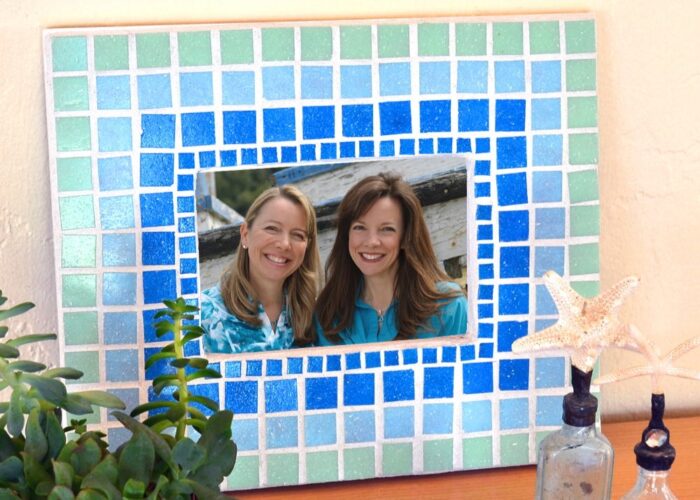
Your handmade mosaic photo frame is now ready to showcase your favorite photos or to be given as a thoughtful, personalized gift. Enjoy your beautiful and unique creation!
2. FAQs
2.1 Can I use recycled materials for the mosaic?
Yes, you can use recycled materials for your mosaic project. Recycling materials not only adds a unique touch to your design but also promotes sustainability by giving new life to old items. Just ensure that the materials are clean, safe to handle, and appropriate for your mosaic’s intended use.
2.3 What are some alternative materials I can use besides traditional tiles
Besides traditional tiles, you can explore using a variety of alternative materials such as glass beads, seashells, or even recycled materials like ceramic shards, small stones, or pieces of colored glass. These materials can add texture, color variations, and a unique aesthetic to your mosaic project, allowing for creative and personalized designs.
2.4 Do I need any special skills or experience to make a mosaic photo frame?
No, you don’t necessarily need special skills or extensive experience to make a mosaic photo frame. Basic crafting skills and attention to detail will suffice. Following the above instructions carefully, practicing patience during the process, and experimenting with different materials can help you create a beautiful and personalized mosaic frame. Starting with a simple design and gradually advancing to more intricate patterns can also enhance your skills over time.
3. Final thought
Creating a mosaic photo frame is a delightful and rewarding project that allows you to blend creativity with craftsmanship. By following this beginner-friendly guide, you can produce a beautiful, personalized frame that adds a unique touch to your home decor or serves as a heartfelt gift.
From selecting materials to applying the final sealant, each step is designed to be approachable and enjoyable, even for those new to mosaic art. By taking your time and paying attention to detail, you’ll find the process both relaxing and fulfilling. The finished product, a stunning mosaic photo frame, will not only showcase your artistic abilities but also hold cherished memories in a truly unique way.
So gather your materials, unleash your creativity, and start crafting your mosaic masterpiece. With each tile you place, you’re not just making a frame—you’re creating a piece of art that reflects your personal style and vision. Enjoy the journey and the beautiful result that awaits.
If you have any further questions, don’t hesitate to send us an email us at [email protected] or message us at WhatsApp: +84967485411. Hope to serve you soon! Best regard!


