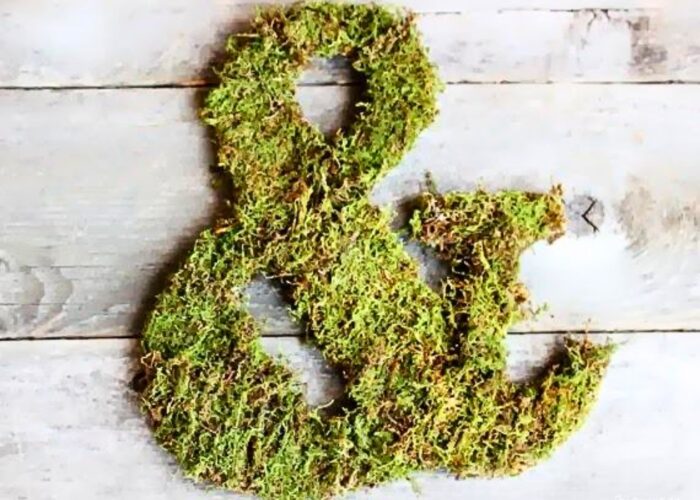
If you’ve ever wanted to add a touch of natural charm to your home decor or event signage, learning how to make moss-covered letters is a delightful craft project to explore. Moss-covered letters can bring a rustic, earthy feel to weddings, parties, or even your everyday home ambiance.
In this article, we’ll guide you how to make moss covered letters diy in the easiest way. Whether you’re a seasoned crafter or just starting out, crafting moss-covered letters is a fun and rewarding way to infuse your surroundings with a bit of natural beauty.
1. How to make moss covered letters?
Creating DIY moss-covered letters is a delightful way to add a touch of nature to your decor. To begin, you’ll need a few materials:
- Wooden or cardboard letters: Choose the letters you want to cover with moss. You can find these at craft stores or online.
- Preserved moss: Opt for preserved moss, which is readily available at craft stores. This type of moss retains its color and texture over time.
- Hot glue gun and glue sticks: You’ll need these to secure the moss to the letters.
- Scissors: For trimming the moss to fit the letters.
- Optional: Protective gloves to avoid getting hot glue on your fingers.
Step by Step:
Step 1: Prepare your workspace and the letters
Lay down newspaper or a drop cloth to protect your work surface. Ensure good ventilation if you’re using hot glue. If your letters are dusty or have any imperfections, give them a quick wipe down to ensure the hot glue and the moss adheres well.
Step 2: Cut the moss
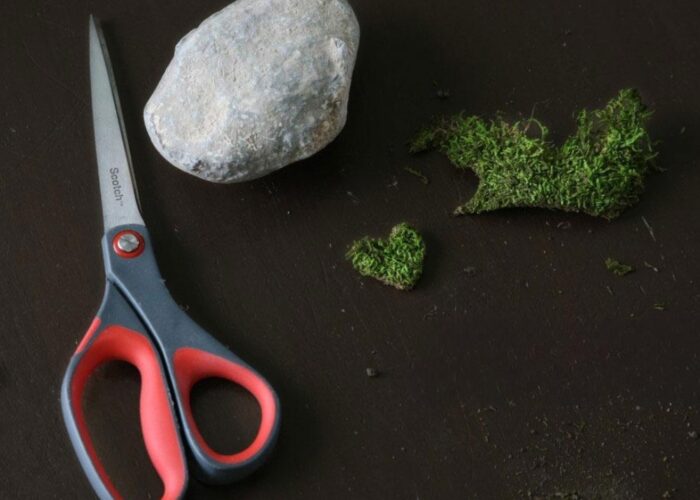
Use scissors to trim the preserved moss into smaller pieces that fit the surfaces of your letters. You want the moss pieces to overlap slightly for full coverage.
Step 3: Apply hot glue
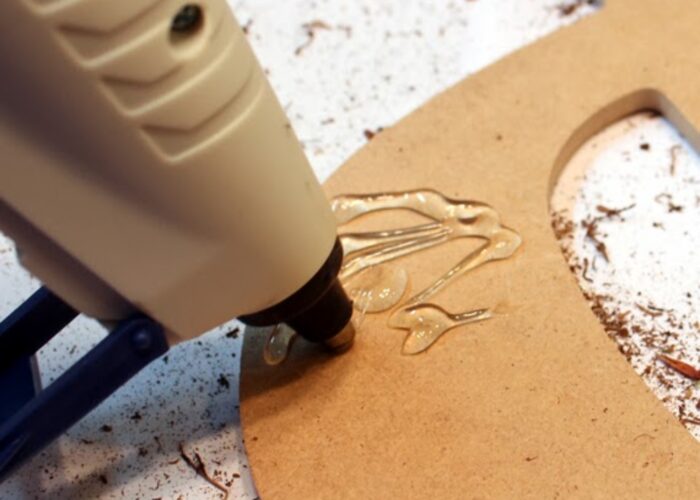
Working one section at a time, apply a generous amount of hot glue to the surface of the letter where you want to attach the moss.
Step 4: Press the moss
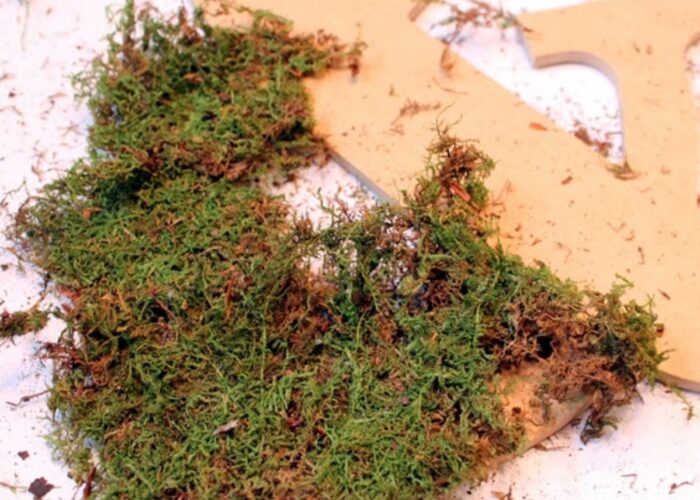
Carefully press the cut pieces of moss onto the hot glue, smoothing them down to ensure they adhere securely. Be cautious not to burn yourself with the hot glue.
Step 5: Repeat
Continue applying hot glue and moss to cover the entire surface of each letter. You may need to trim the moss further to fit into smaller crevices or curves.
Step 6: Fill in gaps
Once the entire letter is covered, go back and fill in any gaps with additional moss pieces. Press them firmly into place.
Step 7: Let it dry
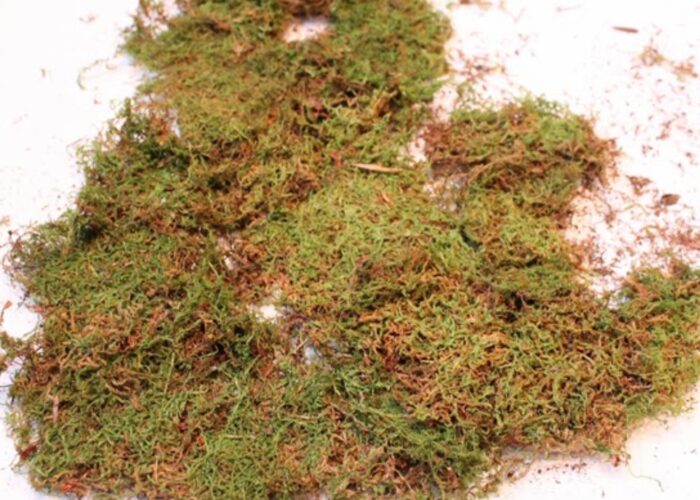
Allow the letters to dry completely before handling or displaying them. This usually takes around 30 minutes to an hour, depending on the temperature of your workspace and the type of glue used.
Step 8: Display your moss-covered letters
Once dry, your moss-covered letters are ready to be displayed! Arrange them on shelves, mantels, or use them as table centerpieces for a charming touch of natural decor.
Since you’re using preserved moss, your moss-covered letters should maintain their appearance for a long time. However, if you notice any dust or debris accumulating on the moss, you can gently brush it off or use a can of compressed air to clean them.
2. FAQs
2.1 How do you attach moss to paper mache?
To attach moss to a paper mache, you can use a hot glue gun to ensure that the moss is securely held onto the surface. Begin by dividing the moss into small sections for easy handling and application. If your preserved moss has a lot of soil and roots on the underside compared to the green portion, you can trim that part to reduce bulk.
Then, use the hot glue gun to adhere the moss onto the paper mache structure. Make sure to apply the hot glue in sections and press the moss firmly into the desired positions on the paper-mâché surface. This not only helps the moss adhere strongly but also allows you to arrange the moss as desired to create a unique and vibrant piece of art.
2.2 How do you attach moss without glue?
Attaching moss without glue can be achieved by using wire framing. Create a wire framework in the shape of your desired object or surface and place the moss onto it. Gently tie or wrap thin wire or twine around the moss-covered frame to secure it in place.
Keep the moss moist by misting it regularly, allowing it to naturally adhere to the wire over time. This method provides a natural and eco-friendly way to create moss decor without the use of adhesive.
2.3 Can moss letters be displayed outdoors?
Yes, moss letters can be displayed outdoors, but their longevity will depend on several factors such as the type of moss used, exposure to sunlight, moisture levels, and climate conditions.
Preserved moss, which is commonly used for crafting moss letters, is more suitable for outdoor display than live moss as it requires minimal maintenance and can withstand outdoor conditions better.
2.4 How do I prevent moss from drying out?
To prevent moss from drying out, it’s essential to maintain consistent moisture levels. Regular misting with water helps to keep the moss hydrated without causing waterlogging. Position the moss in a shaded or partially shaded area to shield it from direct sunlight, which can quickly dry it out. Indoors, using a humidifier can create a more favorable environment for moss growth.
Additionally, ensure proper airflow to prevent stagnation. Applying a layer of organic mulch around the moss helps retain moisture and fosters a healthier microclimate.
2.5 Are there any alternatives to real moss for crafting letters?
Certainly! When crafting letters and exploring alternatives to real moss, you have several options to consider. Preserved moss offers a natural look with longevity, while artificial moss provides durability and low maintenance. Faux moss sheets are versatile for different designs, and moss stickers offer convenience.
Moss paint presents an innovative option for creating living moss surfaces. These alternatives cater to various preferences and project needs, making crafting moss letters a customizable and creative process.
3. Conclusion
In summary, to make diy moss covered letters, apply hot glue to the letters one section at a time and press the moss onto the glue, being careful not to burn yourself. Continue this process until the letters are fully covered, trimming moss as needed to fit into crevices.
Once dry, display your moss-covered letters as desired, and gently clean them if they accumulate dust.
By following the above steps, you can ensure your letters are beautifully crafted and long-lasting. For questions, don’t hesitate to send thanhcongcraft an email us at [email protected] or message us at WhatsApp: +84967485411. Hope to serve you soon! Best regard!


