Are you interested in learning how to make a palm leaf hand fan? Crafting these traditional accessories is not only a creative endeavor but also a way to connect with cultural heritage. Each step in the process requires precision and care to transform palm leaves into a functional and beautiful hand fan.
Join us as we explore the art of making palm leaf hand fans and discover the techniques behind creating these timeless pieces.
Contents
1. Steps to make palm leaf hand fan
Crafting a palm leaf hand fan is a captivating process that allows you to create a functional and beautiful accessory. Follow these steps to make your own diy fan palm leaves:
Step 1: Gathering palm leaves
Begin by selecting fresh and pliable palm leaves. Look for leaves that are sturdy and free from any damage.

Step 2: Preparing the leaves
Trim the palm leaves to remove any rough edges or uneven portions. Then, soak the leaves in water for about 30 minutes to make them more flexible and easier to work with.
Step 3: Creating the frame
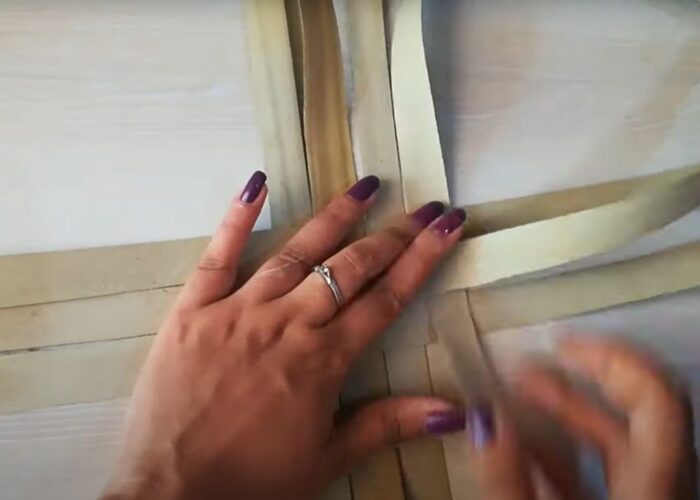
Take two palm leaves and lay them parallel to each other, slightly overlapping. Secure the leaves together at one end using a small piece of string or twine. This will serve as the handle of the fan.

Step 3: Weaving the blades
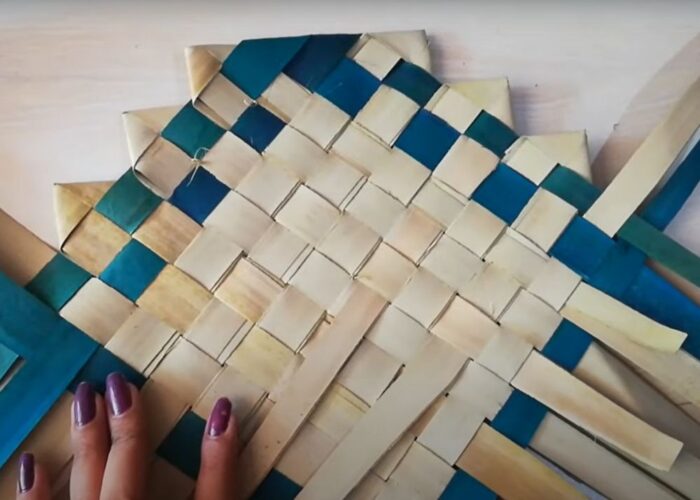
Starting from the handle, weave additional palm leaves between the two parallel leaves to create the blades of the fan. Continue weaving until you reach the desired width for the fan.
Step 4: Securing the blades
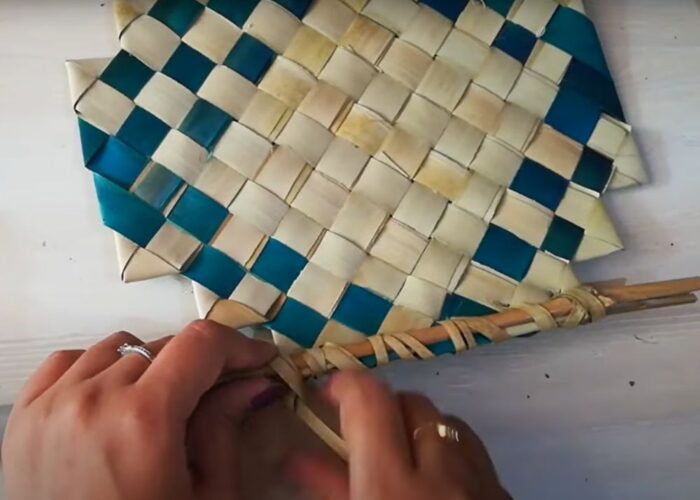
Once the weaving is complete, secure the ends of the palm leaves by tying them together with string or twine. This will help keep the blades in place and prevent them from unraveling.

Step 5: Shaping the fan
Gently fan out the blades to create the desired shape for the hand fan. You can adjust the angle of the blades to achieve a more open or closed fan, depending on your preference.
Step 6: Trimming and finishing
Trim any excess palm leaves and tidy up the edges of the fan. You can also add decorative elements such as ribbons, beads, or paint to personalize your hand fan. Allow the completed hand fan to dry in a cool, shaded area for several hours or overnight. This will help the palm leaves set into their new shape and ensure the fan is sturdy and durable.
By following these steps, you can create a unique and stylish palm leaf hand fan to keep you cool and fashionable.

2. Final thought
Making your own palm leaf hand fan is a creative journey steeped in tradition and sustainability. From selecting fresh palm leaves to shaping the fan’s blades, each step offers an opportunity for artistic expression. By following these steps, you can create a unique and stylish hand fan that reflects your passion and creativity. So, gather your materials and do it today!
If you have any further questions, don’t hesitate to send thanhcongcraft an email us at [email protected] or message us at WhatsApp: +84967485411. Hope to serve you soon! Best regard!


