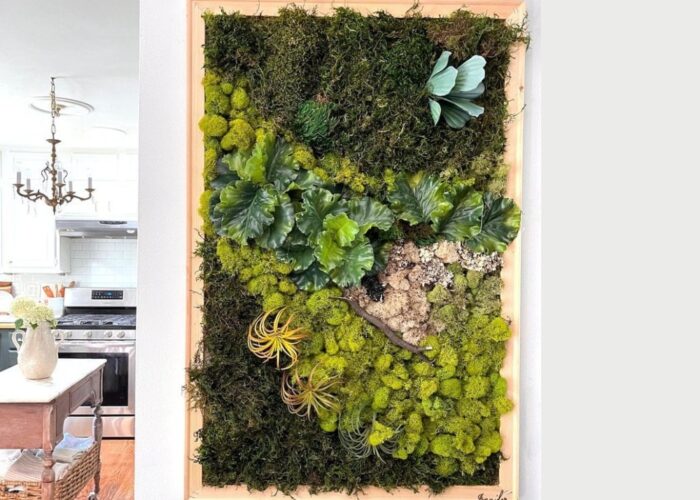
In the realm of interior decor, crafting unique artworks that resonate with nature has become a prevailing trend. One standout style in contemporary decoration is the creation of preserved moss wall art. Blending the organic allure of moss with human ingenuity, these wall pieces not only offer distinctive beauty but also infuse living spaces with vibrant focal points.
In this article, we’ll explore how to make preserved moss wall art – from gathering materials to the design process and preservation techniques. Have a read!
1. How to make a moss wall with preserved moss?
The moss wall art is the hottest trend! These stunning vertical gardens add a touch of tranquility and sophistication to any space. They require no watering, sunlight, or special care, making them perfect for busy lifestyles.
To make your own moss wall art, follow these steps:
Materials Needed:
- Preserved Moss: Select a variety of preserved moss types to create depth and texture in your moss wall. Common options include sheet moss, mood moss, and reindeer moss. Purchase these from craft stores or online suppliers.
- Backing Board: Choose a sturdy backing board as the foundation for your moss wall. Materials like plywood, corkboard, or foam board work well. Ensure the board is appropriately sized for your desired wall art dimensions.
- Adhesive: Use a strong adhesive suitable for bonding moss to your chosen backing board. We recommend using hot glue guns.
- Gloves: Protect your hands from adhesive and moss residue with a pair of gloves.
- Scissors or Shears: Have scissors or shears on hand for trimming moss to fit your design.
- Paintbrush: Use a paintbrush to apply adhesive evenly onto the backing board.
Step-by-Step Guide:
Step 1: Prepare your workspace
Lay down newspapers or a drop cloth to protect your work surface from adhesive spills. Ensure the area is well-ventilated, especially if using spray adhesive.
Step 2: Design your moss wall
Lay out your preserved moss pieces on the backing board to plan your design. Experiment with different arrangements until you achieve the desired look.
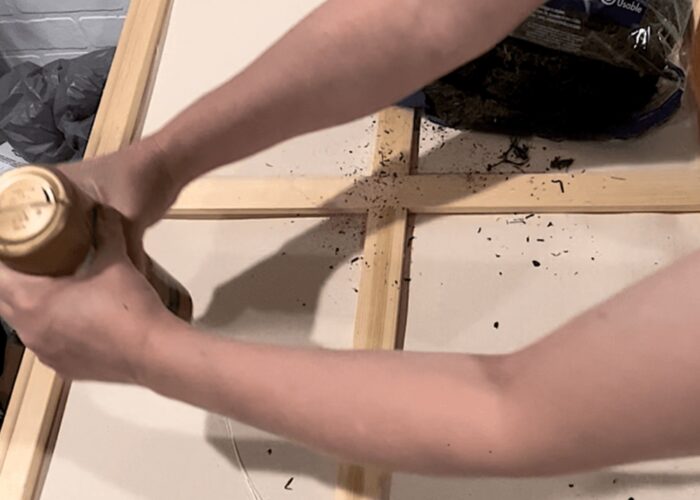
Step 3: Apply adhesive
Working in small sections, apply adhesive to the back of each moss piece using a paintbrush or directly from a glue gun or spray adhesive. Ensure even coverage to promote strong adhesion.

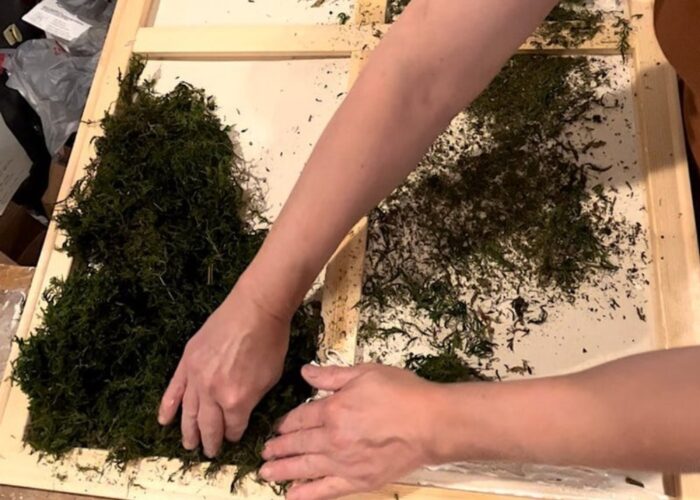
Step 4: Attach moss to backing
Press each moss piece firmly onto the backing board, starting from one corner and working your way across. Apply gentle pressure to ensure the moss adheres securely to the board.

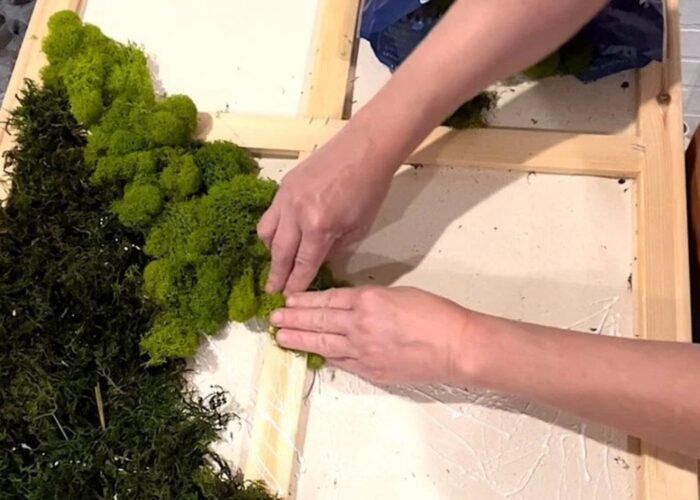
Step 5: Fill in gaps
Trim additional moss pieces as needed to fill in any gaps or bare spots in your design. Press these pieces into place, ensuring they blend seamlessly with the rest of the moss wall.

Step 6: Allow to dry
Let your moss wall art dry completely according to the adhesive manufacturer’s instructions. This may take several hours or overnight, depending on the type of adhesive used.
Step 7: Hang your moss wall
Once fully dried, your moss wall art is ready to be displayed. Hang it securely on a wall using appropriate mounting hardware, or lean it against a wall for a more casual display.

2. FAQs
2.1 How long does preserved moss wall art last?
Preserved moss wall art can last for 7-10 years with proper care and maintenance. Preserved moss is designed to retain its color, texture, and shape for an extended period, often several years or more. However, exposure to direct sunlight, high humidity, or excessive handling can affect its lifespan.
2.2 What glue is best for preserved moss?
Hot glue is a popular choice because it’s easy to use, dries quickly, and forms a strong bond, ideal for larger or heavier moss pieces. It’s always a good idea to test the glue on a small piece of moss first to make sure it works well and doesn’t damage the material.
2.3 Do you need to mist preserved moss?
Preserved moss does not require misting. Unlike live moss, which needs regular moisture to thrive, preserved moss has undergone a preservation process that renders it dormant and no longer in need of water. Misting preserved moss could actually damage it by causing it to become soggy or discolored. Instead, preserved moss simply needs to be kept in a dry environment away from direct sunlight to maintain its appearance and longevity.
2.4 What is the disadvantage of a preserved moss wall?
Preserved moss has a limited lifespan and can degrade over time, especially if exposed to sunlight or high humidity. Additionally, it is delicate and can be easily damaged, requiring careful handling. Environmental factors like moisture levels can also affect its condition.
2.5 Are there any health concerns associated with preserved moss?
People with respiratory sensitivities or allergies may experience mild irritation if exposed to dust or particles from the moss. Additionally, some preservation methods may involve the use of chemicals, although reputable suppliers often use non-toxic substances. It’s advisable to handle preserved moss in a well-ventilated area and wear gloves if you have sensitive skin.
3. Conclusion
Making your own preserved moss wall art is a fulfilling and creative endeavor that allows you to bring the beauty of nature indoors. By following this step-by-step guide and utilizing the right materials, you can create a striking piece of wall art that serves as a focal point in any room. Enjoy the process of crafting your moss wall and the natural charm it brings to your space!
If you have any further questions, don’t hesitate to send thanhcongcraft an email us at [email protected] or message us at WhatsApp: +84967485411. Hope to serve you soon! Best regard!


