In the world of art and crafts, transforming simple seashells into shimmering pearl-like creations at home is an exciting and creative process. How to polish shells to mother of pearl at home? This article will guide you through the basic steps of polishing seashells, turning them into lustrous pearls without needing a professional workshop. From selecting the right shells to using simple tools and materials, you will discover the secrets to creating radiant beauty from seemingly ordinary materials, opening up a space for creativity right in your own home.
Contents
1. What is Mother of Pearl?
Mother-of-pearl, also known as nacre, is the iridescent inner layer of certain mollusk shells, often admired for its natural beauty and unique luster. Found in shells of oysters, abalones, and other sea creatures, mother-of-pearl captivates with its delicate, multi color shimmer, making it a popular material in jewelry, home decor, and crafts. Polishing shells to reveal their mother-of-pearl surface not only enhances their visual appeal but also preserves and strengthens the shell. The process of polishing can turn ordinary shells into striking, durable pieces that carry a sense of elegance and timeless beauty.
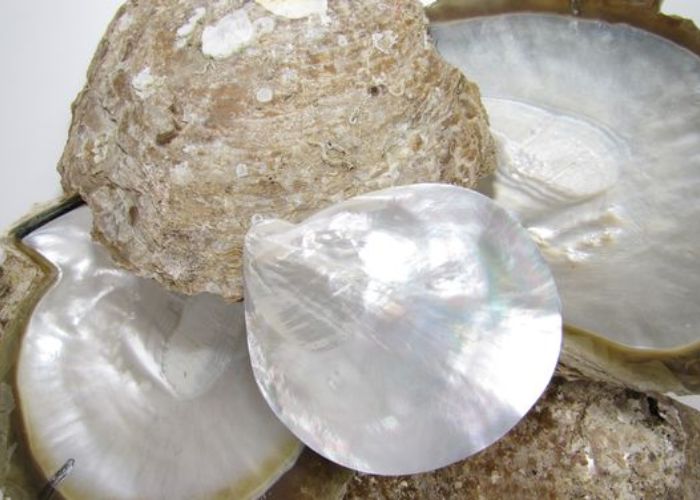
2. Tools and materials
To polish shells and reveal their stunning mother-of-pearl surface, you’ll need a few essential tools and materials. Basic supplies include fine-grit sandpaper or a sanding block for smoothing the shell’s surface, along with a soft cloth for buffing. Water and a mild detergent help clean the shell before the polishing process begins. Additionally, a polishing compound or wax is often used to bring out the shell’s natural luster. For safety, wearing gloves and protective eyewear is recommended. With these simple tools, you can transform ordinary shells into beautiful, polished works of art.
3. Steps to polish shells to mother of pearl
To polish shells into pearls, you need to follow a few basic steps.
Step 1: Clean the Shells
Wash the shells with mild soap and water to remove any dirt or debris. Use a small brush if needed to get into crevices. Rinse thoroughly and let them dry completely.
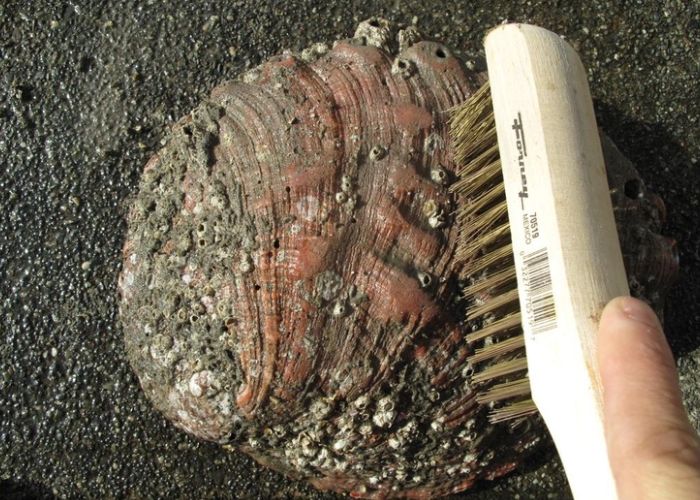
Step 2: Initial Sanding
Begin with the coarsest sandpaper (400 grit) to smooth out any major imperfections on the shell’s surface. Wet the sandpaper and the shell to reduce friction and prevent scratching. Sand in a circular motion or in the direction of the shell’s natural grain. Make sure to sand evenly across the entire surface.
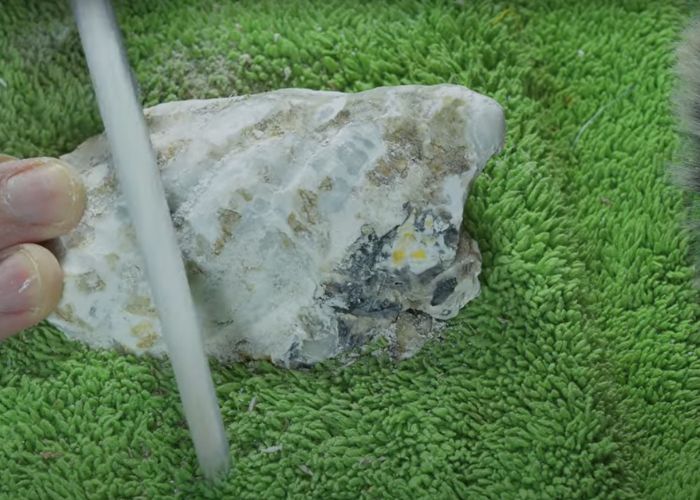
Step 3: Progressive Sanding
Move to finer sandpapers (600 and 800 grit), repeating the sanding process. Each step should smooth out scratches from the previous grit. Keep the surface wet and work carefully to achieve a uniformly smooth texture.
Step 4: Polishing
Apply a small amount of polishing compound to a soft cloth or a polishing wheel. Gently rub the compound onto the shell in a circular motion. This will bring out the luster and depth of the mother-of-pearl effect. If using a polishing wheel, ensure it’s set to a low speed to avoid overheating the shell.
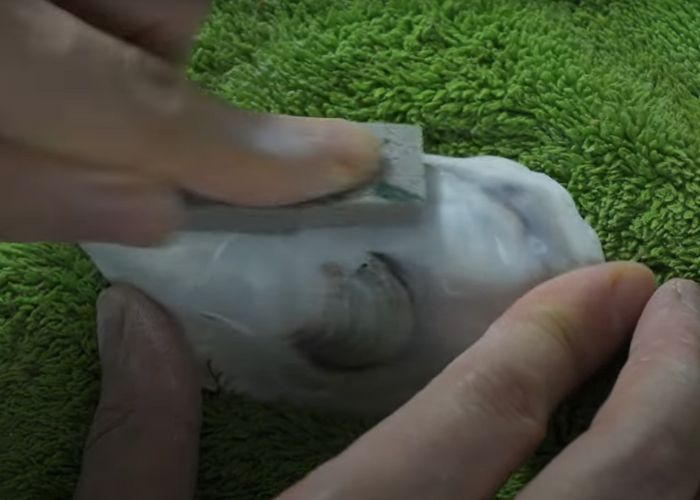
Step 5: Final Cleaning
Wipe off any excess polishing compound with a clean, dry cloth. Inspect the shell for any missed spots or imperfections and touch up as needed.
Step 6: Finishing Touches
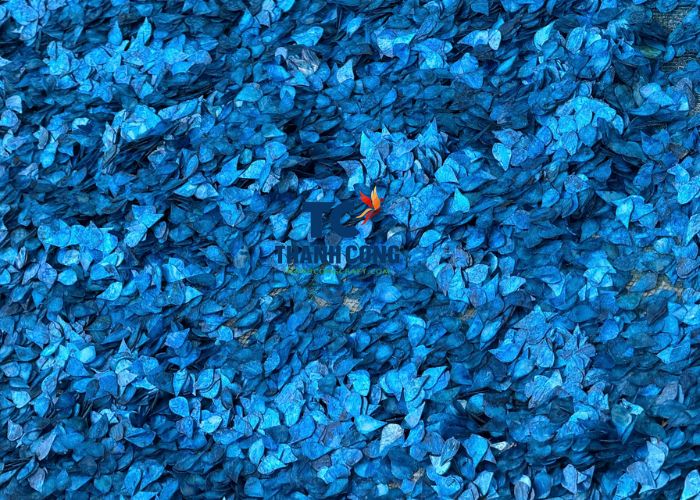
For added shine, you can use a final buffing with a clean, soft cloth to remove any remaining polish residue and enhance the shine.
4. FAQs
4.1 Can I use a drill to polish shells?
Yes, you can use a drill to polish shells, but it requires caution and the right accessories. Attach a polishing pad or buffing wheel to the drill and use it at a low speed to avoid overheating or damaging the shell. Start with a coarse polishing compound and gradually move to finer compounds for a smooth, lustrous finish. Always handle the shell carefully and keep it steady to ensure an even polish.
4.2 Can I polish any type of shell to reveal mother of pearl?
Not all shells can be polished to reveal mother-of-pearl, but many can. Mother-of-pearl is typically found in the inner layers of certain mollusks, such as oysters and abalones. These shells often have a pearlescent layer that can be brought out through polishing. However, shells from other mollusks, like clams or scallops, might not have the same iridescent quality or may have a different texture that doesn’t polish as effectively. It’s best to start with shells known for their mother-of-pearl layer and experiment to see how they respond to polishing.
4.3 Does the mother of pearls need to be sealed?
Yes, the mother of pearl can benefit from being sealed to protect its surface and maintain its luster. Sealing helps prevent damage from moisture, dirt, and oils, which can dull its appearance over time. A suitable sealant will also help preserve its beauty and extend its lifespan.
If you have any further questions, don’t hesitate to send thanhcongcraft an email us at [email protected] or message us at WhatsApp: +84967485411. Hope to serve you soon! Best regard!


