Banneton is a type of rattan basket used for proofing bread sourdough before baking. It helps the bread dough maintain its shape, creates attractive patterns on the crust, and enhances the overall texture of the bread. In this article, we will guide you on how to use a banneton proofing basket to achieve that coveted combination of a beautifully sourdough bread with an enticingly textured crust.
Let’s dive into the following steps!
1. How to use a banneton proofing basket?
A banneton helps shape the bread, retain moisture in the crust, and create beautiful patterns.
To use a bread proofing basket for sourdough, follow these steps:
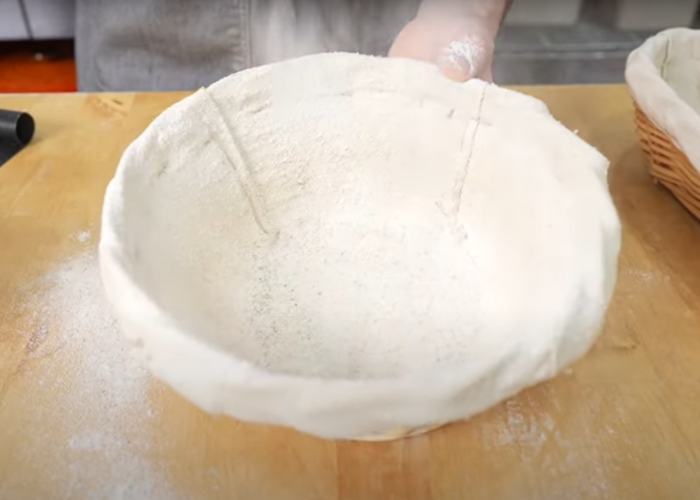
Step 1: Prepare the banneton
Prepare the banneton by evenly dusting it with rice flour. This prevents the dough from sticking to the basket and creates a crisp crust for the bread.
Step 2: Shape the sourdough
Shape the sourdough into a round or oval shape, depending on the basket’s form. You can use your hands or a knife to adjust the dough.
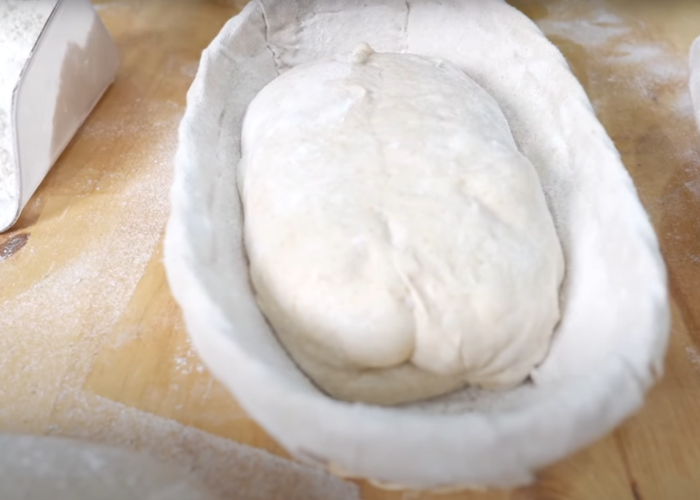
Step 3: Put the dough into the basket
Place the dough into the basket with the smooth side facing up. You can use a clean cloth to cover the basket, keeping the dough moist.
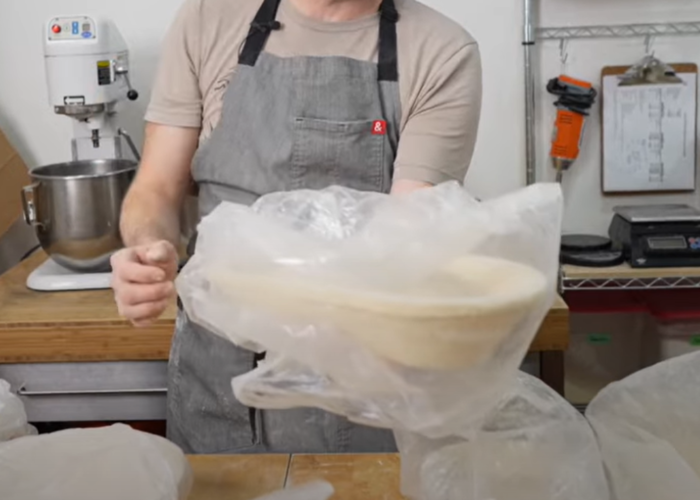
Step 4: Allow proofing
Allow the dough to proof for 1-2 hours, depending on the air temperature and humidity. Check if the dough is ready by gently pressing it; if the dough springs back slowly, it’s ready to bake.
Step 5: Transfer to baking sheet
Flip the dough out of the basket onto a baking sheet lined with parchment paper or a silicone mat. You can make a few cuts on the crust to create a decorative pattern.
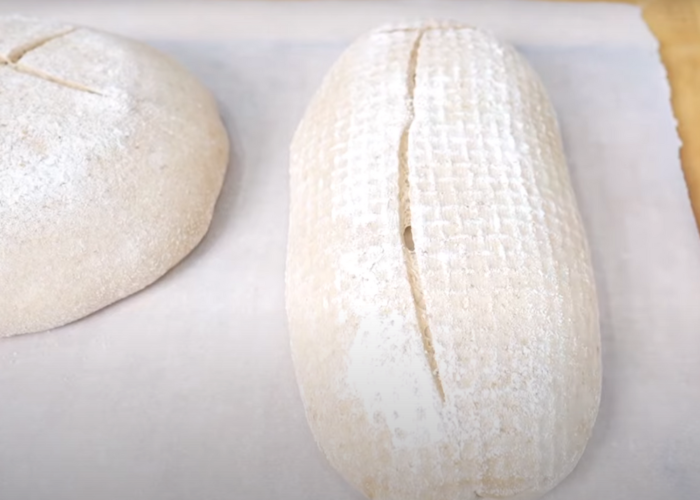
Step 6: Bake the bread
Bake the bread in an oven preheated to around 230 degrees Celsius for 20-30 minutes, depending on the size of the bread. You can spray water in the oven to create steam, resulting in a crispy and glossy crust.
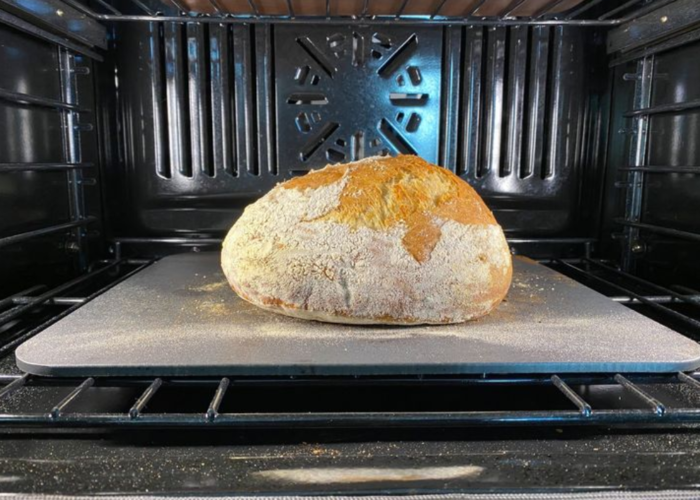
Once baked, let the bread cool on a wire rack before enjoying.
2. FAQs
2.1 How do you treat a new banneton?
When treating a new banneton, a series of important steps should be taken to guarantee optimal performance and durability. Firstly, perform an initial cleaning to rid the banneton of any dust or debris, using a dry cloth or brush for this purpose.
Next, apply a seasoning process by lightly dusting the banneton with a combination of rice flour and all-purpose flour. This not only creates a non-stick surface but also conditions the banneton for effective use. Ensure an even distribution of the flour mixture to prevent dough sticking during the proofing process.
In preparation for its first use, dust the banneton with flour, paying attention to the intricacies of its surface. This step readies the banneton for its initial interaction with the dough. Consider conducting a test bake without actual dough to allow the banneton to adapt to the baking environment. This process assists in forming a protective layer, further minimizing the risk of sticking.
2.2 Why use a liner in a banneton?
One reason to use a liner in a banneton is to prevent the dough from sticking to the baking tray. The liner can help the bread achieve a smooth and even surface during baking. Another reason is to create beautiful patterns on the bread crust. Liners may have stripes, dots, or other patterns that imprint onto the bread.
Additionally, a liner helps retain moisture for the bread, preventing it from drying too quickly during the fermentation process.
2.3 Do you put dough directly in banneton?
No, you should not place the dough directly into the banneton. A banneton is a basket used for proofing dough before baking. If you put the dough directly into the banneton, it will stick to the basket and distort the shape of the bread.
It’s advisable to line the banneton with a clean cloth and dust a bit of flour onto the fabric to prevent sticking. Then, place the dough into the banneton and let it proof for about 1-2 hours. Once the dough has risen sufficiently, you can flip the bread out of the banneton and proceed with the baking process as usual.
2.4 Should the seam of the banneton be up or down?
The placement of the seam in the banneton can influence the appearance of the bread. Typically, it is recommended to have the seam side of the dough facing up when placing it in the banneton. This practice helps create a smooth and even surface on the bottom of the bread during the final rise.
When it’s time to bake, the seam side is usually flipped down onto the baking surface, allowing the top of the bread to expand and form a beautiful crust.
2.5 Should you flour your banneton? What do you coat banneton with?
Yes, it is advisable to flour your banneton before placing the dough in it. Flouring the banneton helps prevent the dough from sticking to the basket during the proofing process. It also contributes to the formation of a crisp crust on the bread.
Commonly, a mixture of rice flour and all-purpose or bread flour is used to coat the banneton. This flour blend not only aids in preventing sticking but also creates a non-stick surface. The rice flour, in particular, is preferred for its finer texture, which helps achieve a smoother crust.
Before each use, evenly dust the banneton with the flour mixture, ensuring thorough coverage. This step is crucial for successful proofing and easy release of the dough when transferring it for baking.
2.6 How do you maintain a banneton basket?
To maintain a banneton basket, you need to clean and dry it after each use. You can use a soft-bristle brush to remove any remaining flour on the basket. It’s advisable not to wash the basket with water or soap, as it may damage the natural coating of the basket and affect the flavor of the bread.
Avoid exposing the basket to direct sunlight or other sources of heat, as this can cause the basket to shrink and deform. Store the basket in a dry and well-ventilated place, covering it with a clean cloth when not in use.
3. Final thought
Incorporating a banneton proofing basket into your bread-making routine can be a game-changer, allowing you to produce loaves with a professional touch in the comfort of your own kitchen. By following the simple yet crucial techniques discussed in this guide, you are well on your way to mastering the art of using a banneton basket.
With the above instruction on how to use a banneton proofing basket effectively, may your bread-making endeavors be marked by delightful results.
Happy baking, and may your bread always be as awesome as you are! Cheers!
If you have any further questions, don’t hesitate to send thanhcongcraft an email us at [email protected] or message us at WhatsApp: +84967485411. Hope to serve you soon! Best regard!


