Within the rich tapestry of traditional handicrafts, weaving mats from palm leaves step by step is more than just a cultural activity; it’s a vibrant art intricately woven into daily life. In this article, we delve into how to weave a mat from palm leaves / coconut fronds step by step, a meticulous process demanding patience, precision, and skilled hands.
From selecting the leaves to preparing materials and executing each weaving movement, every step is carefully undertaken to craft beautiful, durable mats.
Contents
1. Steps to weave a mat from palm leaves
Weaving palm fronds into a mat is a meticulous process that requires attention to detail and patience. Here’s a step-by-step guide on how to weave a mat from palm leaves:
Step 1: Gather palm leaves
Start by collecting fresh palm or coconut leaves. Choose leaves that are long, sturdy, and free from any damage.
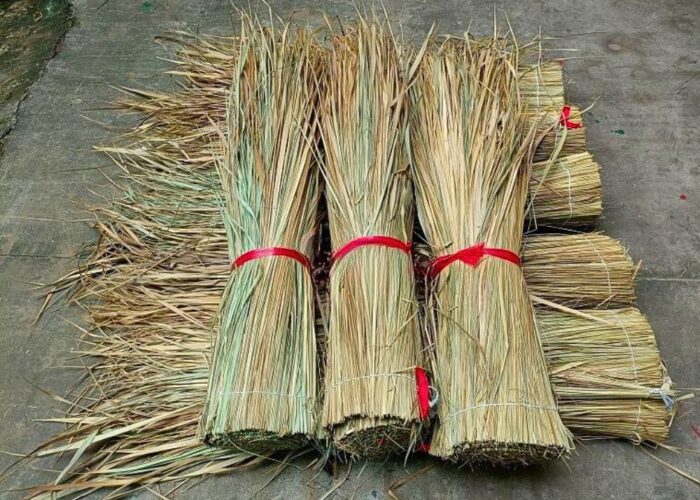
Step 2: Prepare the leaves
Trim off any rough edges or damaged parts of the leaves using scissors or a knife. Soak the leaves in water for about 30 minutes to make them more pliable and easier to work with.
Step 3: Create the base
Lay out several palm leaves parallel to each other on a flat surface. Overlap the edges slightly to form the base of the mat.
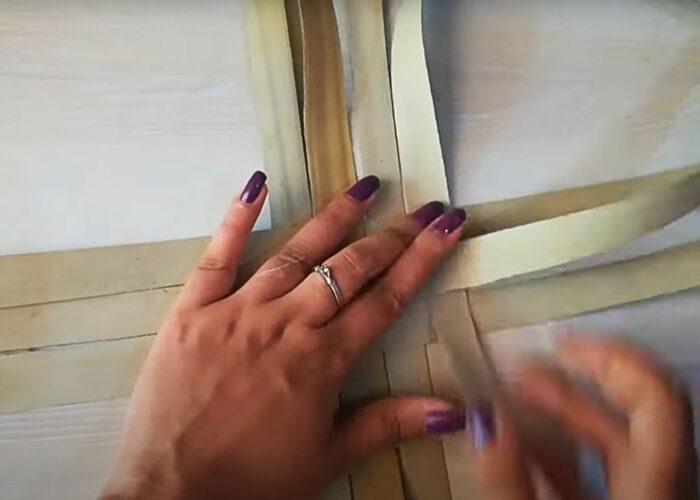
Step 4: Continue weaving
Take another palm leaf and weave it over and under the parallel leaves. Start from one end of the base and continue weaving until you reach the other end. Tighten the weave as you go to ensure a sturdy mat.
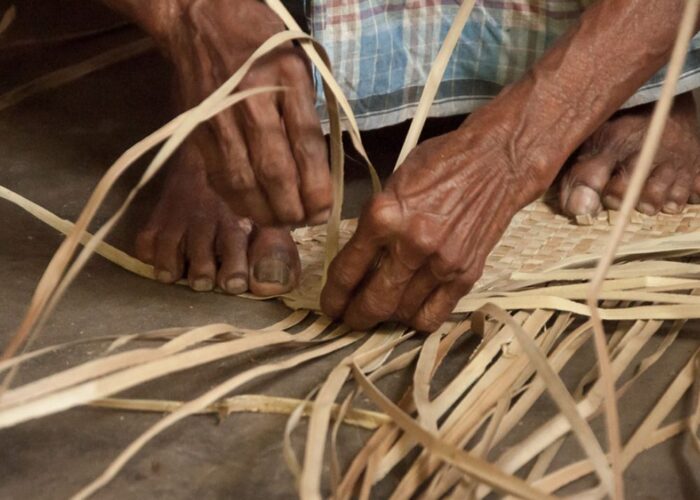
Step 5: Continue weaving
Repeat the weaving process, adding more palm leaves until you’ve covered the entire base. Alternate the direction of the weave with each new leaf to create a tight and uniform pattern.
Step 6: Secure the ends
Once the weaving is complete, secure the ends of the palm leaves by tucking them under the weaving or tying them together with string. This will prevent the mat from unraveling.
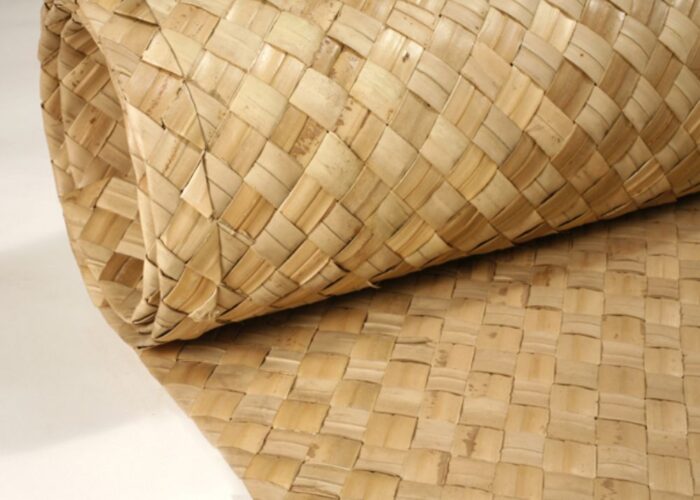
Step 7: Trim and finish
Trim any excess palm leaves and tidy up the edges of the mat. You can also add decorative elements like colored threads or beads if desired.
Step 8: Allow to dry
Let the completed mat dry in a cool, shaded area for several hours or overnight. This will help the palm leaves set into their new shape and ensure the mat is sturdy and durable.
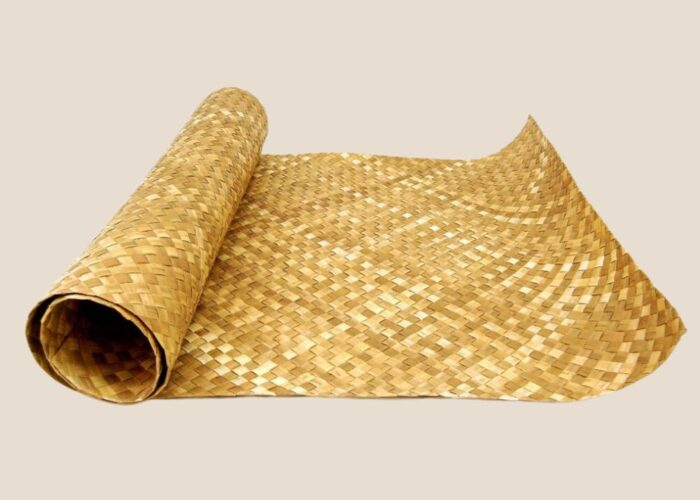
By following these steps, you can create a beautiful palm leaf mat that adds a touch of natural elegance to your home.
2. Conclusion
Weaving a mat from palm leaves is a craft that demands careful attention to detail and a patient hand. By following the step-by-step guide outlined above, anyone can create a sturdy and beautiful palm leaf mat to adorn their home.
From gathering and preparing the leaves to intricately weaving them into a tight pattern and adding finishing touches, each step contributes to the creation of a unique piece of natural artistry.
The process not only results in a functional household item but also allows one to connect with nature and appreciate the beauty of traditional craftsmanship. So, whether for practical use or as a decorative element, the art of palm leaf weaving offers a rewarding and fulfilling experience for craft enthusiasts.
If you have any further questions, don’t hesitate to send thanhcongcraft an email us at [email protected] or message us at WhatsApp: +84967485411. Hope to serve you soon! Best regard!


