Embarking on a creative journey to craft a seagrass stool? Look no further for a comprehensive guide – this step-by-step tutorial will take you through the intricacies of how to weave a seagrass stool, step by step in detail.
Discover the art of transforming seagrass strands into a functional and aesthetically pleasing piece of furniture, as we delve into the meticulous process of weaving, offering detailed insights at every stage.
Contents
1. Seagrass Stool Weaving Materials
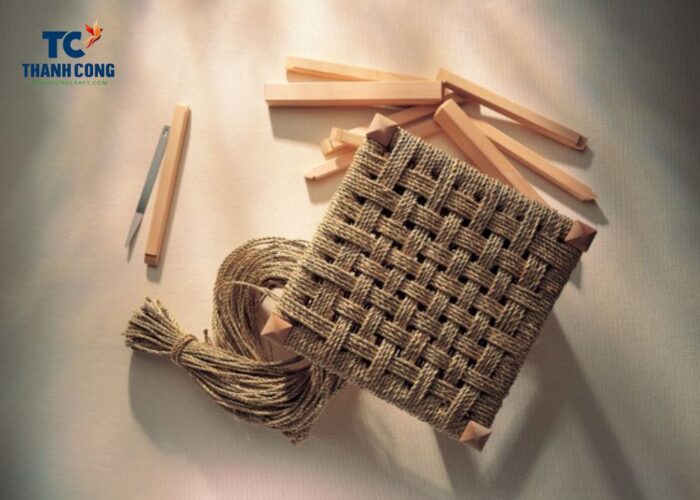
Chair seat weaving involves a fascinating interplay of materials, each contributing to the beauty and functionality of the final product. Let’s delve into the essential elements that make up the toolkit for seagrass stool weaving.
- Seagrass Strands: At the heart of seagrass stool weaving are the strands of seagrass itself. Known for its durability and natural aesthetic appeal, seagrass strands serve as the foundational material. The choice of seagrass quality and thickness can influence the overall strength and texture of the finished stool.

- Wooden Stool Frame: The sturdy foundation of any seagrass stool is the wooden frame. Crafted with precision, the frame provides the structure around which the seagrass strands are woven. The type of wood used can impact the stool’s durability and aesthetics.
- Scissors: A simple yet indispensable tool, scissors are essential for cutting and trimming seagrass strands. Precision in cutting ensures a neat and polished finish to the woven stool.
- Glue (Optional): While traditional weaving techniques may suffice, some crafters opt to use glue strategically. Glue can reinforce the structure at key points or bind the woven seagrass for added strength.
- Needle (Optional): For more intricate designs or to assist in weaving tight spaces, a needle may be employed. This optional tool aids in achieving finer details and precise patterns.
- Protective Coating (Optional): Depending on the desired finish, some crafters choose to apply a protective coating to the seagrass stool. This can enhance durability and protect the stool from environmental factors.
- Design Elements (Optional): For those seeking to infuse creativity into their seagrass stool, additional design elements like colored threads, beads, or other embellishments can be incorporated during the weaving process.
2. How to Weave A Seagrass Stool?
Weaving a chair from seagrass is an artistic process that demands skill and technique. Below is a comprehensive guide outlining the how to weave seagrass chair seat:
Step 1: Prepare the Stool Frame
The first step in the process of weaving a seagrass stool is to ensure that your wooden stool frame is stable and ready for the weaving task. The design and size of the frame will play a crucial role in determining the final shape of the stool.
Some may opt for simpler frame designs to focus on the dexterity of their hands during weaving, while more intricate frame designs can produce stools with a strong artistic flair.

Step 2: Cut Seagrass Strands
The second step involves measuring and cutting seagrass strands to the preferred length. The chosen length depends on both the size of the stool and the weaving pattern you’ve selected.
This step is pivotal in preparing the foundational material for weaving, as it ensures that the seagrass strands are appropriately sized to achieve the desired aesthetics and structural integrity of the final seagrass stool.
Step 3: Start Weaving
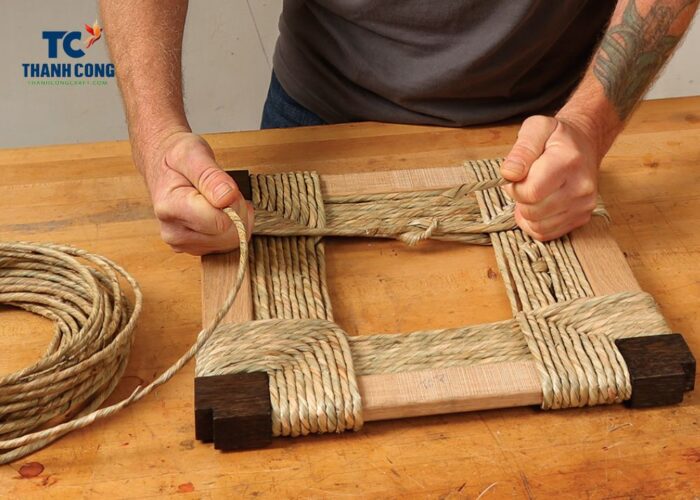
Begin by securing one end of the seagrass strand to the stool frame, choosing either the top or bottom as the starting point. The weaving technique involves employing an over-under pattern: pass the seagrass over one strut and under the next, repeating this sequence consistently.
This fundamental weaving pattern forms the basis of the entire process, establishing the structure and design of the seagrass stool.
Step 4: Maintain Tension
In the fourth step, it is crucial to focus on maintaining tension throughout the weaving process.
As you weave, regularly tighten the seagrass strands to guarantee an even and firm finish. This meticulous adjustment of tension is essential for achieving a uniform appearance in the woven seagrass stool.
The tension control not only contributes to the stool’s structural integrity but also plays a significant role in creating a visually consistent and aesthetically pleasing final product.

Step 5: Continue Weaving
In the fifth step, the weaving process continues until the desired height of the seagrass stool is achieved.
This involves maintaining a continuous, over-under pattern, ensuring each seagrass strand is tightly woven. The goal is to keep the weave tight and consistent throughout the entire process.
By adhering to this principle, the resulting seagrass stool will not only be visually appealing but also possess structural integrity.
Step 6: Finish the Weaving
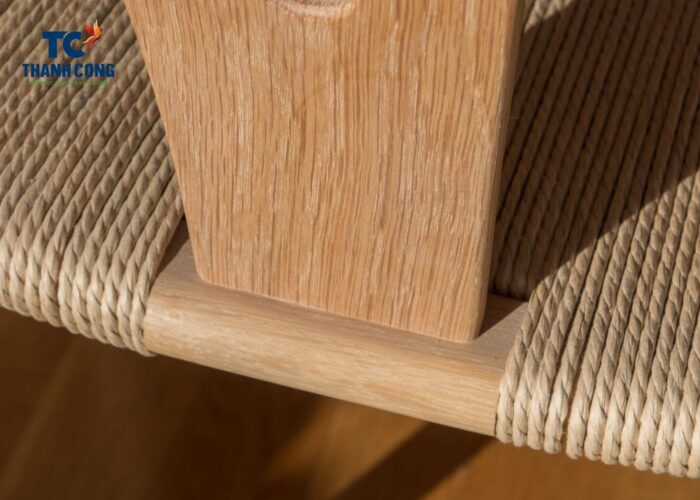
Once the desired height for the seagrass stool is reached, it is crucial to secure the end of the seagrass tightly to ensure stability and structural integrity. This secure fastening is pivotal in creating a well-finished and durable product.
Any excess material is carefully trimmed to achieve a clean and polished appearance, emphasizing the meticulous craftsmanship involved.
Step 7: Glue or Tie (Optional)
Opting for gluing or tying serves to enhance the structural integrity of the stool, providing additional strength and stability. This step becomes especially valuable if a neat and robust finish is desired for the final product.
The decision to incorporate this step is entirely at the discretion of the crafter and depends on individual preferences.

Step 8: Allow to Dry
If glue has been utilized in the previous optional step, it is imperative to allow the seagrass stool to dry completely before putting it into use. Allowing the glue to dry ensures a secure and durable finish for the stool.
This crucial waiting period ensures that the glued sections bond effectively, contributing to the overall stability of the woven structure.
Step 9: Final Inspection
During this crucial phase, one must carefully check for any loose ends or signs of uneven weaving. This keen examination allows the crafter to identify and address any imperfections or irregularities in the weave.
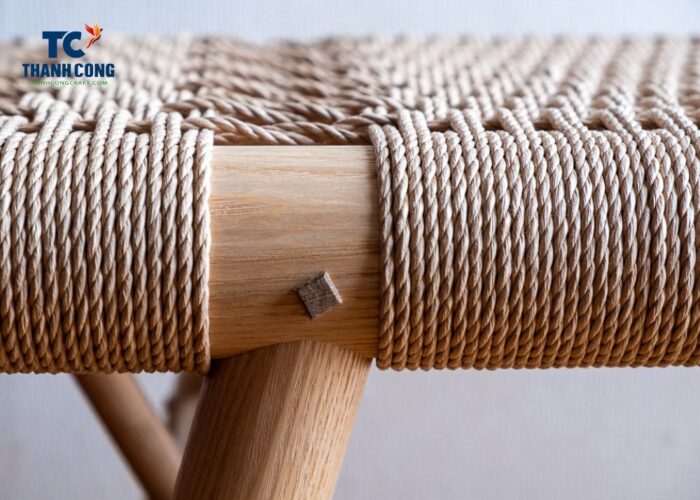
Making necessary adjustments at this stage is pivotal to achieving a polished and refined final product. Adding extra seat cushions or footstool cushions can enhance the comfort of the chair, making it more pleasant to use.
The article above has guided you how to weave a seagrass stool (chair) step by step in detail. You can follow the simple and easy-to-understand steps to create beautiful and durable chairs for your home. Experiment with different weaving patterns and designs to personalize your stool and bring a touch of nature into your living space.
If you have any further questions, don’t hesitate to send thanhcongcraft an email us at [email protected] or message us at WhatsApp: +84967485411. Hope to serve you soon! Best regard!


