In the world of plant enthusiasts, creating a plant hanger from rope is not only a creative activity but also offers a sense of relaxation and pride. This article will guide you step by step through the simple rope plant hanger diy step by step, from choosing the right rope to knotting techniques and finishing touches. Let’s embark on this DIY journey together and transform your living space into a lush and vibrant environment with this simple yet elegant rope plant hanger.
1. Steps to make a simple rope plant hanger
Creating a simple rope plant hanger is a rewarding DIY project that enhances your space with a touch of natural elegance. Here’s a step-by-step guide to help you make your own.
Materials:
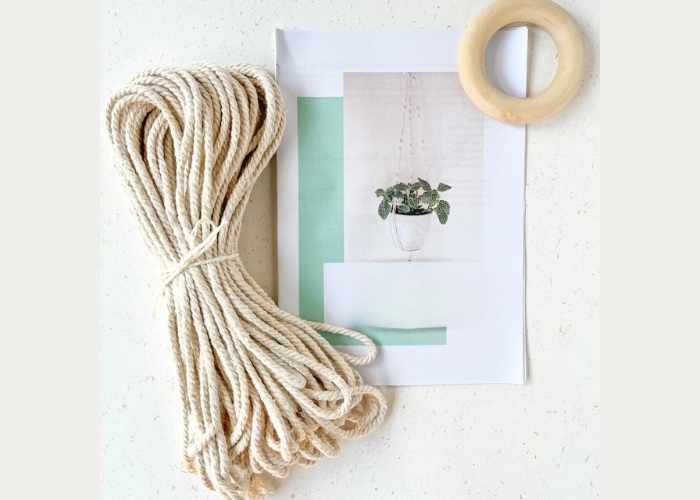
- Rope: Choose a sturdy, decorative rope, such as jute or cotton, with a thickness that suits your style.
- Scissors: To cut the rope to the desired lengths.
- Measuring Tape: For accurate measurement of rope lengths.
- Plant Pot: The size of the pot will help determine the length of the rope needed.
- Hook or Ceiling Anchor: To hang the finished plant hanger.
- Optional: Beads or Decorative Elements: For added style.
Steps by Step:
Step 1: Measure and Cut the Rope
Measure and cut four equal lengths of rope. Each length should be about three times the height you want your plant pot to hang. For example, if you want the pot to hang 30 inches, cut each piece of rope to 90 inches.

Step 2: Tie the Initial Knots
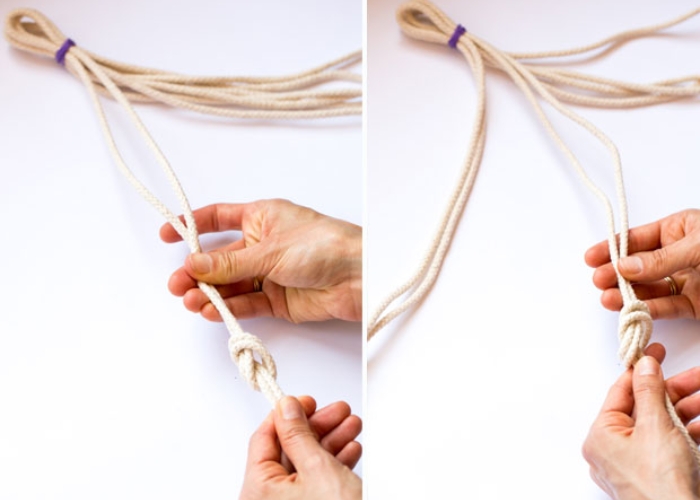
Gather the four pieces of rope together and tie a knot at one end, leaving a loop large enough to fit over your hook or ceiling anchor.

Step 3: Create the Hanger’s Shape
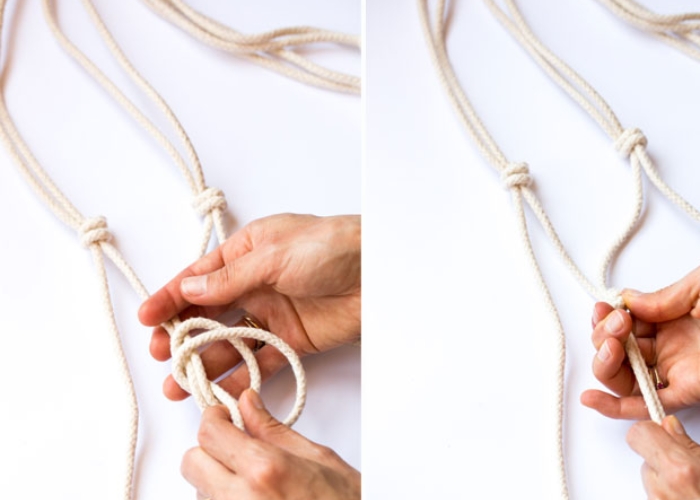
Separate the four lengths of rope and tie them into a series of knots. Start by tying a knot about 8-10 inches down from the top knot. Then, create another knot below the first one, spacing them evenly. This will form a basket-like shape to hold your plant pot.

Step 4: SteAdjust the Length
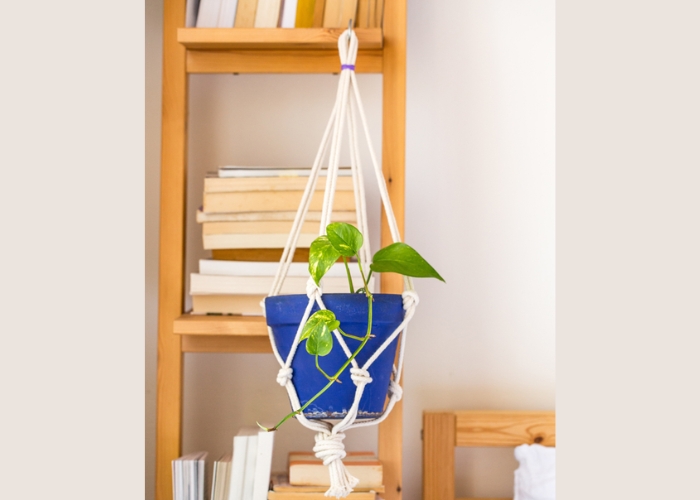
Place your plant pot in the hanger and adjust the knots if necessary to ensure the pot fits snugly and is centered.
Step 5: Secure the Hanger
Once you’re satisfied with the fit and shape, secure the top knot tightly. Make sure the loop at the top is securely attached to your hook or ceiling anchor.
Step 6: Hang and Enjoy
Place your plant in the hanger and hang it in your desired location. Adjust as needed to ensure it’s level and secure.

By following these steps, you’ll create a stylish and functional rope plant hanger that adds a touch of charm to any space. Enjoy your new DIY creation!
2. FAQs
What type of rope is best for plant hangers?
For plant hangers, jute, cotton, hemp, and sisal ropes are excellent choices. Jute rope offers a rustic, natural look and is eco-friendly, while cotton rope is soft, flexible, and easy to work with. Hemp rope is strong and durable, suitable for heavier plants, and sisal rope provides a rough texture that adds character. Choose a rope based on the weight of your plant and the aesthetic you prefer, ensuring it is sturdy enough to support your plant securely.
Do you need a ring for a macrame plant hanger?
No, you don’t necessarily need a ring for a macramé plant hanger, but it can be helpful depending on your design. A ring can provide a sturdy base to start your knots and make it easier to hang your plant. However, many macramé plant hangers are made without rings, using knots and loops to create the hanger’s structure. If you prefer a ring, choose one that matches the size and weight of your plant to ensure it supports the hanger properly.
My plant hanger seems uneven. What can I do?
If your plant hanger seems uneven, try adjusting the knots and ensuring they are tightened and spaced evenly. Check that the rope lengths are consistent; trim any longer sections to match the shorter ones. Hang the plant hanger and make small tweaks while it’s suspended to achieve balance. Secure all adjustments to ensure stability and a level appearance.
If you have any further questions, don’t hesitate to send thanhcongcraft an email us at [email protected] or message us at WhatsApp: +84967485411. Hope to serve you soon! Best regard!


