Rattan shelves are a beautiful and durable addition to your home. You can create your own wicker rattan shelf using simple materials and basic tools. We will guide you how to make a rattan shelf with effortless steps.
This guide takes you through the materials, tools, and step-by-step process to create a stunning piece that adds a touch of handmade elegance to your space. Whether you’re a seasoned DIY enthusiast or a newcomer, join us in crafting a unique rattan shelf that reflects your personality and creativity.
Contents
1. How to make a rattan shelf DIY?
Rattan wicker shelves are a beautiful and durable addition to your home. You can create your own wicker shelf with simple materials and tools.
Materials Needed:
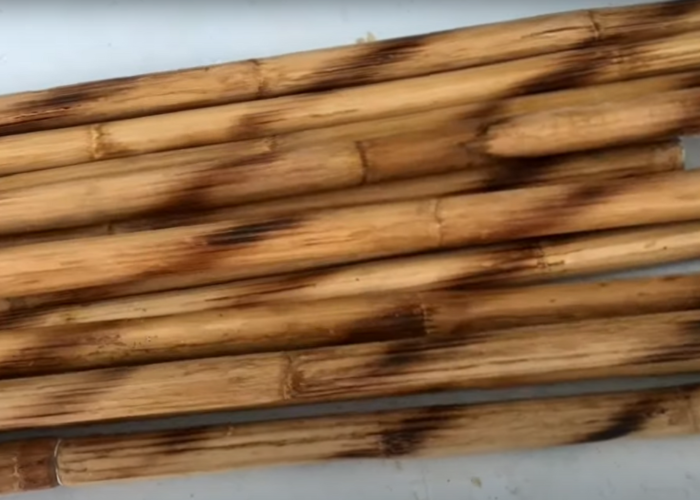
- Rattan Poles: Purchase rattan poles of the desired length and thickness for the frame and shelving components of your shelf. Rattan can usually be found at craft stores or online.
- Measuring Tape: Use a measuring tape to determine the dimensions for your shelf, including the height, width, and depth.
- Saw: A saw will be necessary for cutting the rattan poles to the required lengths. Choose a saw that is suitable for cutting through rattan.
- Wooden Boards: You may need wooden boards to serve as the base for the shelves. The boards should be cut to fit the dimensions of your shelf.
- Wood Screws: Wood screws will be needed to attach the rattan poles to the wooden boards and to secure different parts of the shelf together.
- Drill: A drill will be useful for making holes in the wooden boards and rattan poles to insert screws.
- Wood Glue: Wood glue can be used in conjunction with screws for additional reinforcement of joints.
- Sandpaper: Sandpaper will help smooth the edges of the cut rattan poles and wooden boards for a finished look.
- Varnish or Sealant (Optional): If you want to protect and enhance the appearance of your rattan shelf, consider using a varnish or sealant.
Step-by-Step Instructions:
Step 1: Cut the rattan poles
Carefully cut the rattan poles into pieces with your preferred length and thickness for the shelf. Whether using a knife or saw for cutting rattan poles, exercise caution to prevent any injuries during the cutting process.

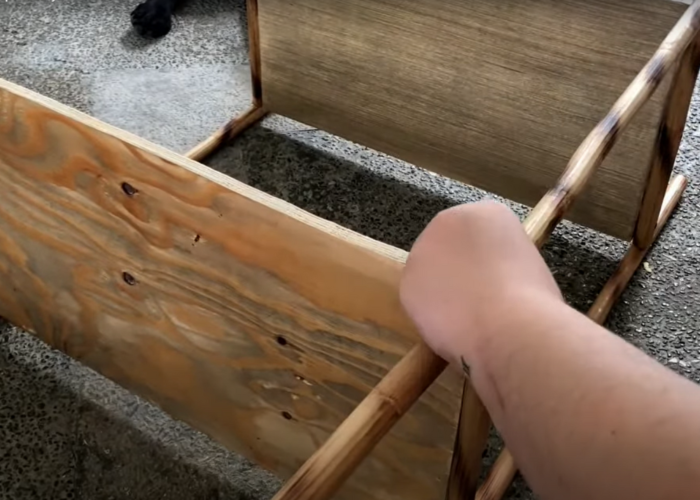
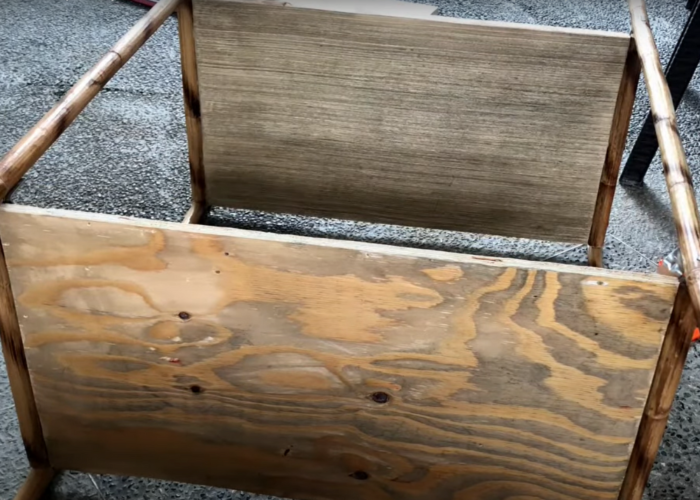
Step 2: Construct the shelf frame
Assemble the rattan pieces to form the sturdy and balanced frame of the shelf. Connect the rattan using either twine or nails, ensuring a secure fit.

Step 3: Form the shelf surface
Arrange rattan pieces on top of the frame to create the surface of the shelf. Use twine or nails to fasten the rattan, leaving appropriate gaps between pieces for efficient storage.

Step 4: Complete your shelf
Personalize your shelf by painting or decorating it according to your preferences. Enhance both aesthetics and functionality by adding extra details like hooks, handles, legs, etc.
That’s how you can craft a simple and efficient DIY rattan shelf. With minimal cost and time, you can create a practical yet unique and eco-friendly decor piece for your home. Rattan shelves serve not only a functional purpose but also contribute to distinctive and environmentally conscious interior design.
2. How to hang a rattan shelf?
A small wall-mounted rattan shelf is known for its high durability and eco-friendly nature. To hang a rattan shelf, you’ll need the following tools: a drill, screws, a hammer, a measuring tape, a pencil, and a level. Here are the steps to follow:
- Measure the height and width of the rattan shelf and mark the positions of its two ends on the wall using a pencil.
- Use a level to draw a horizontal line across the two marked points, ensuring the line is parallel to the floor.
- Measure the distance between the two hanging holes of the rattan shelf, divide it in half to find its midpoint, and mark this midpoint on the drawn line on the wall.
- Measure the distance from the midpoint to the two hanging holes, and use a pencil to mark these two points on the drawn line. These will be the positions for the drill holes.
- Use a drill to create two holes in the wall according to the size of the screws. Be careful not to drill too deep or too wide.
- Use a hammer to gently tap the screws into the drilled holes, leaving a portion of them protruding from the wall.
- Hang the rattan shelf on the screws, check for balance and stability. If needed, you can adjust the positions of the screws or use spacers to secure the rattan shelf.
That’s how you can hang a rattan shelf easily and effectively. You can place a rattan shelf in the living room, bedroom, or workspace for decoration and storage of small items.
3. FAQs
3.1 How do you stick rattan to wood?
To stick rattan to wood, epoxy is a reliable choice for creating strong bonds with water resistance. Follow the instructions to mix the two epoxy parts, apply the mixture to both surfaces, and then clamp the pieces together until cured.
Alternatively, you can use galvanized staples, especially for attaching rattan webbings to flat wood surfaces like chair seats or cabinet doors. Utilize a staple gun to secure the rattan at regular intervals.
Before attaching the rattan, ensure that both the wood and rattan are clean, dry, and free from any dirt, dust, or oils. Lightly sanding the wood can enhance the bonding for glue or staples.
Whether using glue or staples, apply gentle tension to the rattan as you attach it to ensure a tight and secure bond.
3.2 How to attach rattan to metal?
To attach rattan to metal, opt for a two-part epoxy designed for strong and water-resistant bonds on both materials. Apply the mixed epoxy to both surfaces, firmly press the rattan onto the metal, and use clamps or weights to secure it until fully cured.
Ensure the epoxy you choose is specifically formulated for adhering metal to rattan.
Additionally, here are alternative methods for effectively attaching rattan to metal:
- Rivets:
For a secure and permanent attachment, opt for blind rivets. Drill corresponding holes in the metal frame, thread the rattan through, insert the rivet, and use a rivet gun to set it in place.
- Screws:
When attaching flat rattan sheets to metal frames, use small screws with thin heads to avoid splitting the rattan. Pre-drill holes in both the metal and rattan for a smooth and damage-free fastening.
Note: Pre-drilling holes for both rivets and screws prevents cracking and facilitates the attachment process.
- Wire Ties:
For a more flexible and less permanent attachment, consider using galvanized wire ties. Wrap the wire around the metal frame and rattan, twisting it securely. This method is suitable for applications where occasional adjustments might be needed.
3.3 Is it hard to make rattan?
Making rattan items can vary in difficulty depending on the complexity of the project and the skill level of the individual. Basic rattan crafts, such as simple weavings or wrapping rattan around frames, may be relatively straightforward and suitable for beginners. However, more intricate rattan furniture or intricate designs may require advanced skills and experience.
The process involves preparing rattan strands, treating them if necessary for durability, and then weaving or attaching them to a structure. Understanding the techniques, having the right tools, and practicing precision are crucial for successful rattan craftsmanship.
Hopefully with the “how to make a rattan shelf” instructions above, you can easily make your own rattan shelves to decorate your room. If you have any further questions, please send thanhcongcraft an email us at [email protected] or message us at WhatsApp: +84967485411.
Hope to serve you soon! Best regard!


