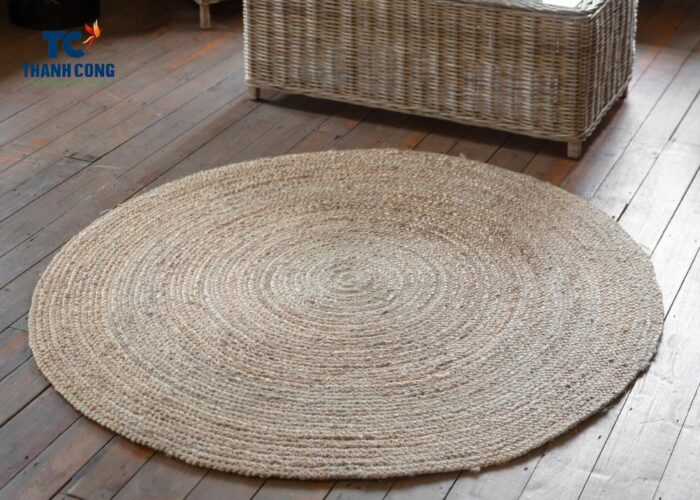
Seagrass mat (aka seagrass carpet, seagrass rug) not only add a rustic charm but also bring a sense of eco-friendly craftsmanship into your living space. In this step-by-step guide, we’ll walk you through how to make a seagrass mat in detail at home.
Discover the art of weaving and learn how to transform simple seagrass strands into a functional and aesthetically pleasing mat.
Contents
1. How to Make a Seagrass Mat?
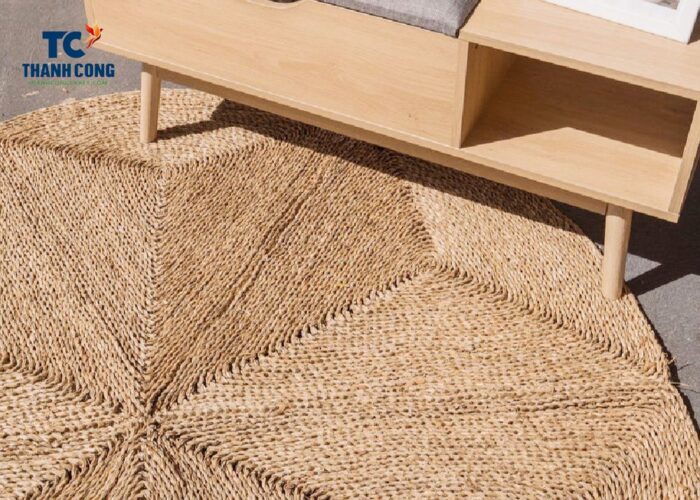
A seagrass mat is a type of natural flooring or covering made from seagrass – an eco-friendly natural fiber.
Seagrass is often used for making woven mats, rugs, and other similar products due to its durability and natural beauty.
They can withstand high-traffic areas and are suitable for both indoor and outdoor use, including living rooms, dining rooms, bedrooms, and outdoor spaces like patios and porches.
Delve into the art of weaving and master the transformation of humble seagrass strands into a functional and visually appealing mat. Follow how to make seagrass carpet in detail at home.
1.1 Gather Your Materials
Embark on your seagrass mat project by thoughtfully assembling the necessary materials. Start with selecting fresh and flexible seagrass strands, ensuring they align with your desired aesthetic and durability standards.
Equip yourself with precision tools—sharp scissors for clean cuts and a ruler for accuracy. These are instrumental in turning seagrass into a beautifully woven masterpiece on your chosen flat surface.
1.2 Measure and Cut
How to make a grass mat, measure the dimensions for your mat with care, ensuring accuracy using a ruler. When cutting the grass strands, aim for equal lengths to achieve a uniform and visually pleasing finish.
This attention to detail sets the stage for a seamless and well-crafted weaving process.
1.3 Prepare the Base
In the third step, focus on creating a solid foundation for your seagrass mat, considering both thickness and stability. For those desiring a plusher mat, introduce a non-slip rug pad as the foundational layer. This additional padding not only increases volume but also enhances overall comfort and resilience.
1.4 Begin Weaving
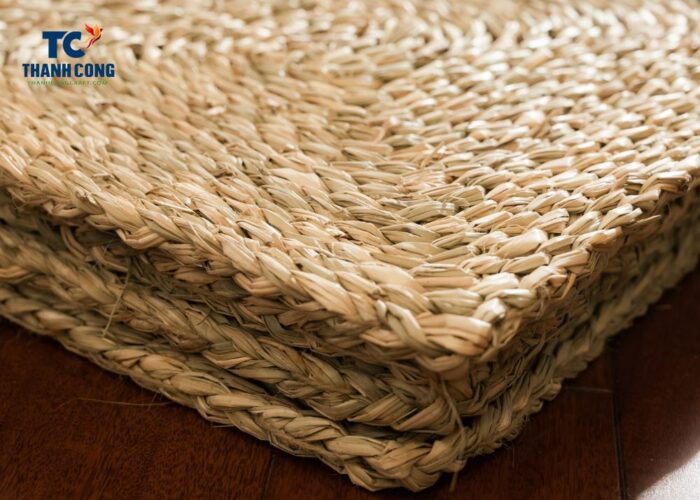
Transitioning into the weaving phase is where the true artistry of your seagrass mat comes to life. Lay the seagrass horizontally, allowing each strand to slightly overlap.
With a meticulous touch, initiate the weaving process by alternating the vertical strands over and under the horizontal ones.
As you proceed, pay attention to detail, ensuring a seamless alignment of each strand for a uniform and professional finish.
1.5 Secure the Ends
As the weaving journey nears completion, delicately secure the ends by either tucking them under the weaving or tying knots. This not only fortifies the structural integrity of the mat but also imparts a handcrafted charm to its appearance.
For a polished and refined look, meticulously trim any excess seagrass. This attention to detail enhances the overall aesthetic, ensuring a neat and professional finish.
1.6 Finishing Touches
Secure any loose strands for a polished appearance. You can also add a border by weaving a contrasting color or thicker seagrass around the edges. A securely woven mat with thoughtful borders showcases a commitment to craftsmanship, resulting in a truly unique and bespoke seagrass creation.
1.7 Let It Set
In the final step, grant your seagrass mat the time it needs to set and dry. Address any minor adjustments if needed. This attention to detail guarantees that your seagrass mat emerges from the drying process in its finest form.
Conduct a final check during this setting period to ensure perfection in every strand.
1.8 Enjoy Your Creation
As you reach the final step, savor the fruits of your labor. Once the seagrass mat is completely dry, it’s time to find its place in your home. Sit back, relax, and relish the fulfillment of crafting a functional work of art from simple strands of seagrass.
Experiment with different weaving patterns and colors to personalize your seagrass mat. It’s a wonderful way to bring a touch of craftsmanship and nature into your home decor.
2. FAQs
2.1 How Do You Get a Seagrass Rug to Lay Flat?
Heavy, solid pieces of furniture are excellent tools for flattening a rug. The more surface contact between the furniture and the rug, the better. Be sure that you have first let your rug acclimate 1-2 days in the space before layering on heavy objects.
If your rug has not relaxed first, the weight and tension from heavy objects may make buckling worse.
For stubborn wavy portions or corners that pop up, strategically place piles of books or potted plants on these areas. Although this may temporarily disrupt the furniture arrangement, a few days of this technique will encourage the rug fibers to settle down, rectifying any unevenness.
If dealing with a smaller area rug, consider placing it beneath a mattress for a few days. This method promotes a smoother and flatter appearance. Embrace these practical tips to enhance the aesthetic appeal and functionality of your rug with ease.
2.2 How Do You Sew Seagrass Squares Together?
Sewing seagrass squares together is a meticulous process that ensures both durability and aesthetic appeal in your final creation. Begin by gathering your materials – seagrass squares, heavy-duty thread or twine, a large-eye needle, and scissors. Before stitching, lay out the squares in your desired pattern to visualize the end result.
Start sewing from a corner or edge, using a secure stitch like the basic running stitch. Ensure each stitch passes through the seagrass for a robust connection. Continue stitching along the edges, maintaining an even and tight seam.
Tie off the thread securely when you reach the end, preventing unraveling, and trim any excess. If you’re creating a larger piece, repeat the process for additional rows, aligning and sewing them to the existing ones. Inspect the seams for any weaknesses and reinforce as needed.
This method is ideal for crafting mats, rugs, or decorative elements, providing a cohesive and enduring structure.
In conclusion, crafting a seagrass mat at home can be a gratifying and creative endeavor. By following the detailed steps outlined above, you can master the art of weaving and produce a seagrass mat that not only adds a touch of natural elegance to your living space but also reflects your unique craftsmanship.
If you have any further questions, don’t hesitate to send thanhcongcraft an email us at info@thanhcongcraft.com or message us at WhatsApp: +84967485411. Hope to serve you soon! Best regard!


