Creating art from natural materials not only brings joy but also stimulates creativity in children. One of the popular and enjoyable craft projects for kids is making a turkey from pine cones. Through this article, we will explore how to make a turkey with pine cones, a fun and easy crafting activity suitable for young children. By using pine cones, a bit of paint, and some simple accessories, you can help children create a unique piece of art while educating them about the value of recycling and using natural materials in art.
1. Steps to make a turkey with pine cones
Are you ready to embark on a delightful crafting adventure with your kids? Making a turkey with pine cones is not only a fun and engaging activity but also a wonderful opportunity to explore creativity and nature together. Let’s dive into the steps to create this charming craft:
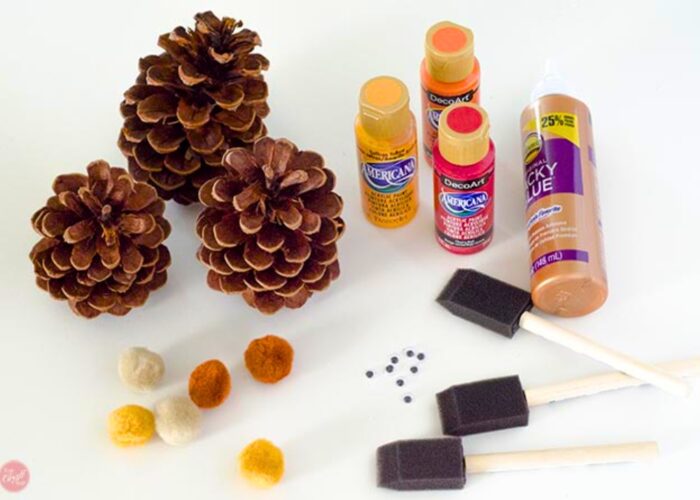
Materials:
- Pine cones: Gather clean and dry pine cones of various sizes.
- Paints: Choose acrylic paints in various colors to decorate the pine cones.
- Paintbrushes: Select small paint brushes suitable for detailed painting.
- Googly eyes: Use small googly eyes to bring your pinecone turkey to life.
- Construction paper: Provide colored construction paper for creating feathers, beaks, and other turkey features.
- Glue: Use non-toxic craft glue to attach the googly eyes and construction paper pieces to the pine cones.
- Scissors: Have a pair of child-safe scissors on hand for cutting the construction paper.
Step-by-step Guide:
Step 1: Prepare the Pine Cones
Start by cleaning any dirt or debris from the pine cones and allowing them to dry completely.
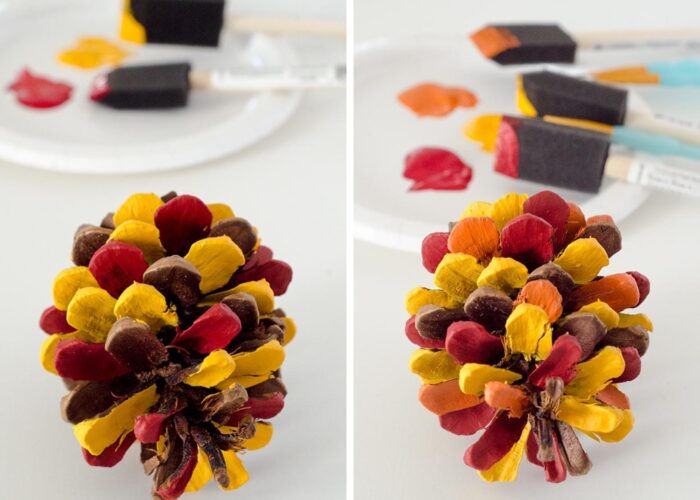
Step 2: Paint the Pine Cones
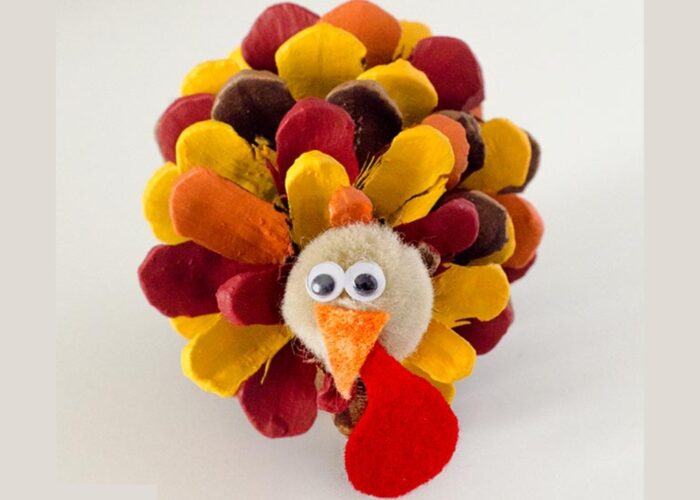
Use acrylic paints to paint the pine cones in vibrant colors. Let your child’s imagination soar as they decorate each pine cone to resemble turkey feathers.
Step 3: Create the Features
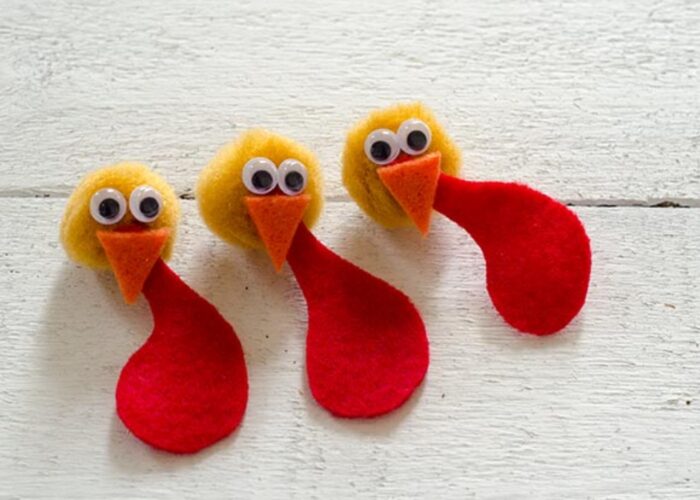
Cut out shapes from the construction paper to create the turkey’s features, such as a beak, wattle, and feet.
Step 4: Attach the Features
Use craft glue to attach the googly eyes and construction paper features to the appropriate places on the painted pine cones.
Step 5: Arrange and Display
Once the glue has dried, arrange your pinecone turkeys in a festive display. You can place them on a mantel, use them as table decorations, or hang them as ornaments.
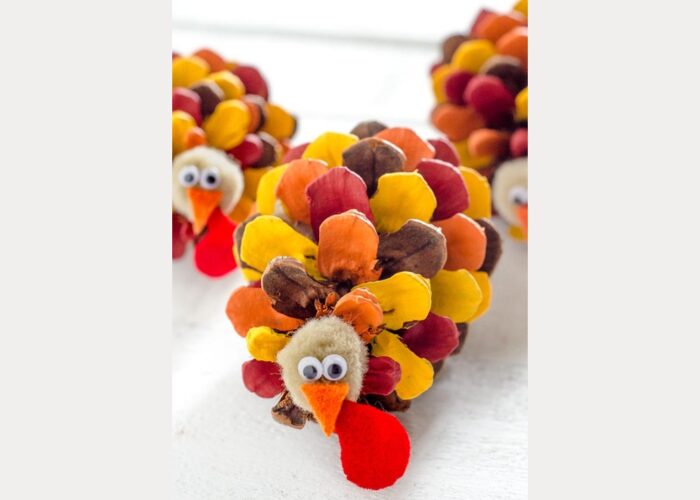
Encourage your child to proudly display their pinecone turkey creations and share them with friends and family. This crafting experience is not only about creating art but also about creating cherished memories together.
Get ready to witness the joy and creativity that blossoms as you and your children transform ordinary pine cones into adorable turkeys. Let the crafting fun begin!
2. FAQs
2.1 Can you bake pine cones to open them?
Yes, baking pine cones is a common method used to open them up and remove any remaining moisture. To do so, preheat your oven to a low temperature, typically around 200°F (93°C). Place the pine cones on a baking sheet lined with parchment paper or aluminum foil, ensuring they are spread out evenly and not touching each other. Bake the pine cones in the oven for about 30 minutes, which helps to open them up and release any trapped moisture. This process also helps to kill any insects or bacteria that may be present on the pine cones. Once baked, allow the pine cones to cool before using them for crafting or decorative purposes.
2.2 Why would you bake pine cones?
Baking pine cones serves multiple purposes that make them more suitable for crafting and decorative use. Firstly, baking helps to open up the pine cones, making them easier to work with and allowing for better adhesion of paints, glues, or other decorative materials. Additionally, the low heat used during baking helps to sterilize the pine cones, eliminating any insects, larvae, or bacteria that may be present. This ensures that the pine cones are safe to use indoors and won’t introduce any unwanted pests into your home. Furthermore, baking can help to remove any sap or resin residue from the pine cones, resulting in cleaner and more aesthetically pleasing specimens.
2.3 Can I use other materials besides leaves for the tail feathers?
Certainly! When crafting your pinecone turkey, you’re not limited to using just leaves for the tail feathers. There are numerous materials you can explore to add a unique and personalized touch to your creation. Consider incorporating craft feathers for a colorful and textured look, or cut out feather shapes from colored construction paper or patterned scrapbook paper to achieve a vibrant and artistic design. Additionally, you can experiment with fabric or felt to create soft and plush tail feathers, or use ribbon or fabric strips for a playful and whimsical effect.
2.4 Can I make this craft with younger children?
Yes, you can definitely make this craft with younger children! Crafting pine cone turkeys is a fun and engaging activity that can be enjoyed by children of all ages, including younger ones. To ensure a successful crafting experience, consider adapting the project to suit the age and abilities of the children involved. For younger children, you may want to simplify the steps, provide larger and safer crafting materials, and offer more hands-on assistance and guidance throughout the process.
If you have any further questions, don’t hesitate to send thanhcongcraft an email us at info@thanhcongcraft.com or message us at WhatsApp: +84967485411. Hope to serve you soon! Best regard!
