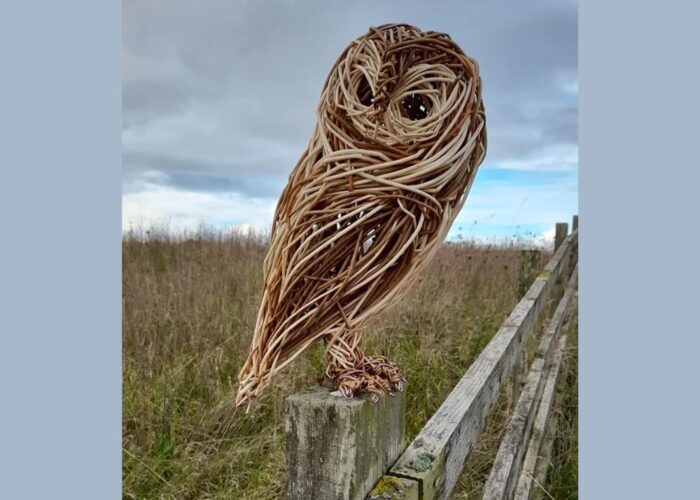
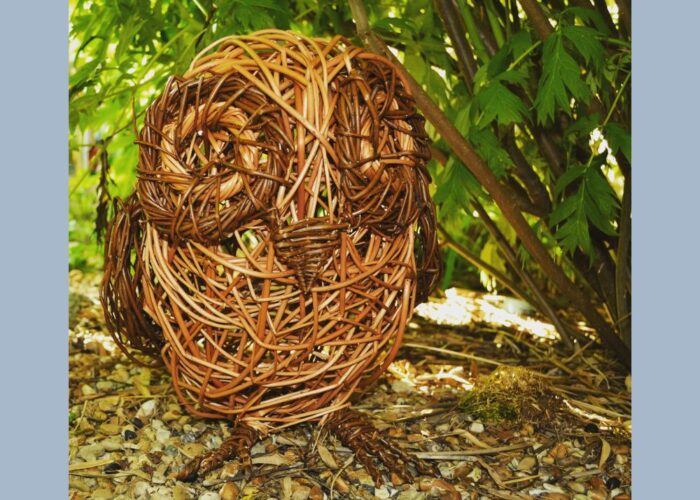
With just a few simple steps, you’ll have the opportunity to transform natural willow strands into a wonderful owl sculpture, refreshing and beautifying your green environment. Let’s embark on your creative journey with how to make a willow owl sculpture’s guide.
This is not just a crafting project but also a chance for you to connect with nature, express personal creativity, and create a unique piece of art that you can proudly showcase in your living space. Have a read!
Contents
1. How to make a willow owl sculpture?
Creating a willow owl sculpture is a delightful and eco-conscious crafting endeavor that provides an opportunity to transform natural willow strands into a captivating piece of art. Here’s a comprehensive guide on how to make a willow owl sculpture:
Materials Needed:
- Willow branches or strands;
- Pruning shears or scissors;
- Craft wire or twine;
- Pliers;
- Styrofoam or a suitable base material (optional);
- Decorative elements (optional).
Step-by-Step instructions:
Step 1: Gather willow strands
Begin by collecting willow branches or strands of varying lengths. Ensure they are pliable for shaping.

Step 2: Create the owl frame
Form the basic structure of the owl by skillfully bending and intertwining the willow strands. Pay attention to defining the owl’s body, wings, and head.
Step 3: Secure with craft wire
Utilize craft wire or twine to securely fasten the willow strands at crucial points, guaranteeing the structure maintains its intended shape. Trim any excess wire with pliers for a neat finish.
Step 4: Add details
Elevate the artistic appeal of your owl by incorporating intricate details such as feathers or facial features. Weave smaller willow strands into the sculpture to create a sense of texture and dimension.

Step 5: Build a base (Optional)
If you desire additional stability or wish to elevate your sculpture, consider crafting a base using Styrofoam or an alternative suitable material. Attach the owl securely to the base for a polished final look.
Step 6: Decorate (Optional)
Exercise your creativity by embellishing your owl sculpture with decorative elements like moss, leaves, or other natural materials.
Step 7: Allow to dry
Allow your willow owl sculpture sufficient time to dry completely. This step is crucial for preserving its form and structure.
Step 8: Display your artwork
Once the sculpture is fully dry, carefully select the perfect location to showcase your meticulously crafted willow owl. Whether it graces your garden, patio, or indoor living space, let it stand as a testament to your creativity and eco-conscious artistic endeavors.
Embark on this DIY project with the knowledge that not only will you be fostering your creativity, but you’ll also be forging a meaningful connection with the beauty of nature. Experiment with different shapes and sizes to make your willow owl sculpture distinctly yours. Revel in the process of crafting and the satisfaction of exhibiting your eco-friendly masterpiece!
If you have any further questions, don’t hesitate to send thanhcongcraft an email us at [email protected] or message us at WhatsApp: +84967485411. Hope to serve you soon! Best regard!


