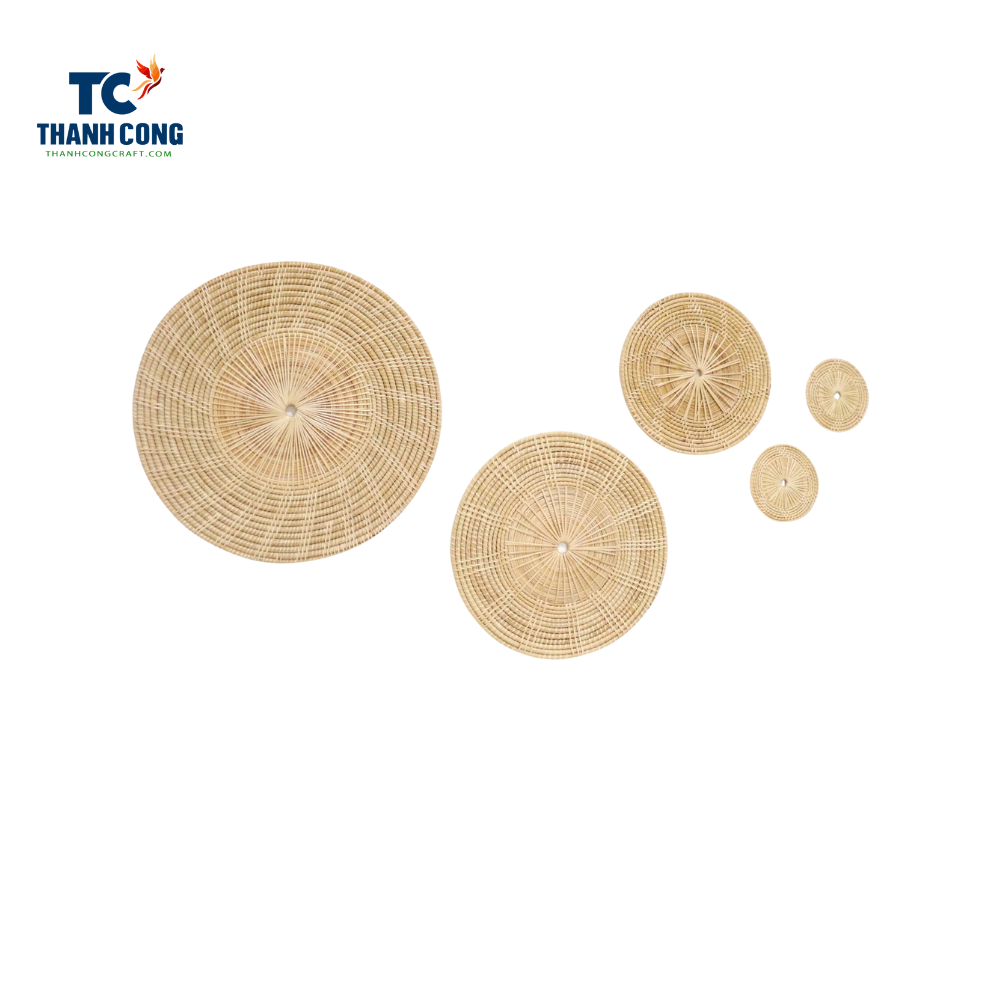
Willow swallow for beginners is an exciting and suitable product for those who are new to the art of crafting with willow. It’s not just a creative project but also a fantastic opportunity to explore and develop your artistic skills.
In the following article, we will guide you on how to make a willow swallow for beginners using simple and easy-to-find materials. Let’s explore!
1. Step to make a willow swallow
To weave the willow swallow for beginners, refer to the materials and steps provided to achieve a complete and satisfying final product. Explore the guide to gather insights into the necessary supplies and follow the step-by-step instructions for a successful crafting experience.
Materials Needed:
- Willow branches;
- Pruning shears or scissors;
- Craft wire or thin string;
- Needle-nose pliers.
Step-by-Step Guide:
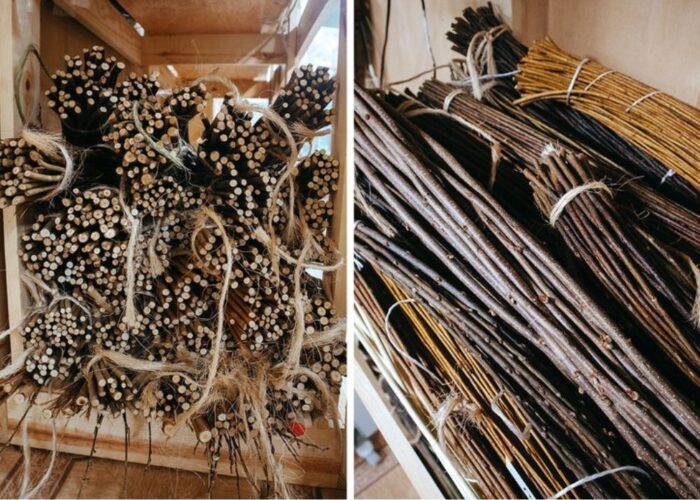
Step 1: Gather willow branches
Collect thin, flexible willow branches. You can gather them from your yard, nearby wooded areas, or purchase them from a craft store. Fresh branches are easier to work with, but dried branches can also be used.
Step 2: Prepare the base
Choose a branch to serve as the main body of the swallow. This branch should be slightly thicker and longer than the others.
Trim the branch to the desired length using pruning shears or scissors. This will be the body of your swallow.
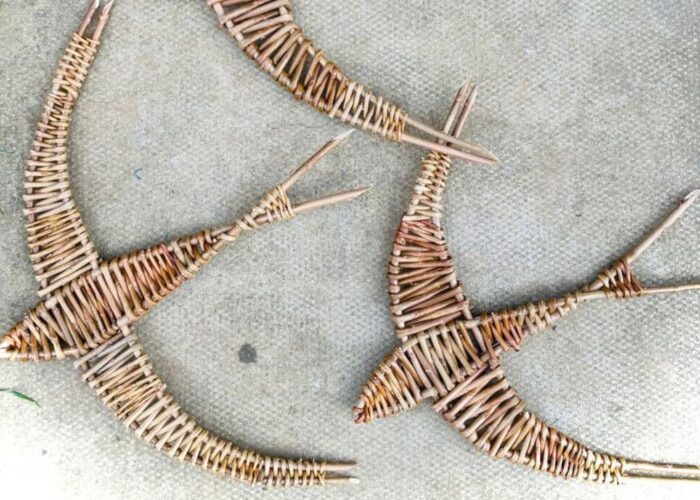
Step 3: Form swallow’s shape
Bend the branch into a curved shape to resemble the body of a bird. Use pliers to help bend the branch if necessary, especially if the branches are dry and brittle.
Step 4: Create wings
Select two smaller branches to serve as the wings. Trim the branches to the desired length, keeping in mind the size of the body. Attach the wings to either side of the body by weaving or wrapping them around the main branch. You can use thin wire to secure the wings in place if needed.
Step 5: Check proportions and balance
Conduct a thorough examination of your work, ensuring that the proportions of the swallow are well-balanced and visually appealing. Make any necessary adjustments to maintain symmetry and overall harmony in the design.
Step 6: Add decorative elements
Infuse your creativity by incorporating optional decorative elements such as small feathers or beads. These additions can enhance the overall charm and uniqueness of your willow swallow.
Step 7: Allow to dry
If your willow branches are moist, allow the swallow to dry thoroughly. This step is crucial in preserving its shape and integrity.
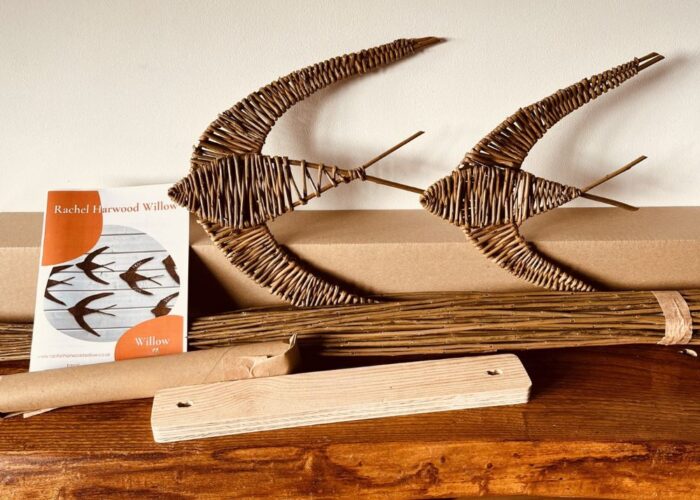
Step 8: Display your willow swallow
Once your creation is dry, find the perfect spot to display your handmade willow swallow. Whether it’s indoors as a piece of unique decor or outdoors as a charming garden ornament, let your creation shine.
This detailed guide aims to provide you with a comprehensive approach to crafting a willow swallow, allowing for flexibility and personalization at every step. Dive into the creative process, experiment with different shapes, and revel in the joy of producing a beautiful, nature-inspired work of art!
Sea also: https://thanhcongcraft.com/how-to-make-a-willow-fish/
2. FAQs
2.1 How do you soften willow branches?
Softening willow branches is a crucial step in various crafts and basketry. One effective method is soaking the branches in warm water for several hours or overnight, allowing the fibers to absorb moisture and become more pliable. Another option is steaming the branches for a few minutes, making them more flexible for shaping.
For a quicker approach, microwaving with a damp cloth can expedite the softening process. It’s important to test a small section first to gauge effectiveness based on branch thickness and type. These methods enhance the branches’ pliability for various creative projects.
2.2 What do you soak willow in?
Willow is commonly soaked in warm water. This process allows the willow branches or twigs to absorb moisture and become more flexible and pliable. The warm water helps soften the fibers, making it easier to bend and shape the willow for various crafting and basketry projects. Soaking times may vary, but typically several hours or overnight immersion is recommended for optimal results.
2.3 How do you soak willow at home?
Start by gathering the willow branches and preparing a container with warm water. Submerge the branches, ensuring they are fully covered, and let them soak for several hours or overnight. The warm water softens the fibers, making the willow more pliable.
fter soaking, check the flexibility, and if satisfied, remove the branches to shape them according to your project. Whether for traditional crafting or contemporary creations, this home soaking method allows you to harness the versatility of willow for your creative endeavors.
3. Conclusion
By following the step-by-step guide provided, novice crafters can easily create a charming piece of decor or garden ornament using simple materials and techniques.
From gathering willow branches to adding personalized touches, each step allows for artistic expression and customization. Whether displayed indoors or outdoors, the handmade willow swallow is sure to captivate and add a touch of natural to any space.
If you have any further questions, don’t hesitate to send us an email us at info@thanhcongcraft.com or message us at WhatsApp: +84967485411. Hope to serve you soon! Best regard!


