Willow duck stands as an exquisite and one-of-a-kind piece of art meticulously crafted from natural willow branches. The harmonious blend of art and nature results in a stunning creation that highlights the intrinsic beauty and vitality of the willow material.
This article serves as a comprehensive guide on how to make a willow duck step by step, providing detailed and easy-to-follow instructions. Join us in unraveling the secrets to transforming natural willow branches into a charming and unique work of art.
Contents
1. How to make a willow duck?
Creating a willow duck is a delightful and artistic endeavor. Here’s a simplified guide on how to make a willow duck:
Materials Needed:
- Willow branches of varying lengths;
- Pruning shears or scissors;
- Craft wire or twine;
- Pliers;
- Styrofoam or a base material (optional);
- Decorative elements (optional).
Step-by-Step Instructions:
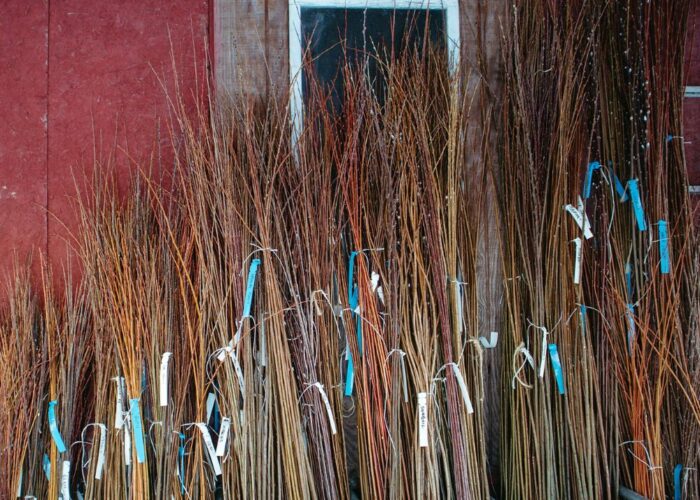
Step 1: Gather willow branches
Start by collecting willow branches, ensuring they have varying lengths for different parts of the duck.
Step 2: Plan the duck’s shape
Visualize the basic shape of the duck, considering the body, wings, head, and tail. Use pruning shears or scissors to trim the willow branches to the desired lengths.
Step 3: Create the duck’s frame
Begin forming the basic structure of the duck by bending and intertwining the willow branches. Focus on defining the body, wings, and characteristic features.
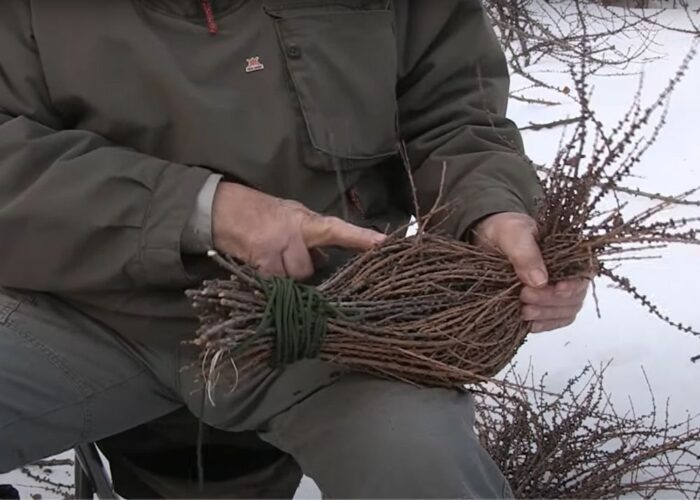
Step 4: Secure with craft wire or twine
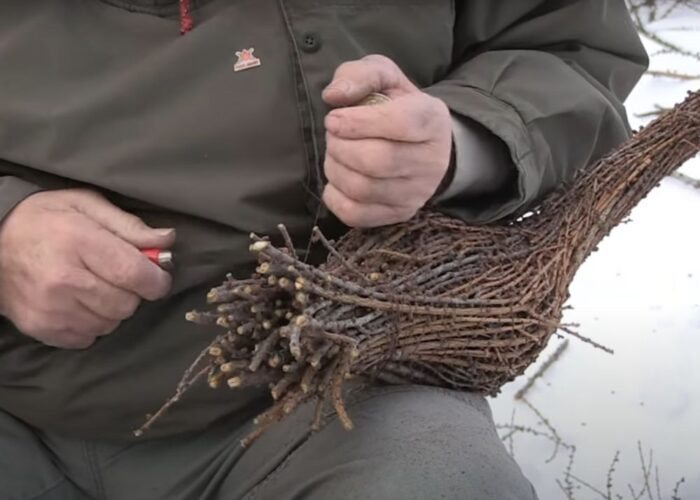
Use craft wire or twine to secure the willow branches at key points, ensuring the structure holds its shape. Trim any excess wire with pliers for a neat finish.
Step 5: Add details with smaller willow strands
Weave smaller willow strands into the structure to add texture and dimension. Focus on creating features like feathers, the beak, and the duck’s eyes.
Step 6: Decorate (Optional)
Get creative by adding decorative elements such as moss, leaves, or other natural materials. Enhance the visual appeal of your willow duck.
Step 7: Display your artwork
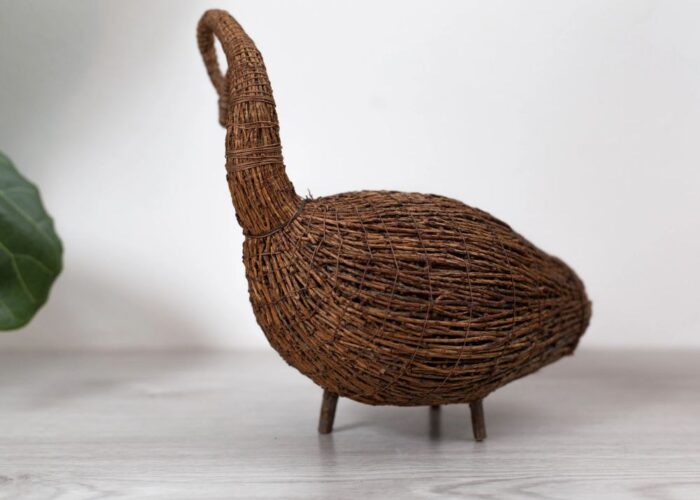
Once dry, find the perfect spot to showcase your handmade willow duck. It can adorn your garden, patio, or indoor living space.
This step-by-step guide provides a foundation for crafting a willow duck. Feel free to experiment with different shapes and sizes, adding your creative touch to make each duck uniquely yours. Enjoy the process of creating a charming piece of art from natural willow branches!
If you have any further questions, don’t hesitate to send thanhcongcraft an email us at info@thanhcongcraft.com or message us at WhatsApp: +84967485411. Hope to serve you soon! Best regard!


