When Christmas is approaching, there’s nothing quite like creating your own decorations to adorn your home. With pine cones scattered in the yard, you can easily transform them into unique and cozy Christmas ornaments. This article will guide you through how to make christmas decorations ornaments with pine cones, in a simple yet creative way. Together, we’ll explore the basic steps to turn ordinary pine cones into artistic pieces, imbued with the festive spirit.
1. How to decorate pine cones for christmas?
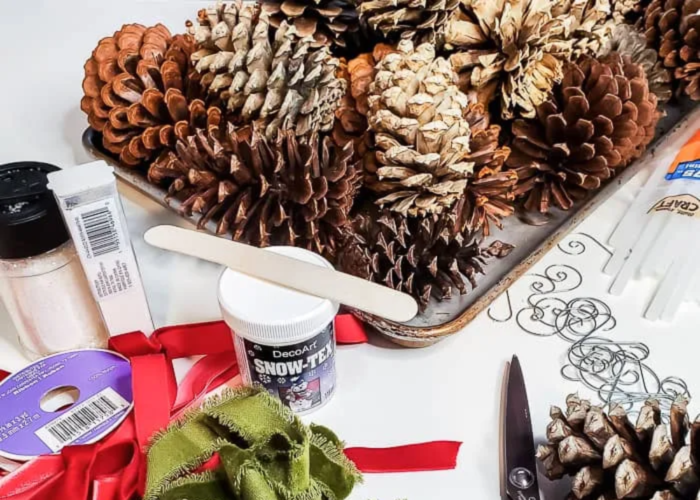
Decorating pine cones for Christmas is a delightful way to infuse your home with festive charm and creativity. To get started, gather your materials:
Materials:
- Pine cones
- Acrylic paint or spray paint in various colors
- Paintbrushes
- Glitter
- Craft glue
- Ribbon or twine
- Optional: small decorative items like miniature ornaments, bells, or faux berries
Step by Step:
Step 1: Prepare the Pine Cones
Collect pine cones from your yard or purchase them from a craft store. Clean the pine cones by gently brushing off any dirt or debris. You can also bake them in the oven at a low temperature to remove any insects or sap.
Step 2: Base Coat
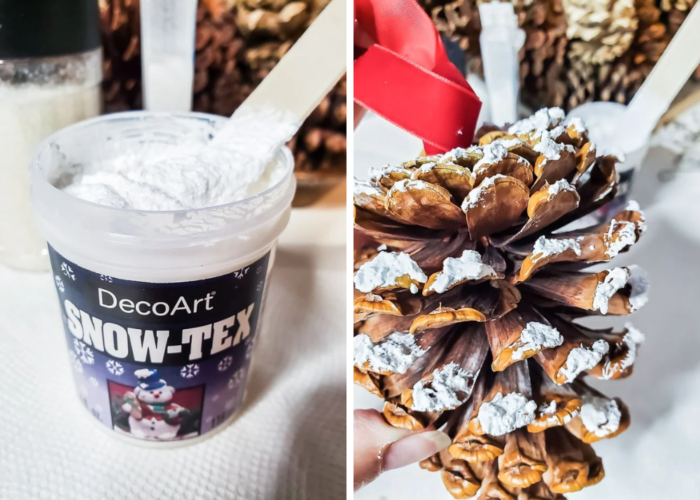
Apply a base coat of acrylic paint or spray paint to the pine cones. Choose colors that match your Christmas decor scheme. Let the paint dry completely.
Step 3: Adding Details
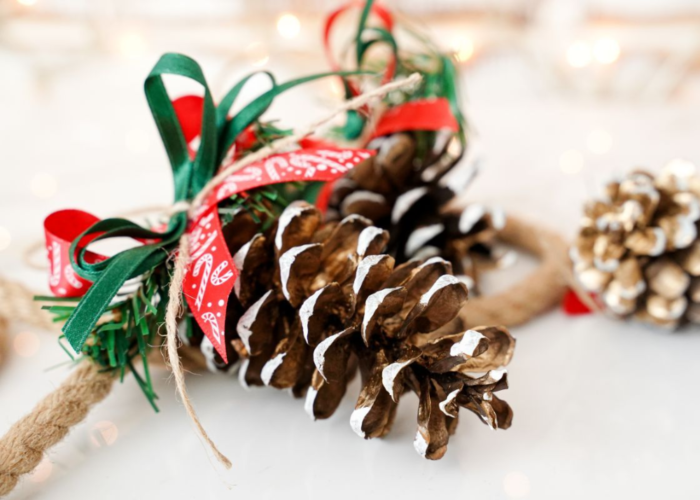
Use smaller brushes to add details to the pine cones. You can paint patterns like stripes, polka dots, or even intricate designs like snowflakes or holly leaves. Experiment with different colors and techniques to create a variety of looks.
Step 4: Sparkle with Glitter
Apply craft glue to the tips of the pine cone scales. Sprinkle glitter over the glue to add sparkle and shine. Shake off any excess glitter and let it dry.
Step 5: Attach Ribbon or Twine
Cut a piece of ribbon or twine to the desired length for hanging. Use craft glue to attach the ribbon or twine to the top of the pine cone. You can also tie it around the base of the pine cone for a different look.
Step 6: Optional Embellishments
Get creative with additional embellishments like miniature ornaments, bells, or faux berries. Use craft glue to attach these items to the pine cones, either randomly or in a pattern.
Step 7: Display Your Creations
Once the glue has dried completely, your decorated pine cones are ready to be displayed. Hang them on your Christmas tree, arrange them in a festive bowl or basket, or use them as accents in wreaths or garlands.
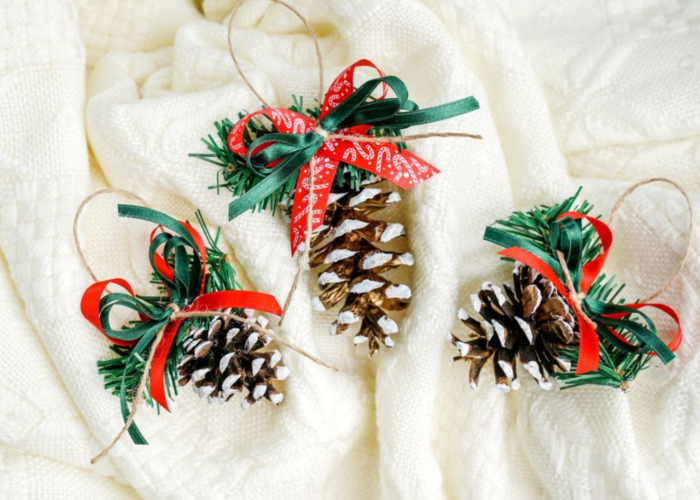
Admire your handiwork and enjoy the festive ambiance created by your decorated pine cones. Share this fun and creative activity with friends and family, and spread the joy of Christmas crafting!
2. Other pine cone ornaments ideas
Pine cones, with their natural charm and texture, offer endless possibilities for creative holiday decorations beyond the traditional. Here are some unique ideas to inspire your Christmas crafting:
Pinecone Gnome Ornaments:
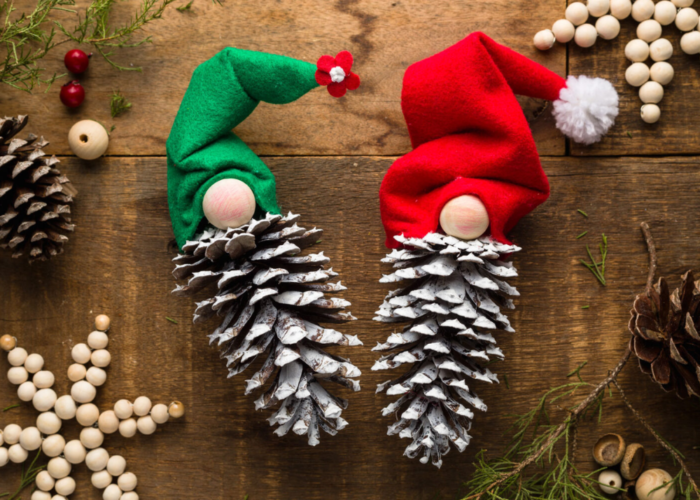
Transform pine cones into charming gnome ornaments. Paint the bottom half of a pine cone in a solid color for the gnome’s body, then paint the top half in a different color for the hat. Add facial features, a beard, and a small felt or fabric hat. Attach a piece of string or ribbon for hanging.
Pine Cone Angels:
Craft heavenly pine cone angels by painting the entire cone in white or gold. Attach a wooden bead or small ball to the top for the head. Use ribbon or lace to create wings, and add a halo made from wire or pipe cleaner. Finish with a delicate face drawn with fine-tipped markers.
Owl Pine Cone Ornament:
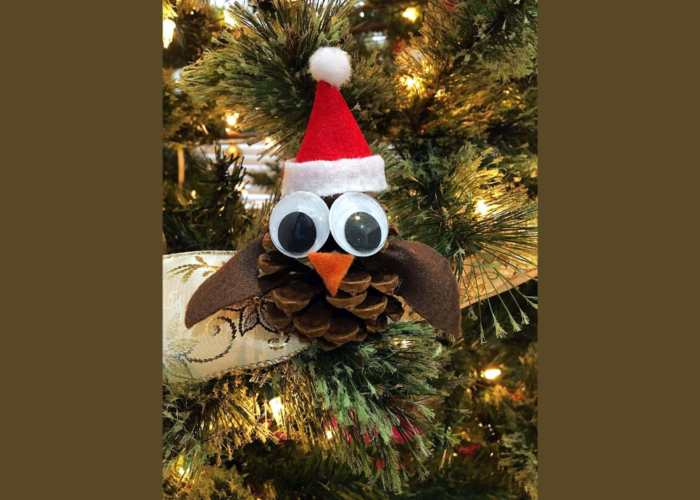
Create adorable owl ornaments by painting a pine cone in brown or gray. Attach googly eyes and felt or foam shapes for the beak, wings, and feet. Add feathers or faux fur for texture, and secure a loop of ribbon or twine to the top for hanging.
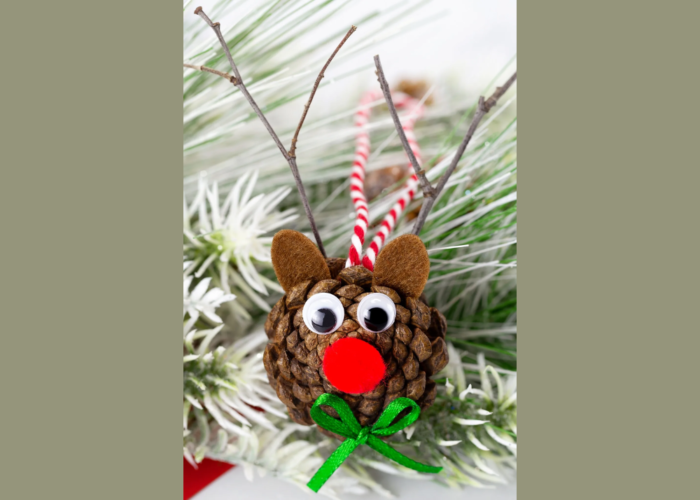
Pine Cone Reindeer Ornament:
Fashion festive reindeer ornaments using pine cones as the body. Paint the cones in brown, then attach googly eyes, a red pom-pom nose, and pipe cleaner antlers. Add small bells or bows for extra flair, and attach a ribbon loop for hanging.
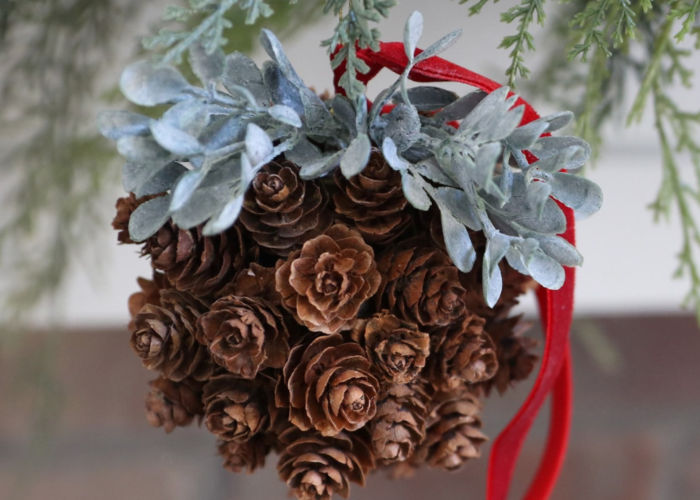
Pine Cone Ball Ornaments:
Craft elegant ball ornaments by gluing small pine cone scales onto a foam or plastic ball. Paint the ball in a coordinating color, then sprinkle with glitter for a dazzling finish. Attach a loop of ribbon or twine to the top for hanging.
Pine Cone Elf Ornaments:
Bring holiday cheer with elf ornaments made from pine cones. Paint the cones in bright colors like red, green, or blue for the elf’s outfit. Add facial features, a pointed hat, and felt or fabric shoes. Attach a loop of ribbon or twine for hanging.
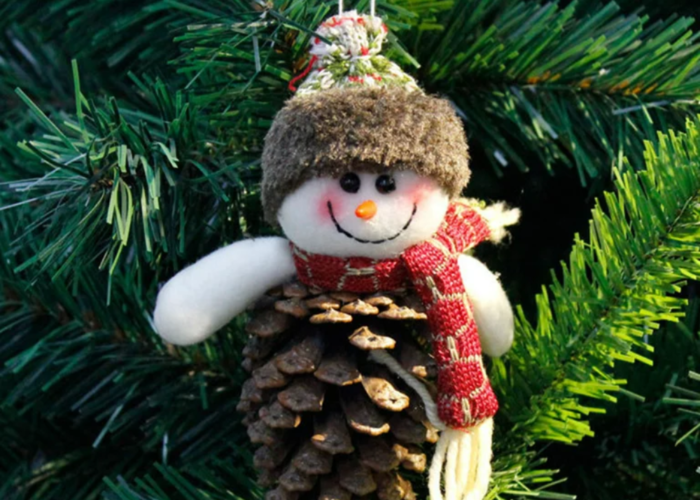
Pinecone Santa Ornament:
Spread Christmas joy with Santa ornaments crafted from pine cones. Paint the cones in red or white for Santa’s suit, then add a white cotton ball or faux fur trim. Use felt or foam to create Santa’s face, hat, and belt. Finish with a loop of ribbon or twine for hanging.
Pine Cone Snowman Ornament:
Build adorable snowman ornaments using pine cones. Paint the cones in white for the snowman’s body, then add a face, buttons, and a scarf using felt or markers. Create a top hat from black felt or foam, and attach a loop of ribbon or twine for hanging.
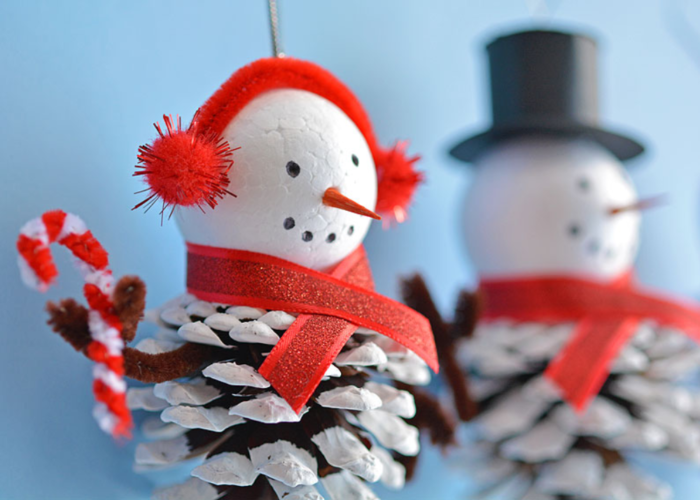
These pine cone ornaments will add a touch of rustic charm and festive cheer to your Christmas tree and home décor. Get creative and enjoy crafting these delightful decorations!
2. FAQs
2.1 How do you preserve pine cones for decorations?
To preserve pine cones for decorations, begin by cleaning them thoroughly and soaking them in a solution of water and white vinegar for about 20-30 minutes to remove dirt and insects. After air drying overnight, bake the pine cones in the oven at a low temperature (200 to 250°F or 94 to 121°C) until they open up fully, typically taking 30 minutes to two hours. Ensure they are completely dry before using them in crafts. Optionally, you can apply a protective coat of varnish or wax to maintain their color and durability.
2.2 How do you prepare pine cones for crafts?
To preserve pine cones for decoration, you need to clean and sanitize them first. Begin by soaking the pine cones in a solution of water and white vinegar, using a ratio of two parts water to one part vinegar, for about 20-30 minutes to remove dirt and small insects. Then, lay the pine cones on old newspaper or paper towels to air dry overnight in a well-ventilated area. Next, bake the pine cones in the oven at a temperature of 200 to 250°F (about 94 to 121°C) until they open up, usually taking between 30 minutes to two hours. Be sure to check them regularly to avoid burning. Finally, you can apply a protective coat of varnish or wax to keep the pine cones vibrant and resistant to pests.
2.3 What kind of glue do you use on pine cones?
For pine cones, it’s best to use a strong, multi-purpose craft glue that can adhere well to various surfaces. Options like hot glue guns with hot melt adhesive sticks, or tacky glue, work effectively for attaching decorations or securing pine cones onto surfaces. These types of glue provide a secure bond and are suitable for most craft projects involving pine cones. However, for more delicate or intricate designs, you may opt for a fine-tip craft glue or even epoxy resin for a stronger and more durable hold.
If you have any further questions, don’t hesitate to send thanhcongcraft an email us at info@thanhcongcraft.com or message us at WhatsApp: +84967485411. Hope to serve you soon! Best regard!
