The grapevine cross wreath is a charming and symbolic decorative item often crafted for Easter celebrations or as rustic home decor. One of the ways to decorate homes for Easter is to create grapevine crosses. This is a simple and creative project that can be made using readily available and inexpensive materials.
In this following article, we will guide you on how to make a grapevine cross wreath with the most basic steps. Have a read!
Contents
1. Steps to make a grapevine cross
Making grapevine crosses is an art form that blends natural materials with creativity to produce stunning decorative pieces. Using flexible and durable grapevines harvested from vineyards, artisans manipulate the vines into intricate cross shapes, often adorned with additional embellishments such as flowers, ribbons, or beads.
Crafting grapevine crosses offers a opportunity for self-expression and allows enthusiasts to create personalized pieces that reflect the individual style and beliefs.
Follow these basic steps to make your own grapevine cross wreath:
Materials Needed:
- Grapevines: Collect dried grapevines, ensuring they are pliable for shaping.
- Pruning Shears or Scissors: Use these tools to cut and trim the grapevines.
- Optional Decorations: Gather any additional decorations such as ribbons, flowers, or small ornaments if desired.
Step-by-Step Guide:
Step 1: Collect and prepare grapevines
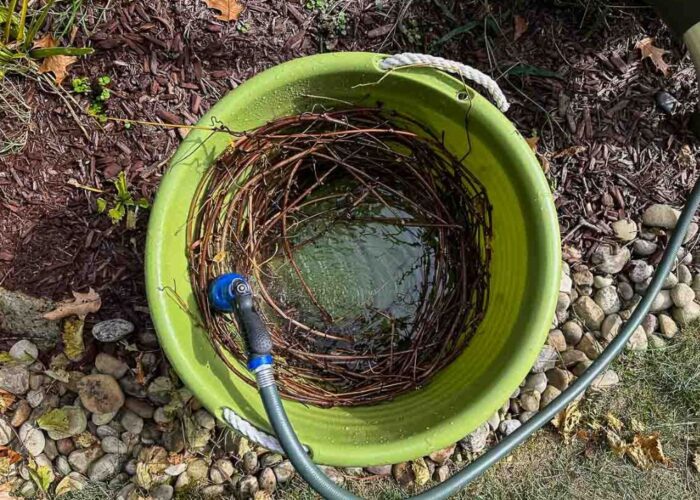
Gather dried grapevines, either from a store or your own collection. Soak them in water for a few hours to enhance their flexibility.

Step 2: Shape the cross
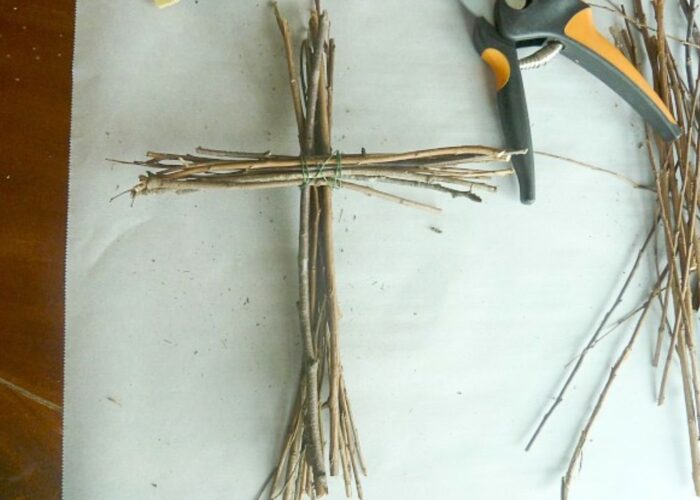
Place the longer grapevine branch on top of the shorter one, forming a cross shape. Adjust the position of the two branches so that the intersection is about one-third of the length of the longer branch.

Step 3: Secure the cross
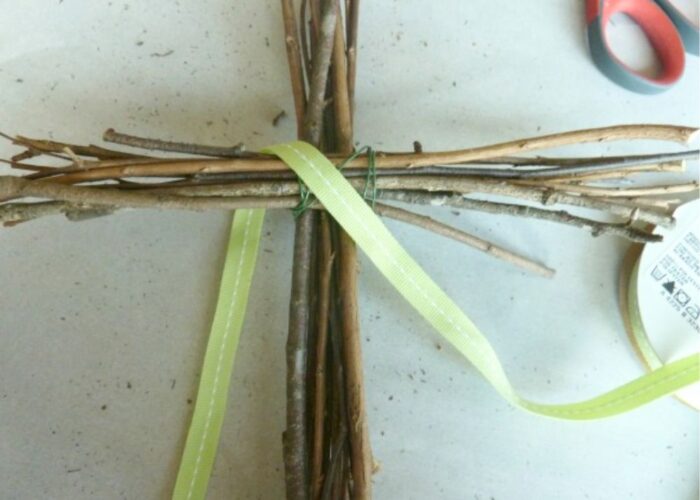
Use smaller grapevines to wrap around the intersection of the vertical and horizontal arms, securing them together. This helps in stabilizing the structure.

Step 4: Add decorative touches (optional)
If desired, embellish your grapevine cross with decorations such as ribbons, flowers, or small ornaments. Attach them by wrapping them around the cross or securing them with twine.

Step 5: Trim excess vines
Use pruning shears or scissors to trim any excess grapevines, creating a neat and polished appearance.
Step 6: Allow the cross to dry
Let your grapevine cross dry completely. This may take a day or two, depending on the thickness of the grapevines and the humidity.
Step 7: Display your grapevine cross
Once dry, find the perfect spot to showcase your handmade grapevine cross. Whether indoors or outdoors, it will bring a rustic and artisanal touch to your space.
2. Conclusion
In conclusion, crafting your own grapevine cross wreath is a fulfilling and creative endeavor that brings rustic charm and a touch of artisanal flair to any space.
By following these simple steps, you can transform dried grapevines into a beautiful symbol of faith and decoration. Your handmade grapevine cross will serve as a unique centerpiece that adds warmth and character to your home.
For further questions, don’t hesitate to send thanhcongcraft an email us at info@thanhcongcraft.com or message us at WhatsApp: +84967485411. Hope to serve you soon! Best regard!


