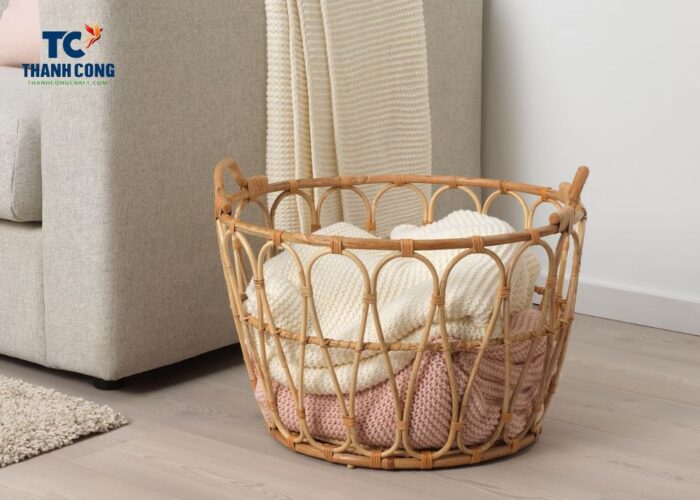
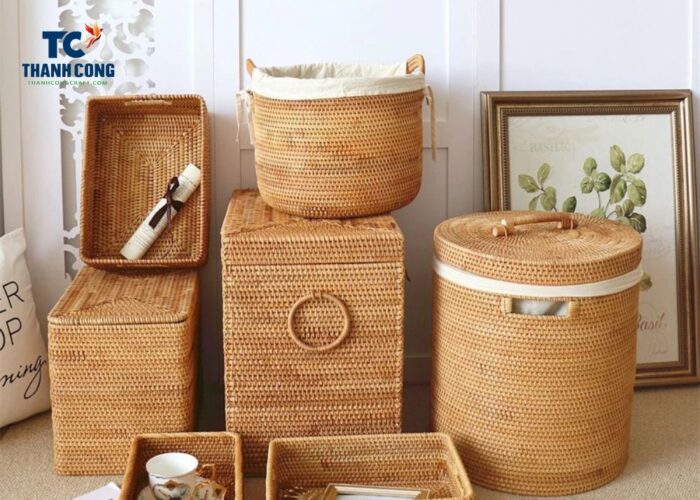
If you’ve ever marveled at the intricate beauty of a wicker basket and wondered, how to make a wicker basket? Then you’re about to embark on a journey into the world of traditional craftsmanship. In this guide, we will walk you through the fundamental steps to create a basic wicker basket from scratch.
Contents
1. How to make a wicker basket
How to make a wicker basket step by step, creating a wicker basket from scratch is a labor-intensive craft that requires time, patience, and skill. Here’s a simplified step-by-step guide on how to make a basic wicker basket:

1.1 Materials You’ll Need
- Rattan or cane strips (pre-soaked in water to make them flexible)
- Scissors
- Clothespins or clips
- Ruler
- Pencil
- Wooden base (optional)
1.2 Steps to Follow
Prepare Your Rattan Strips: Soak your rattan or cane strips in water for several hours or as per the manufacturer’s instructions. This softens them and makes them more pliable for weaving.
Step 1: Create the Basket Base
If using a wooden base, draw the desired size and shape of your basket base on the wood and cut it out.
If not using a wooden base, you can start by weaving the rattan strips together to create a flat circular or rectangular base. Overlap and secure the ends by weaving them under and over adjacent strips.
Step 2: Build the Basket Sides
When the base has reached the desired size, start shaping the sides of the basket by adding new stakes that will be turned up vertically. Cut new stakes with your cutters and insert them on the right side of your base stakes, using the bodkin to create some space. Let it soak for a few minutes, then using pliers, pinch each stake at the base and bend it upwards. Stand the soaked rattan strips upright along the outer edge of the base, securing them in place with clothespins or clips.

Begin weaving additional strips horizontally through the upright strips. Weave one strip under one upright, then over the next, and so on. This creates the basic weave pattern, continue weaving until you reach your desired basket height. Remember to periodically tighten the weaving to ensure a snug fit.
Step 3: Finish the Top Edge:
When you reach the desired height for your basket, finish the top edge by bending the upright strips down and weaving them into the horizontal weaves.
Trim any excess rattan strips and secure the ends by tucking them under the weave.
Step 4: Handle (Optional):
If you want to add a handle, create two loops with rattan strips and attach them to opposite sides of the basket by weaving the ends into the sides.
Step 4: Final Touches:
Trim any excess rattan and ensure all ends are securely tucked in.
Allow your basket to dry thoroughly. As it dries, the rattan will shrink and tighten, securing the weave.
Remember that basket weaving is a skill that improves with practice. The design and complexity of your basket can vary depending on your experience and creativity. As you become more skilled, you can experiment with different patterns, shapes, and sizes to create unique wicker baskets.
2. How to make a fabric liner for a wicker basket
Creating a fabric liner for a wicker basket is a straightforward DIY project that adds a touch of style and protection to your basket. Here are the steps to make a fabric liner for your wicker basket:
2.1 Materials You’ll Need:
- Fabric of your choice (cotton, linen, or any desired fabric)
- Measuring tape
- Scissors
- Sewing machine or needle and thread
- Pins
- Iron and ironing board
- Elastic cord (optional)
2.2 Steps to Follow
Step 1: Measure Your Basket
Start measuring from the bottom of the inside of your basket, pulling the measuring tape upwards and over the edge until you are satisfied with the length. For a basket of similar size, allowing for approximately a 10 cm overhang on the outside tends to look aesthetically pleasing. Add an additional 2 to 5 cm to this length to account for your hem and seams. The specific length depends on your preference for the size of the seam and hem you’d like.
Next, measure the outside of the top of the basket. Depending on the type of seam you plan to sew, you can add anywhere from 1 cm to 4 cm. For a French seam, like the one I used, an extra 4 cm was added to the fabric’s length. If the top of your basket is wider than the bottom, measure the inside of the basket as well; this will help you adjust the fabric accordingly later on.
Step 2: Mark and Cut the Fabric
Before marking and cutting, it’s best to iron your fabric for more accurate measurements. However, if you’d like to skip this step, it’s perfectly acceptable. If you’re confident that your measurements are correct and you’ve accounted for your seam allowance, proceed to mark and cut your fabric accordingly.

Step 3: Pin the Fabric and Sew
For the main piece: Pin the short sides together. If you’re sewing a French seam, pin the wrong sides together, then trim half of one side and fold the other side over it. Pin it in place and sew it down.
For the long sides: Pin the hem together by folding the edge over by approximately ½ cm, then folding it over again by about 2 cm. Pin it to the fabric and sew along the inside edge of the hem, where there are three layers of fabric.
Lastly, pin the bottom square to the other side of your main piece. If the diameter of your bottom square is smaller than that of the main piece, distribute the excess fabric evenly over the four corners. Any excess fabric can be sewn into darts at the points of the bottom square.
Step 4: Finish Your Basket Liner
Ensure that you’ve finished all raw edges, trimmed any loose threads, and confirmed that your stitching is strong and neat.
Now, fit the liner onto your basket and find the perfect spot in your home where it’s both useful and complements your decor. Feel free to share in the comments how you plan to use your newly lined basket!
3. How to make a wicker basket cover
Creating a cover for a wicker basket is a practical and decorative way to protect its contents and enhance its appearance. Here’s how to make a wicker basket cover:
Measure the Basket: Measure the width, length, and height of your wicker basket. These measurements will guide you in cutting the fabric to the right size.
Cut the Fabric: Based on your measurements, cut a rectangular piece of fabric. The dimensions should match the width and length of the basket, plus some extra for seams and hems. The height of the fabric should be equal to the height of the basket, plus additional allowance for hems.
Hem the Fabric: Fold over and iron the fabric’s edges to create clean hems. Typically, fold over about 1/2 inch (1.27 cm) along each side and the bottom. Fold over about 1 inch (2.54 cm) at the top edge to create a wider hem. Iron these folds to make them crisp.

Sew the Hems: Using a sewing machine or hand stitching, sew along the folded edges of the fabric to secure the hems. Sew all sides except for the top edge.
Add Elastic Cord (Optional): If you want to gather the top of the cover, insert a piece of elastic cord through the top hem. Thread it through using a safety pin, and then secure the ends together to create a loop. This will allow you to gather the top when it’s in the basket.
Attach Ribbon or Trim (Optional): To add a decorative touch, you can sew ribbon or trim along the bottom edge of the cover or around the top hem.
Fit the Cover: Slide the cover over your wicker basket and adjust it to ensure a snug fit. If you added elastic, gather the top to your liking.
Trim Excess Fabric (Optional): Trim any excess fabric at the top of the cover if needed. Your wicker basket is now adorned with a custom-made cover. This cover not only protects the contents from dust and dirt but also adds a stylish touch to your decor. Whether you’re using the basket for storage or as a decorative piece, the cover is a practical and aesthetic addition.
If you’ve ever wondered, how to make a wicker basket? or considered adding a personal touch to your wicker items, I hope this guide has provided you with valuable insights and inspiration. Don’t hesitate to embark on your wicker crafting journey and explore the endless possibilities of this timeless craft. If you have a shopping need, don’t hesitate to get in touch with thanhcongcraft via email info@thanhcongcraft.com or WhatsApp: +84967485411. Hope to serve you soon!


