Transforming a dresser into a changing table is a rewarding DIY project that combines creativity with practicality. This process not only repurposes an old dresser but also provides a customized and functional solution for your baby’s changing needs. With a few simple steps and some creativity, you can create a unique and stylish changing table that meets both your aesthetic preferences and your family’s practical requirements. Let’s explore how to turn a dresser into a changing table and embark on this exciting project together.
1. How to turn a dresser into a changing table?
Converting a dresser into a changing table is a practical and cost-effective solution for your baby’s nursery. Here’s a step-by-step guide on how to accomplish this DIY project:
Materials:
- Dresser
- Changing pad
- Safety strap (optional)
- Screwdriver
- Sandpaper
- Primer
- Paint or stain
- Paintbrush or roller
- Drawer organizers or baskets (optional)
Step by Step:
Step 1: Select the Dresser
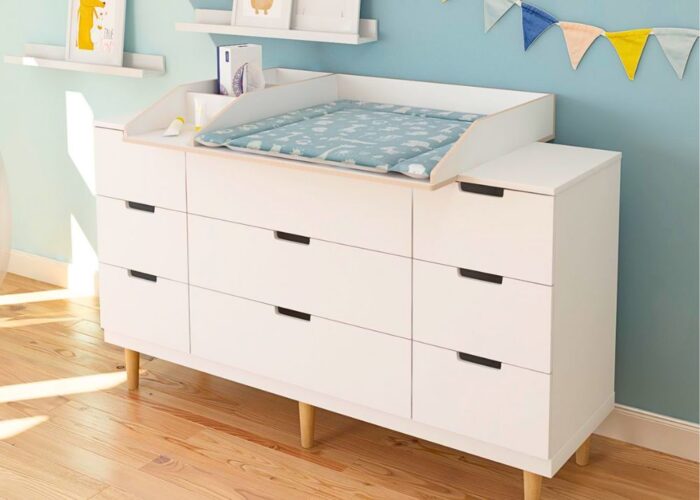
Choose a sturdy dresser that is at a comfortable height for diaper changes. Ensure it has enough surface area to accommodate a changing pad and space for diapering essentials.
Step 2: Prepare the Dresser:
Remove all drawers from the dresser and set them aside. Use a screwdriver to remove any hardware such as knobs or handles.
Step 3: Sand and Prime
Lightly sand the surface of the dresser to remove any existing finish and create a smooth surface for painting or staining. Wipe away any dust with a clean cloth. Apply a coat of primer to the dresser and let it dry according to the manufacturer’s instructions.
Step 4: Paint or Stain
Once the primer is dry, apply your chosen paint or stain to the dresser using a paint brush or roller. Allow the paint or stain to dry completely between coats, and apply additional coats as needed for full coverage. Let the dresser dry thoroughly before proceeding.
Step 5: Attach the Changing Pad
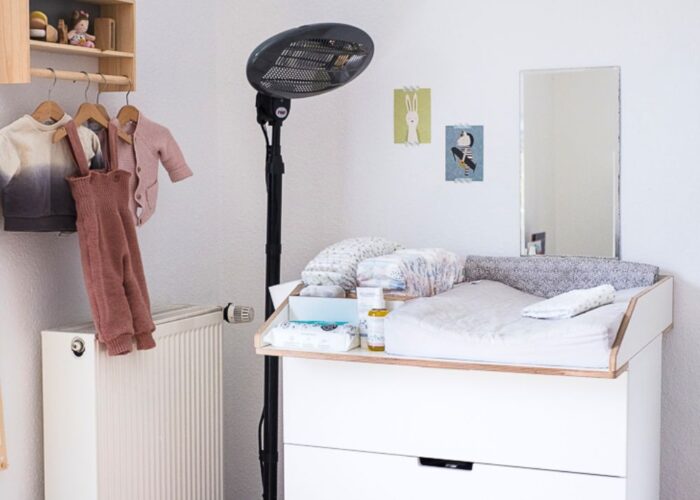
Place the changing pad on top of the dresser in the desired location. If desired, use screws to secure the changing pad to the dresser for added stability. Consider adding a safety strap to the dresser to prevent the changing pad from moving during use.
Step 6: Reassemble Drawers
Once the paint or stain has dried completely, reattach the drawers to the dresser. You may want to consider adding drawer organizers or baskets to help keep diapering essentials organized and easily accessible.
Step 7: Personalize
Add personal touches to the dresser, such as decorative knobs or drawer liners, to customize the changing table to your taste.
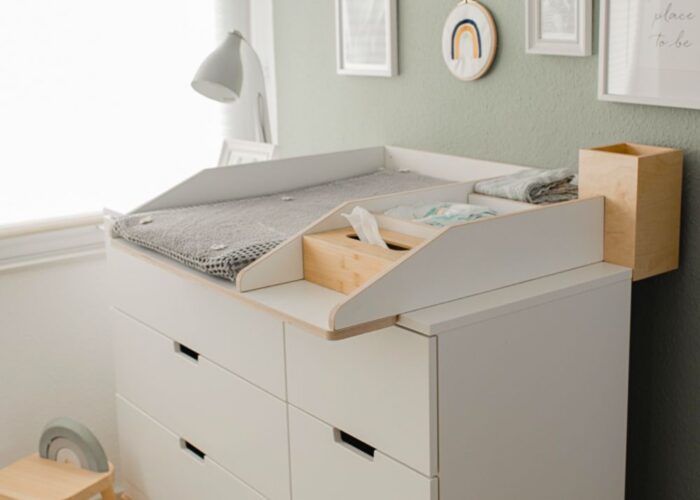
Step 8: Final Touches
Once everything is in place, give the dresser a final inspection to ensure it is sturdy and safe for use as a changing table. Stock the drawers with diapers, wipes, and other essentials, and your DIY dresser-turned-changing table is ready for use!
By following these steps, you can easily transform a dresser into a functional and stylish changing table for your baby’s nursery.
2. FAQs
2.1 How deep does a dresser need to be for a changing table?
When converting a dresser into a changing table, the depth is a crucial factor to consider for safety and functionality. A standard changing pad, which is around 32 inches long and 18 inches wide, requires a dresser depth of at least 18 inches to ensure stability and to accommodate the pad without any overhang. Additionally, the dresser should be anchored to the wall to prevent tipping, which is especially important as the child grows and becomes more active.
2.2 Can you put a changing pad directly on the dresser?
You can place the changing pad directly on top of the dresser, as long as the dresser’s surface is flat and spacious enough to safely accommodate the changing pad. To ensure that the changing pad does not slide off the dresser and pose a danger to the child, it is advisable to use protective measures such as straps or clips to secure the changing pad. Additionally, a non-slip rubber mat can be placed underneath the changing pad to enhance grip and protect the dresser surface from scratches. Some changing pads also come with straps to fasten them to the back of the dresser, further enhancing safety during use.
2.3 How can I ensure the safety of my DIY changing table?
Ensuring the safety of a DIY changing table is paramount to protect your little one. Firstly, stability is key; the table must not wobble or tip over. Use sturdy materials and ensure all joints are securely fastened. Secondly, the changing area should have raised edges or barriers to prevent the baby from rolling off. The height of the barriers should be at least 2 inches tall. Thirdly, all materials used should be non-toxic and free of sharp edges or small parts that could be a choking hazard. Fourthly, the changing table should be at a comfortable height for the caregiver to prevent any strain during use. Lastly, always keep essential supplies within arm’s reach to avoid leaving the baby unattended on the table.
If you have any further questions, don’t hesitate to send thanhcongcraft an email us at info@thanhcongcraft.com or message us at WhatsApp: +84967485411. Hope to serve you soon! Best regard!


